Whether you are in your own backyard or hiking in Mother Nature or simply just enjoying the outdoors, it's you are sure to see a pine cone. These gifts from nature make for some of the most creative DIY projects for the home. From beautiful wreaths to elegant decor, the possibilities are endless.
Unlike the other pine cone DIY projects out there, this project is not a wreath or standard home decor object. It takes it up a notch by making the entire craft functional. Here we'll show to how to make a pine cone fire starter. Now, you can not only enjoy its appearance but also use it to stay warm. Pine cone fire starters also do well as special gifts such as wedding favors.
Materials
- Parchment paper
- Dry pine cones (amount depends on your preference on how many to make)
- Pot
- Candlesticks (for the wax) - You'll want about 3/4 cup per pine cone.
- Crayon (based on your color preference)
- Spatula
Instructions
Layout parchment paper on your work surface. We recommend performing this project in the kitchen, as it can get messy.

Break apart the candlesticks in thirds, and set aside.

Keep the candle wick.

Tie a knot at the top of the wick.
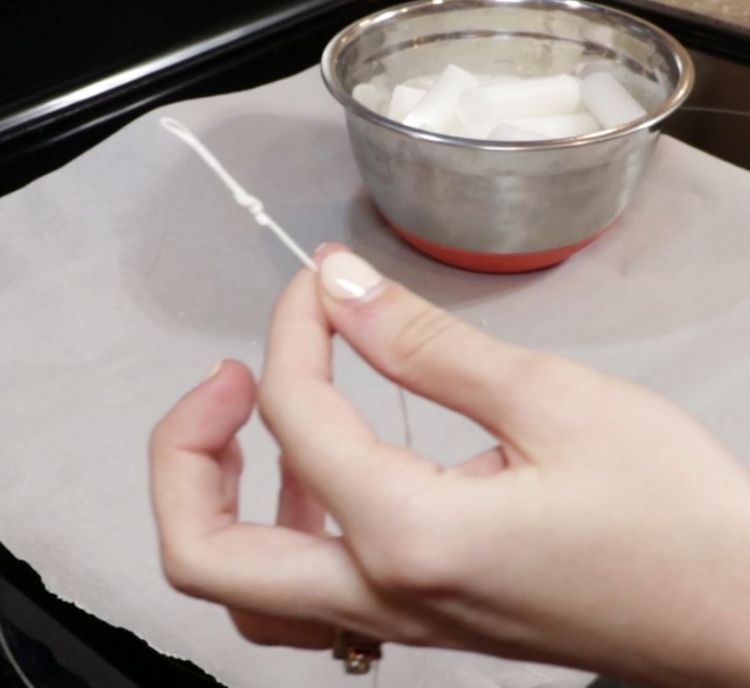
Attach the wick onto each pine cone and set aside. You'll need this for later.

Melt the wax in the pot in heat. The wax should be a clear color once done.

Meanwhile, take your favorite crayon color.

Make sure the paper wrapping is removed.

Break apart crayon into melted wax pot.

Mix in with spatula.

Using the wick, dip the pine cone into the melted colored wax. Dip a few times and dry on the parchment paper.

Continue the dipping and drying process...

... until you are satisfied with the outcome!

Arrange finished fire starters in a nice bowl.
