In this project, bleach comes in handy for something other than whitening clothes and disinfecting counter tops. Pine cones take on a silvery sheen after being bleached, which looks lovely set against a dark red, blue, green, or black table runner. The tutorial uses a 4-to-1 ratio of water to bleach, so if the water does not cover the pine cones, double the ratio to 8-to-2.
As this project does use bleach, there are several safety precautions required. Always wear disposable gloves when handling bleach and when the pine cones are wet with it. Pour the bleach slowly so it doesn't splash; as an added precaution, wear safety glasses. Ventilate the area in which you are working, and do not place the project where children or pets can reach. Keep the area ventilated while the pine cones soak.
Materials
- Pine cones of varying sizes
- Large plastic bowl with 10-inch-diameter base
- Plastic pitcher or large liquid measuring cup
- Cold water
- Disposable gloves
- Bleach
- Long wood stirring stick
- Metal pie tin, 9-inch
- Hand-size rocks
- Clean dish towel
- Decorative tray
Instructions
1. Gather your pine cones and place into a bowl/bucket.
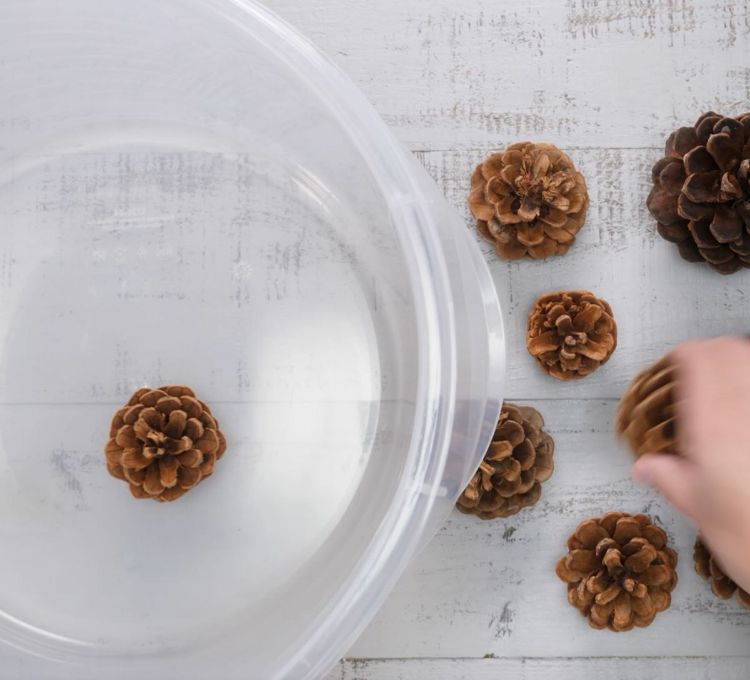
Place the pine cones in one layer in the bowl.

Add 4 cups of water.

2. Put on disposable gloves. Add 1 cup of undiluted bleach.
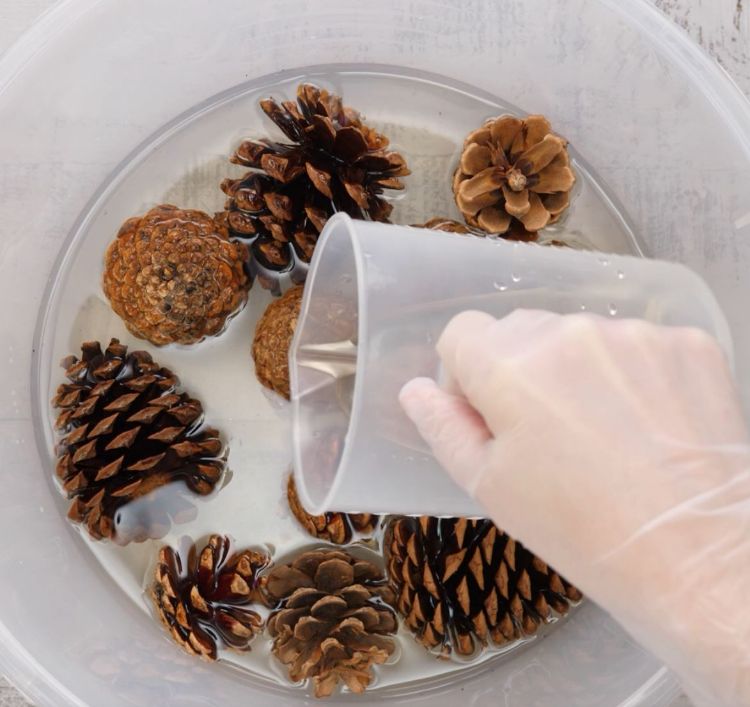
Stir with the stir stick.
3. Place the pie tin’s base on top of the pine cones.
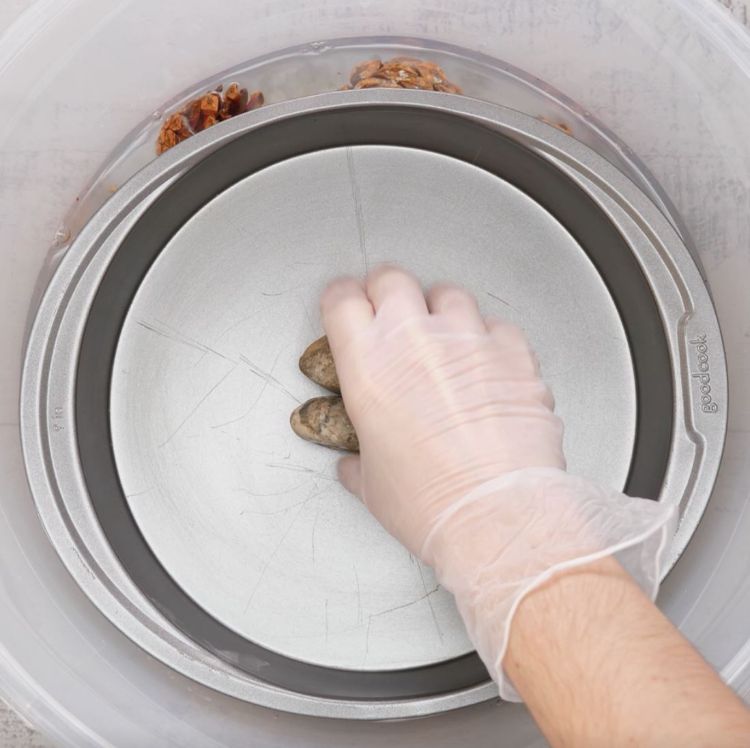
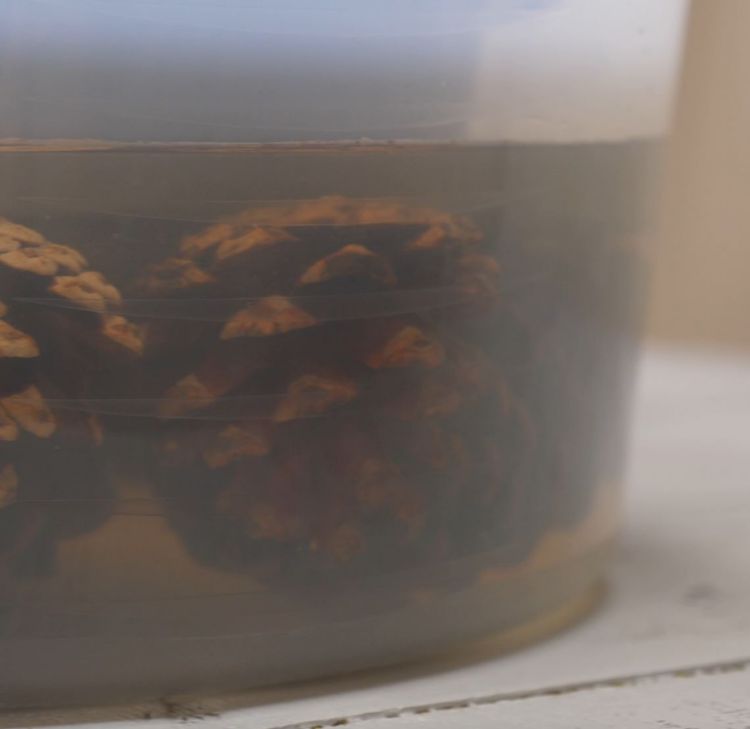
Weigh down the tin with rocks so the pine cones are completely submerged. Wait 12 to 20 hours.
4. Put on disposable gloves. Remove the pine cones and place them in a single layer on a clean dish towel.
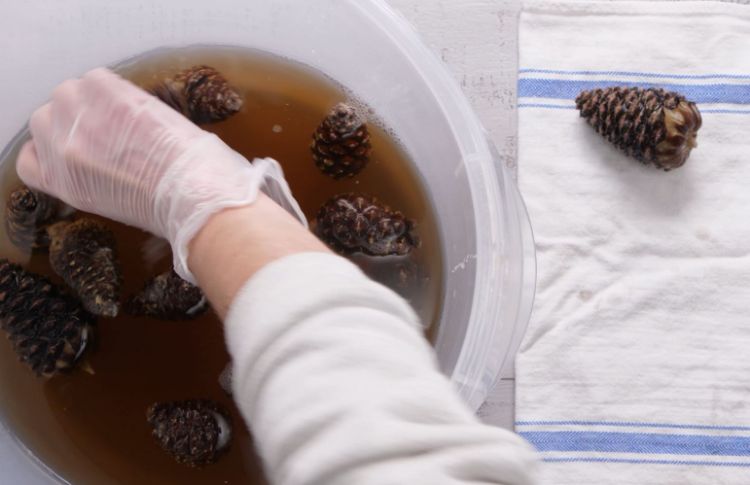
Wait for them to dry before handling with your bare hands.
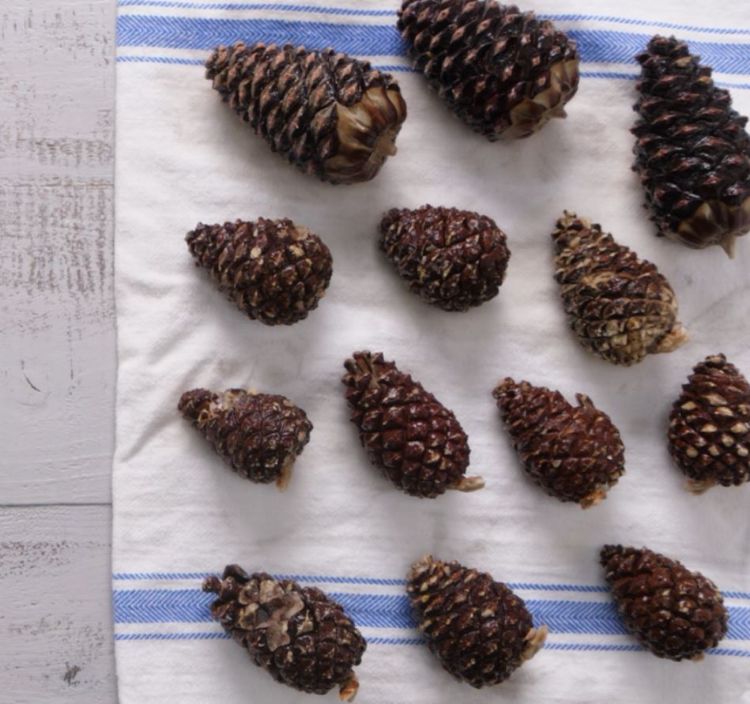
Once dry, they will turn a different color.

5. Arrange the pine cones in a decorative tray or clear bowl.
