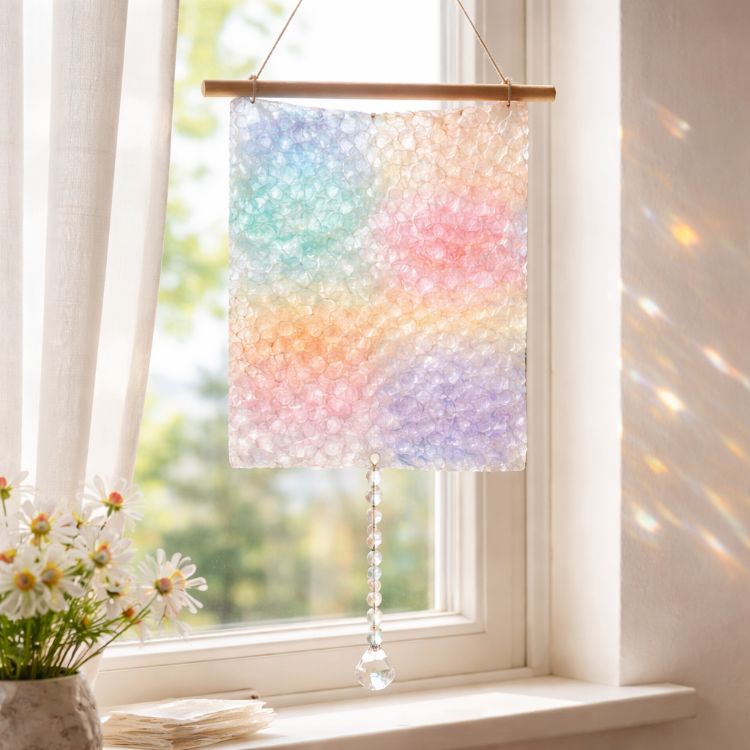
In a world where sustainability is increasingly important, finding creative ways to repurpose everyday materials can be both fun and rewarding. Transforming discarded shipping bubble wrap along with a couple of common household items can lead to a stunning and unexpected decorative piece that captivates anyone who sees it. This DIY project not only helps reduce waste but also brings a unique artistic element to your home decor.
This DIY art piece can be styled in modern and minimalist interiors. Its translucent and textured nature offers a subtle yet elegant aesthetic, making it perfect for a neutral-toned room. Consider placing it on a mantel or hanging it as a standalone wall art piece. It pairs well with natural elements like wood and stone, enhancing its organic feel.
Translucent Bubble Wrap Art
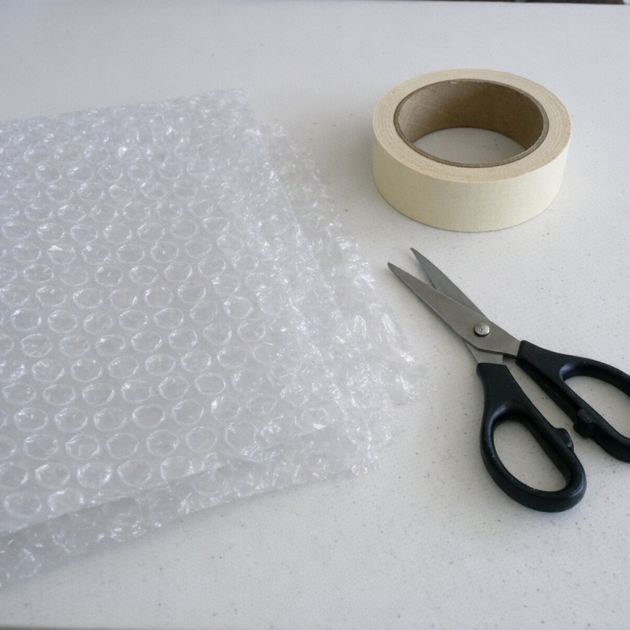
Materials
Shipping bubble wrap (1 square foot)
Iron
Brown parchment paper (2 sheets, slightly larger than the bubble wrap)
Neutral granite countertop or any heat-resistant surface
Directions
Place a sheet of brown parchment paper on the heat-resistant surface.
Lay the bubble wrap on top of the parchment paper, ensuring it is flat and even.
Cover the bubble wrap with the second sheet of parchment paper.
Set the iron to a medium heat setting, ensuring there is no steam.
Gently press the iron over the parchment paper, moving in circular motions to evenly melt the bubble wrap beneath.
Continue ironing until the bubble wrap has fused into a smooth, translucent sheet.
Allow the melted bubble wrap to cool before removing the parchment paper.
Variations & Tips
For a more colorful version, consider adding fabric dyes or paints to the bubble wrap before melting. You can also experiment with different sizes and shapes of bubble wrap to create varied textures and patterns. If you want an even more dramatic effect, try layering multiple sheets of melted bubble wrap for added depth and complexity. Remember to always work in a well-ventilated area to avoid inhaling any fumes from the melting process.