Creating textured outdoor planters using simple household items can transform your garden space with minimal effort and cost. By using crumpled aluminum foil and cement, you can fashion unique planters that add an artistic flair to your outdoor decor. This project is perfect for those who love DIY crafts and want to incorporate personalized touches into their garden. The surprising texture created by the foil impressions gives each planter a distinct character, making it a conversation starter for guests and a creative statement in your home garden.
Place these textured planters at the entrance to your garden for a welcoming look or on your patio to complement a rustic or industrial aesthetic. Pair them with vibrant green plants for a striking contrast against the muted gray cement. For a cohesive design, use planters of varying heights and sizes to create visual interest. Coordinate with other outdoor elements like metal furniture or stone pathways to enhance the overall look.
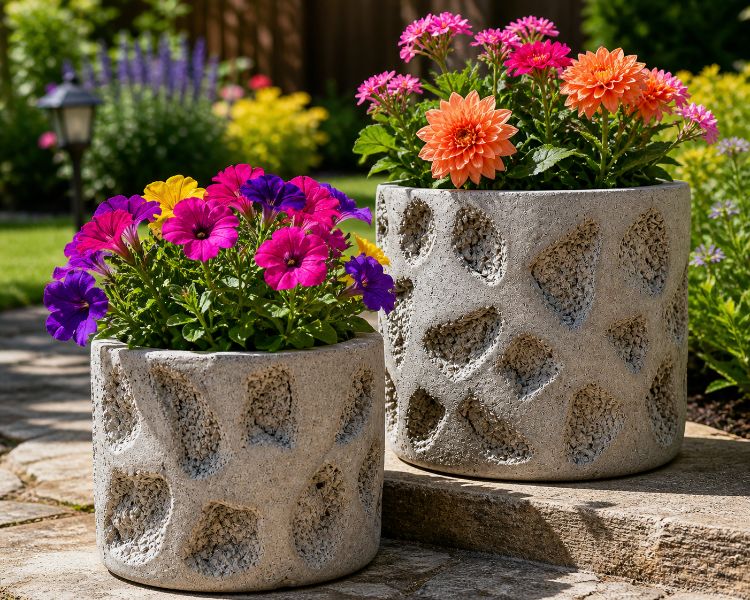
Textured Foil Impression Outdoor Planters
Materials
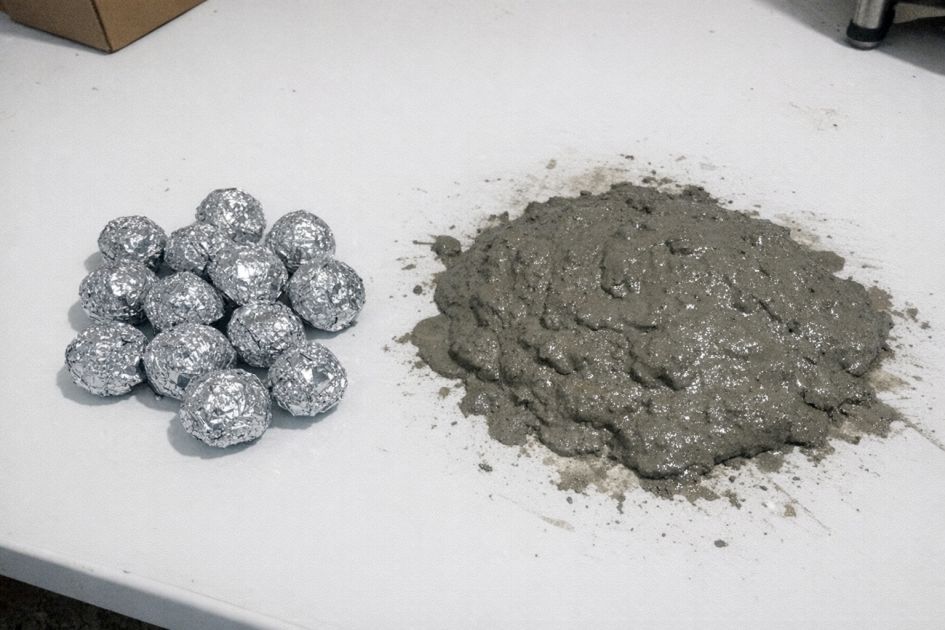
Aluminum foil (1 roll)
Quick-setting cement mix (1 bag)
Water (as needed for cement mix)
Shallow plastic containers (2, size dependent on desired planter size)
Plastic sheeting or tarp (to protect work area)
Directions
1. Prepare your workspace by laying down plastic sheeting or a tarp to catch any spills and protect surfaces.
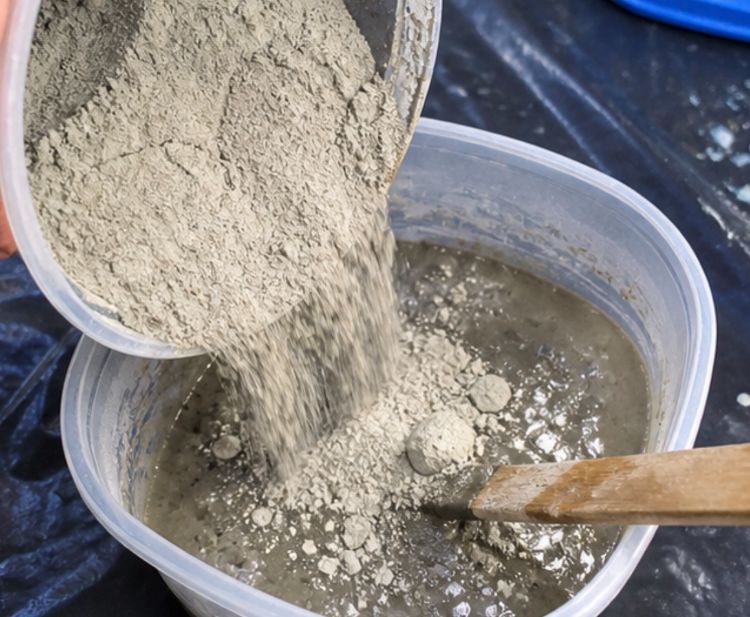
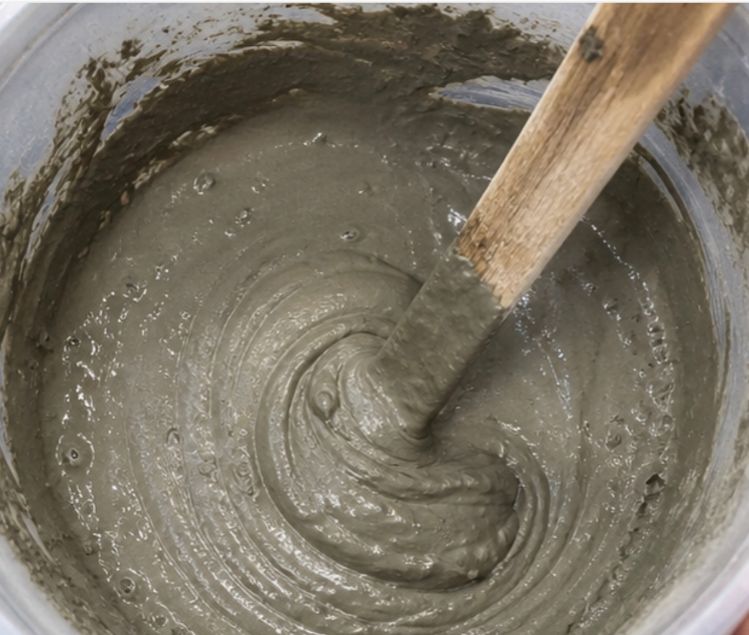
2. Mix the quick-setting cement with water in a large container according to the package instructions until a thick, smooth consistency is achieved.
3. Pour the wet cement into shallow plastic containers, filling them to your desired planter height.
4. Tear aluminum foil into pieces and ball them up into uneven, crumpled shapes of varying sizes.
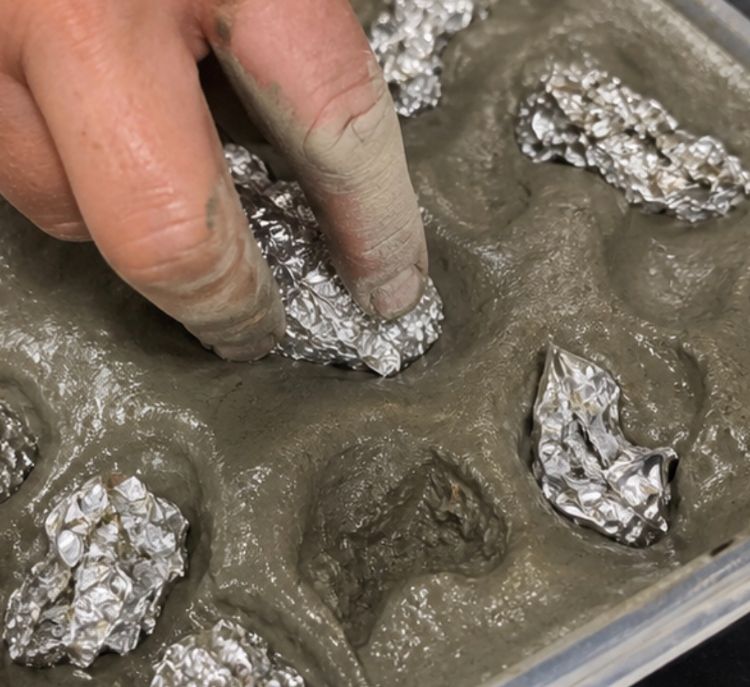
5. Gently press each foil ball into the surface of the wet cement, creating impressions and textures. Be creative with the placement to achieve a natural, organic look.
6. Allow the cement to set for several hours or overnight, following the curing time recommended on the cement mix package.
7. Once the cement has fully cured, carefully remove the molded planters from the plastic containers.
8. Brush off any loose cement particles and, if desired, seal the planters with a concrete sealant for added durability.
Variations & Tips
For a more colorful finish, consider adding concrete dye to the cement mix before pouring it into the containers. This will give your planters a personalized hue, allowing them to better match your garden's color scheme. Alternatively, experiment with different shapes of containers to create planters with varied forms, such as square or oval. Incorporating other texturing materials, like small stones or shells, alongside the foil can also add additional visual interest and uniqueness to each piece.