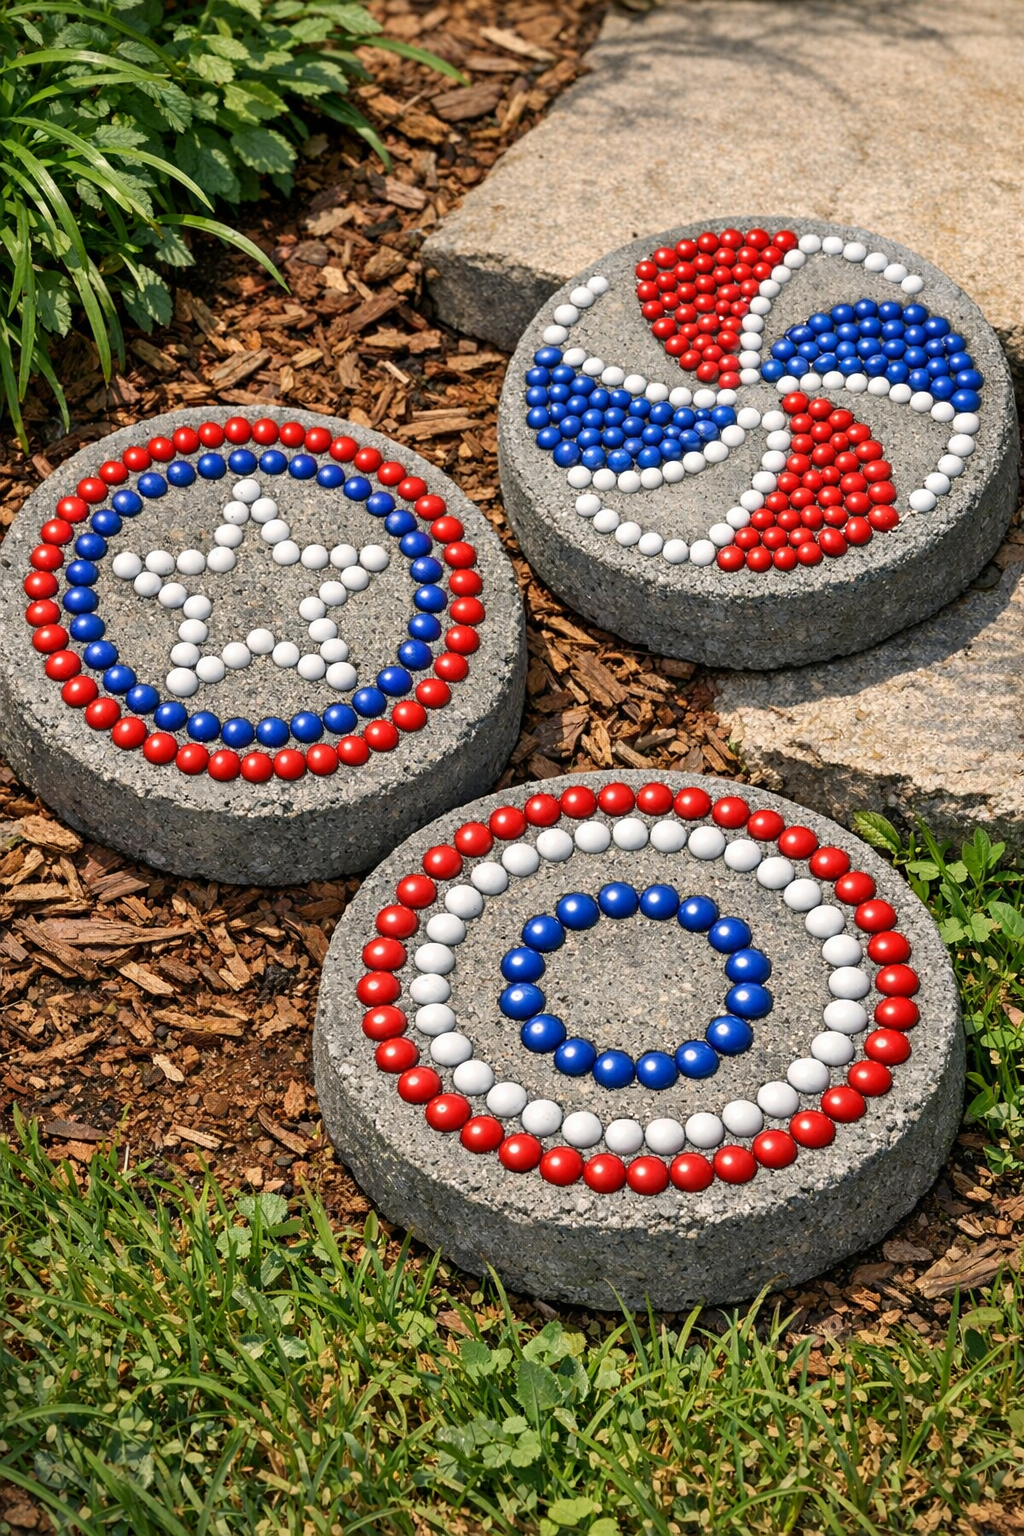
These dotted yard slabs are one of those inexpensive little projects that look surprisingly cheerful once they’re finished. I’m using red, white, and blue plastic party beads pressed into wet cement to make sturdy decorative stepping-style slabs that add a fun pop of color to a flower bed, walkway edge, or little sitting area in the yard.
I love projects like this because they don’t ask for fancy tools or a big budget, and they’re simple enough for a relaxed weekend afternoon. If you enjoy easy outdoor DIY with a crafty twist, this is a lovely one to try, especially if you want something that feels festive and handmade without being fussy.
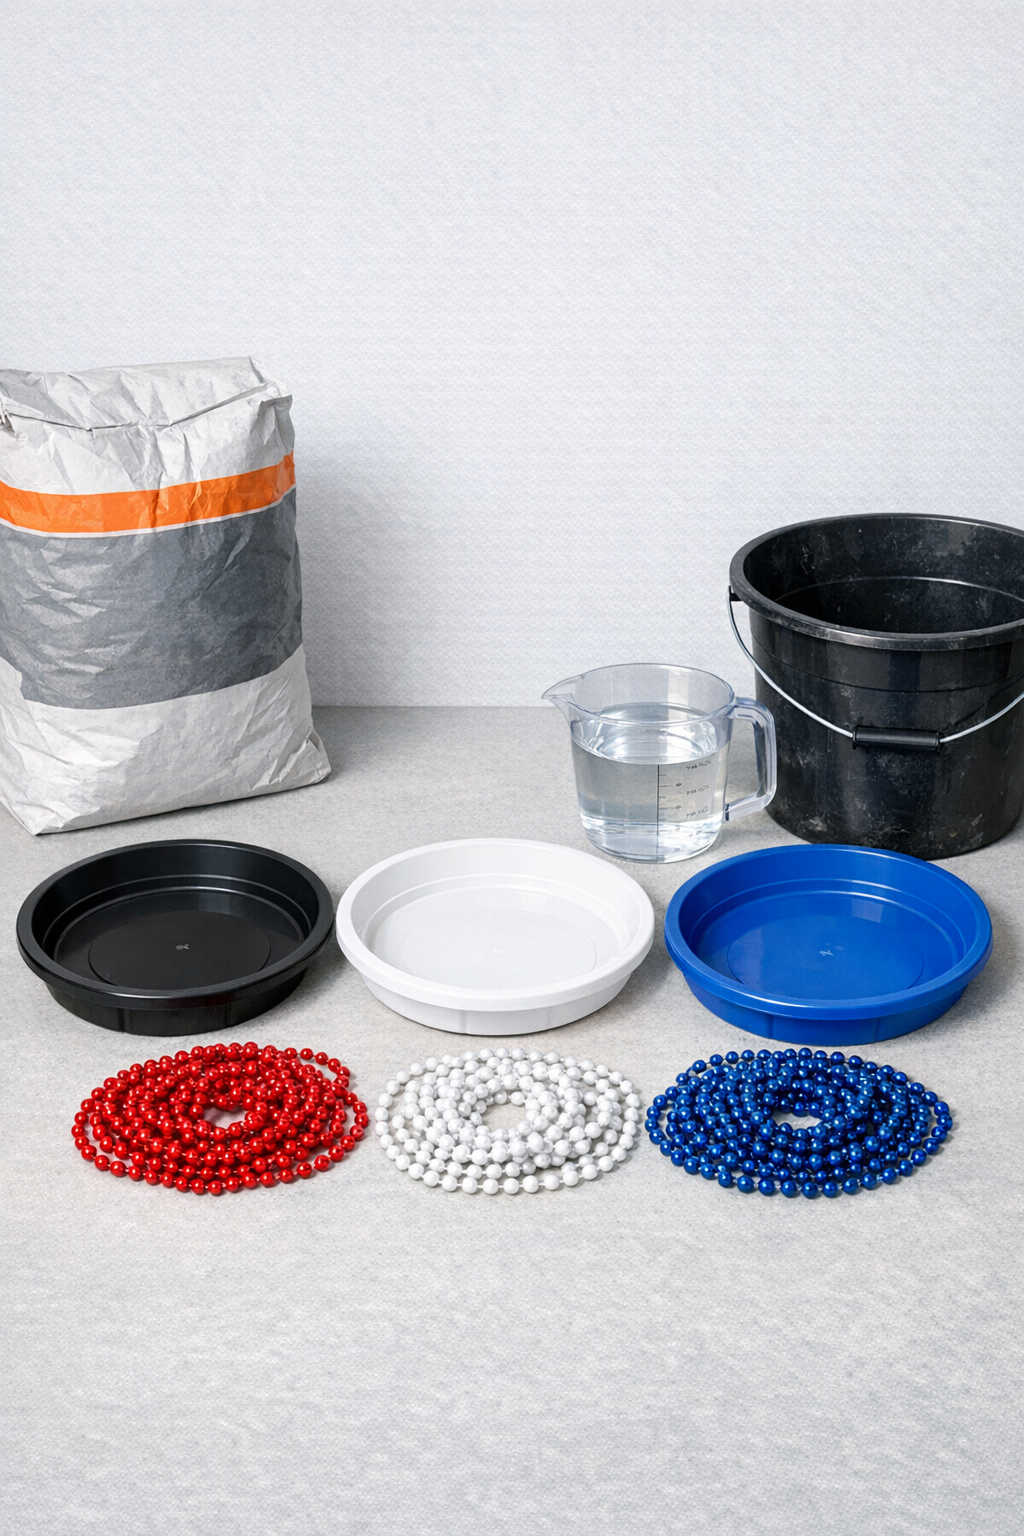
Materials
1 bag quick-setting cement mix, 20 pounds
Instructions
1. Set your plant saucers on a flat protected surface outdoors or in a well-ventilated work area, and lightly coat the inside of each saucer with cooking oil so the cement releases more easily later.
2. Pour the cement mix into a bucket, then add water a little at a time and stir until it reaches a thick brownie-batter consistency that holds its shape without being dry or crumbly.
3. Divide the wet cement evenly among the three saucers, filling each one to about 1 1/2 inches deep, then tap the saucers firmly on the table or ground a few times to release air bubbles.
4. Smooth the tops with a scrap piece of cardboard, a craft stick, or a small trowel, keeping the surface fairly even but not overworking it.
5. Cut or separate the party bead strands into shorter lengths if needed, then gently press the beads into the wet cement in dotted rows, scattered polka dots, or simple ring patterns, leaving about half of each bead exposed.
6. Check that the beads are embedded securely and press any loose ones down slightly so they won’t pop out after the cement begins to set.
7. Let the slabs cure undisturbed for 24 to 48 hours, depending on the cement mix and weather, until they are fully firm and cool no longer feel damp on the surface.
8. Flex the plastic saucers gently to release the slabs, then place the finished pieces in their final yard spot and avoid heavy foot traffic for several more days while they continue hardening.
Variations & Tips
For a cleaner pattern: Lay the bead strands over the mold before you start pressing so you can see the spacing first, then press them in once you like the arrangement.
For picky decorators: If your family prefers a less patriotic look, use only one color per slab or make simple concentric circles for a tidier, more classic finish.
For better durability: Keep the beads away from the very outer edge of the slab so the rim stays solid and less likely to chip when moved.
For easier placement: These are best used as decorative yard accents or light stepping stones near beds and borders rather than in a high-traffic path.
My favorite practical tip: Make an extra slab if you have enough mix, because once friends see them in the garden, somebody always seems to want one.