I love a project that turns something headed for the recycling bin into something cheerful and useful, and these red, white, and blue patio tiles absolutely do that. By baking chopped plastic pill bottles with plain sand as the second material, you can create sturdy, colorful tiles that work beautifully as decorative accents for a patio, garden path, or potted-plant stand.
As someone who is usually squeezing projects into a busy weeknight or a Saturday morning before errands, I really appreciate that this one uses simple supplies and straightforward steps. If you enjoy upcycling, bold Americana color palettes, or just want a conversation-starting outdoor project, this is a fun one to try.
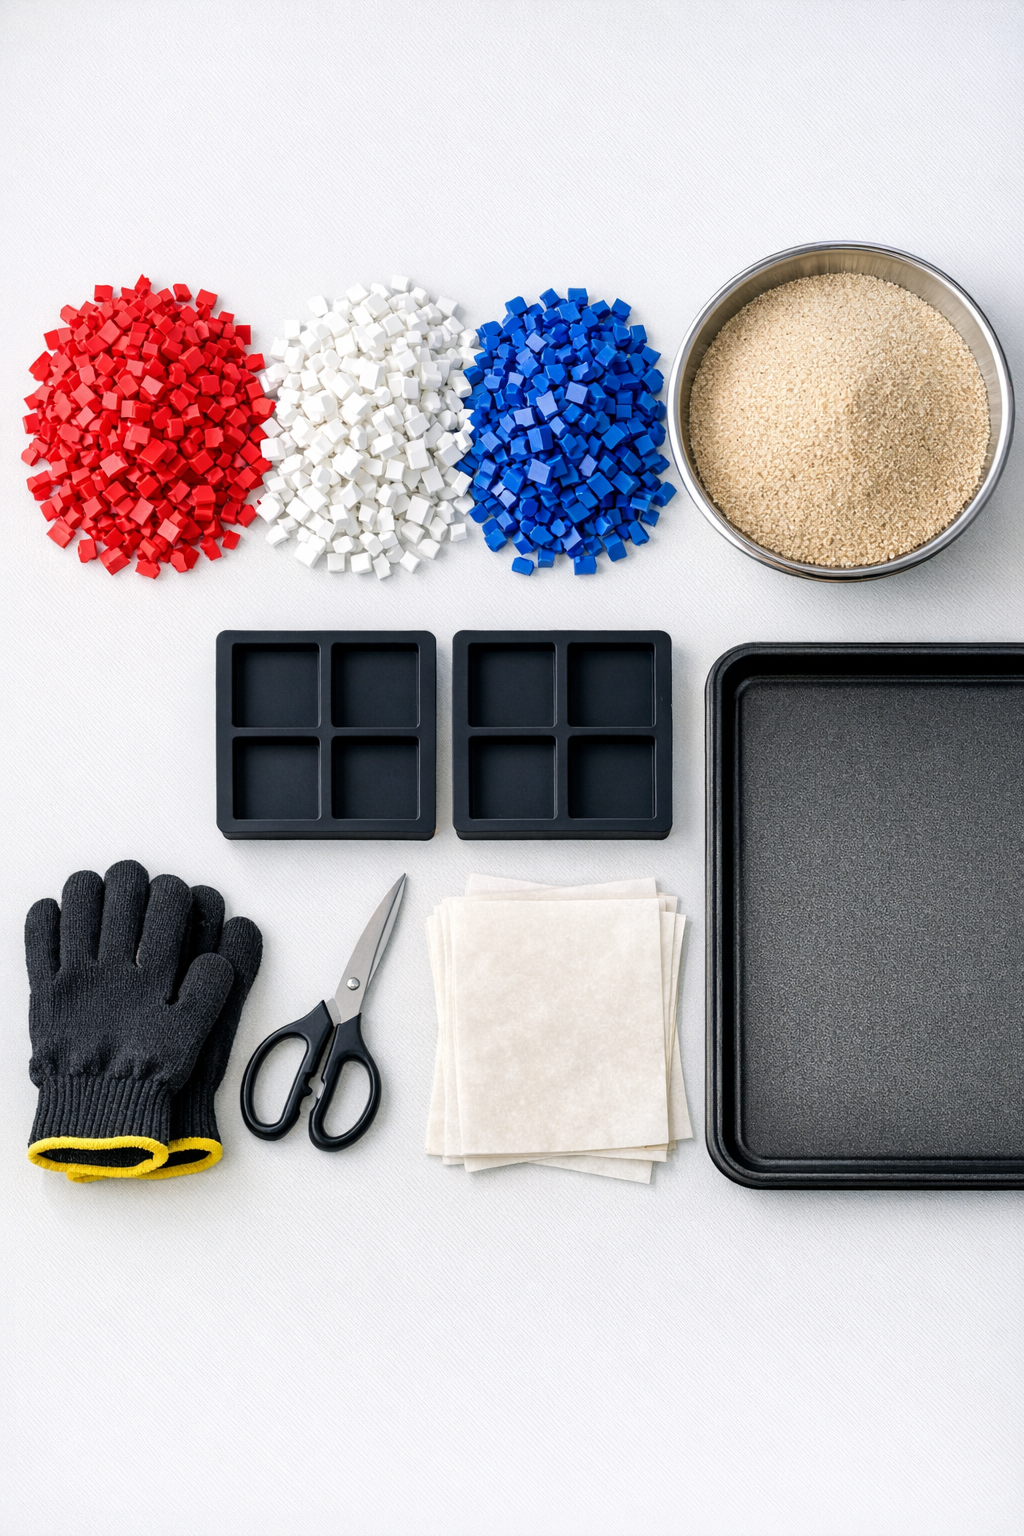
Materials
Instructions
1. Wash the pill bottles thoroughly, remove any paper labels and adhesive, and let them dry completely so the plastic melts evenly instead of steaming.
2. Cut the bottles into small pieces about 1/4 to 1/2 inch wide, keeping the red, white, and blue pieces mixed together for a speckled tile effect.
3. Put on a dust mask and fill a mixing bowl with the chopped plastic and sand, using about 2 cups of sand for every 6 to 7 bottles’ worth of plastic pieces.
4. Stir the mixture until the plastic pieces are evenly distributed through the sand, which helps the tiles hold their shape and adds weight for outdoor use.
5. Line the baking tray with parchment paper, set the silicone molds on top, and preheat the oven to 375°F.
6. Spoon the sand-and-plastic mixture into each mold, filling each one to about 3/4 inch thick, then tap the molds gently on the counter to settle the contents.
7. Bake for 20 to 30 minutes, watching closely after the 20-minute mark, until the plastic softens and begins binding the sand without scorching.
8. Carefully remove the tray and press the surface of each hot tile firmly with a wood block or flat metal spatula while wearing heat-safe gloves to compact the mixture.
9. Return the tray to the oven for 10 more minutes so the compacted surface fuses together more completely.
10. Remove the molds from the oven and let the tiles cool completely for at least 1 hour before unmolding, because moving them too soon can cause cracking.
11. Peel the silicone molds away gently, then brush off any loose sand and trim any sharp plastic edges with scissors or a utility knife.
12. Place the finished tiles on a patio, along a short garden path, or under planters, making sure they sit on a flat surface with good drainage.

Variations & Tips
Use one mold first: If this is your first time melting plastic for a project like this, make a single test tile before filling all the molds so you can check bake time and thickness.
Keep the plastic type consistent: Try to use pill bottles with similar plastic feel and thickness so they soften at a similar rate; mixed plastics can melt unevenly.
Work with ventilation: I always open windows and run a fan when doing a heat-based upcycling project like this, because good airflow makes the whole process more comfortable.
Make smaller accent pavers: You can use mini silicone molds to create coaster-sized plant risers or stepping accents if you do not need full 6-inch tiles.
Add more white for contrast: If your mix looks too dark before baking, toss in extra white plastic pieces to brighten the finished tile and make the red and blue stand out more.
Best placement: These work best as decorative patio tiles or planter bases rather than structural walkways, especially in freeze-thaw climates where handmade pieces can wear faster.