If your patio chairs scoot every time someone sits down, or your outdoor table sounds like it is scraping across the deck, this little project is such a satisfying fix. I love practical DIYs like this because they use simple supplies, take very little time, and make everyday family life just a bit smoother. In this case, we are turning colorful rubber sink stoppers into tough, non-slip grips for outdoor furniture feet.
This is a great project for anyone with metal, resin, or lightweight wooden outdoor furniture that tends to slide on concrete, pavers, painted porches, or deck boards. The boiling step softens the rubber so it is easier to shape and fit, and the finished grips help protect both your furniture and your outdoor surfaces. It is also one of those budget-friendly fixes I appreciate as a parent, because it keeps the backyard setup safer when kids and guests are moving chairs around all day.
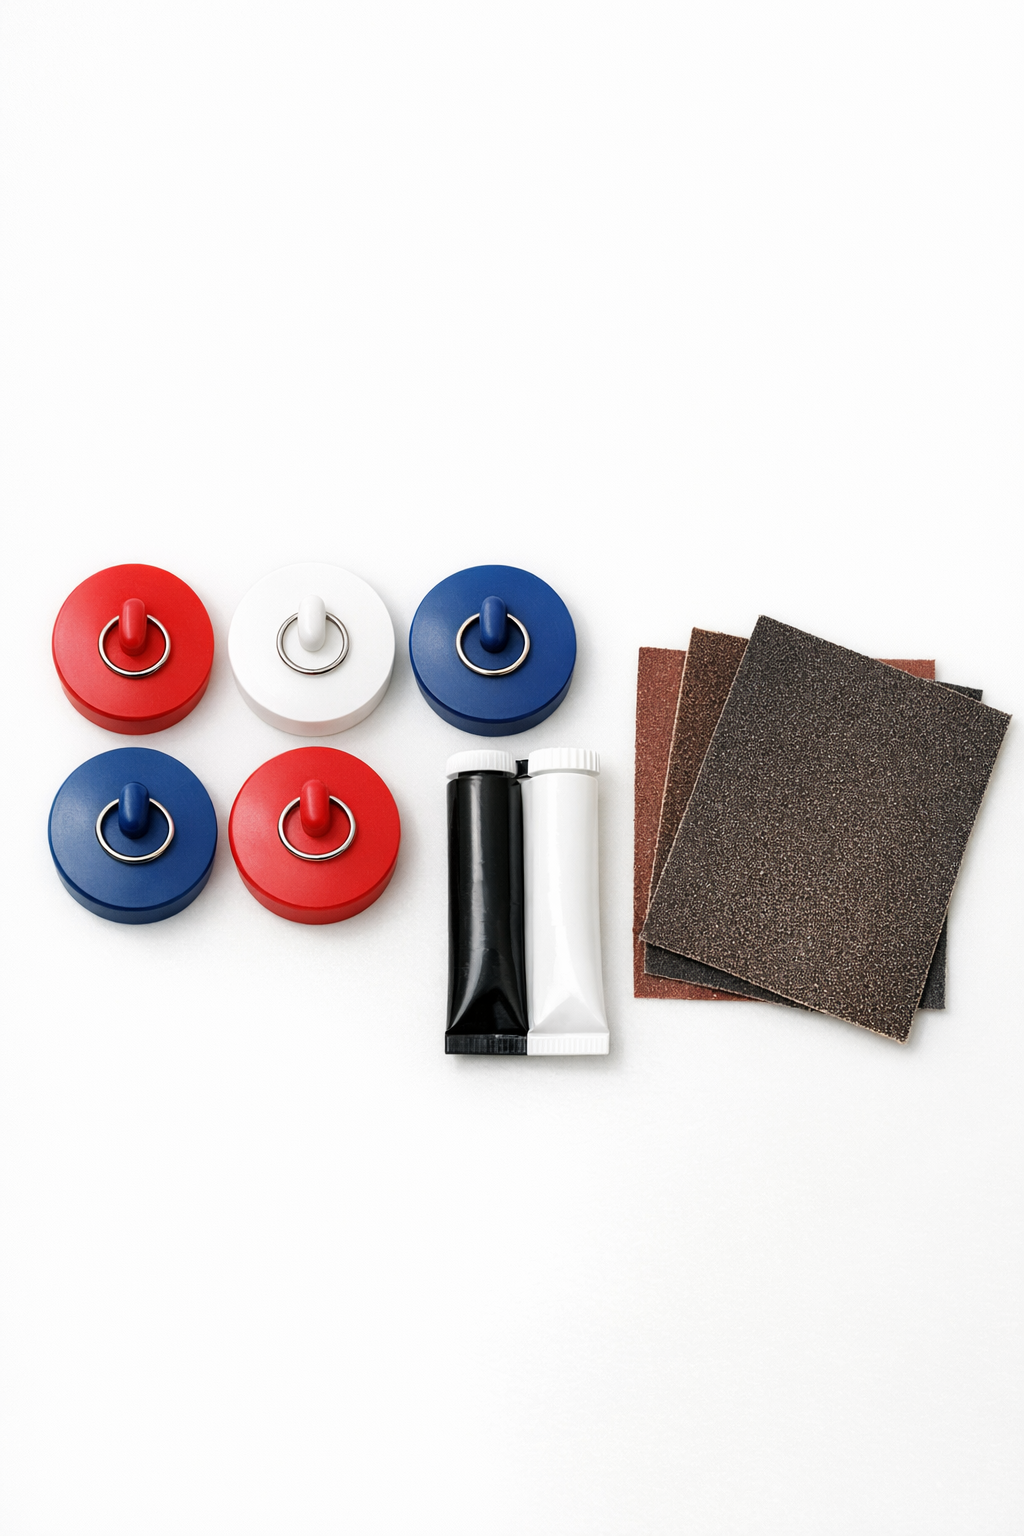
Materials
Instructions
1. Measure the bottom of each furniture leg and choose sink stoppers that are slightly wider than the leg opening or foot pad. A snug fit works best, so do a dry test before heating anything.
2. Sand the inside top surface of each sink stopper with 80-grit sandpaper until it looks dull. Lightly sand the bottom of each furniture leg too, so the epoxy has something to grip.
3. Bring the pot of water to a gentle boil, then add the sink stoppers for 2 to 3 minutes until the rubber softens. Watch them closely and do not leave them in long enough to deform completely.
4. Remove one stopper at a time with tongs, shake off excess water, and press it onto the furniture leg while the rubber is still warm. If the leg is hollow, push the stopper in firmly; if the leg is flat-bottomed, center it and press to shape.
5. Hold the stopper in place for 20 to 30 seconds so the rubber starts molding to the leg. If needed, dip your fingers in cold water first to make handling the warm rubber more comfortable.
6. Pull the stopper back off once you have the shape, then let it cool in the bowl of cold water for 1 minute. This helps it keep the custom fit you just made.
7. Mix the two-part waterproof epoxy according to the package directions. Spread a thin, even layer inside the molded stopper or on the furniture leg end.
8. Press the stopper back onto the leg and twist slightly to spread the adhesive. Wipe away any squeeze-out right away and repeat with the remaining legs.
9. Set the furniture upside down or on its side and let the epoxy cure fully, usually 12 to 24 hours. Do not drag or test the piece before the adhesive has hardened.
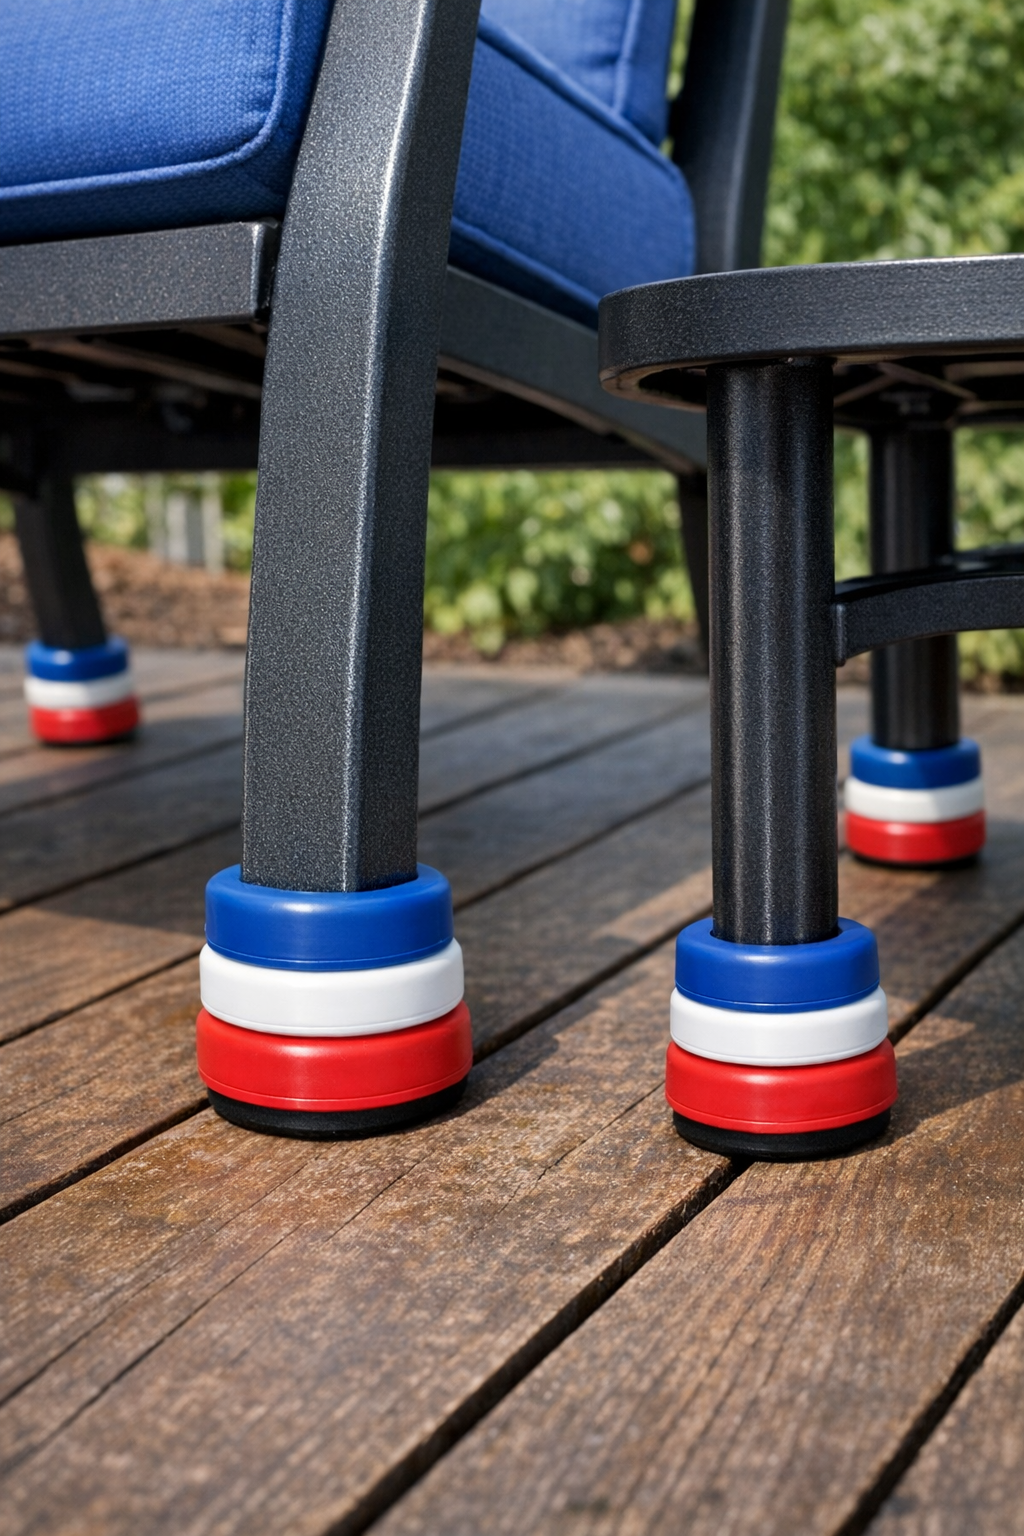
10. Once cured, stand the furniture upright and check for wobble or sliding. If one grip sits a little high, sand the bottom lightly until all the legs rest evenly.
Variations & Tips
For picky perfectionists: If mixed colors feel too playful for your space, use all one color of stopper for a cleaner look. I think the red, white, and blue version is fun for summer patios, but matching neutrals blend in beautifully too.
For extra slick surfaces: Lightly rough up the bottom of each stopper with sandpaper after curing. That little bit of texture can help even more on smooth painted concrete or composite decking.
For hollow metal legs: Choose stoppers with a tapered shape that can wedge into the opening as well as cover the bottom. That mechanical fit plus epoxy makes them especially durable.
For wooden furniture: Make sure the wood is dry and clean before gluing the grips in place. If the leg ends are rough, sand them flat first so the stopper sits evenly.
Make it last longer: Check the grips at the start of each outdoor season for cracks or loosening. In my experience, a quick touch-up now saves you from a bigger repair once everyone is back outside for cookouts and family dinners.