If you want a patio to feel a little cozier without taking on a huge weekend build, this woven privacy screen is one of my favorite kinds of projects. You’re taking simple metal grid panels and weaving artificial boxwood mats right through them to create a green wall that gives privacy, softens the space, and makes the whole patio feel finished in a surprisingly dramatic way.
I especially love this project for busy families because it looks high-end but comes together with straightforward supplies and very little specialized skill. If you can line things up, trim a panel, and secure it neatly, you can absolutely make this work, and the end result gives you a pretty backdrop for outdoor dinners, playtime, or just a quiet cup of coffee.
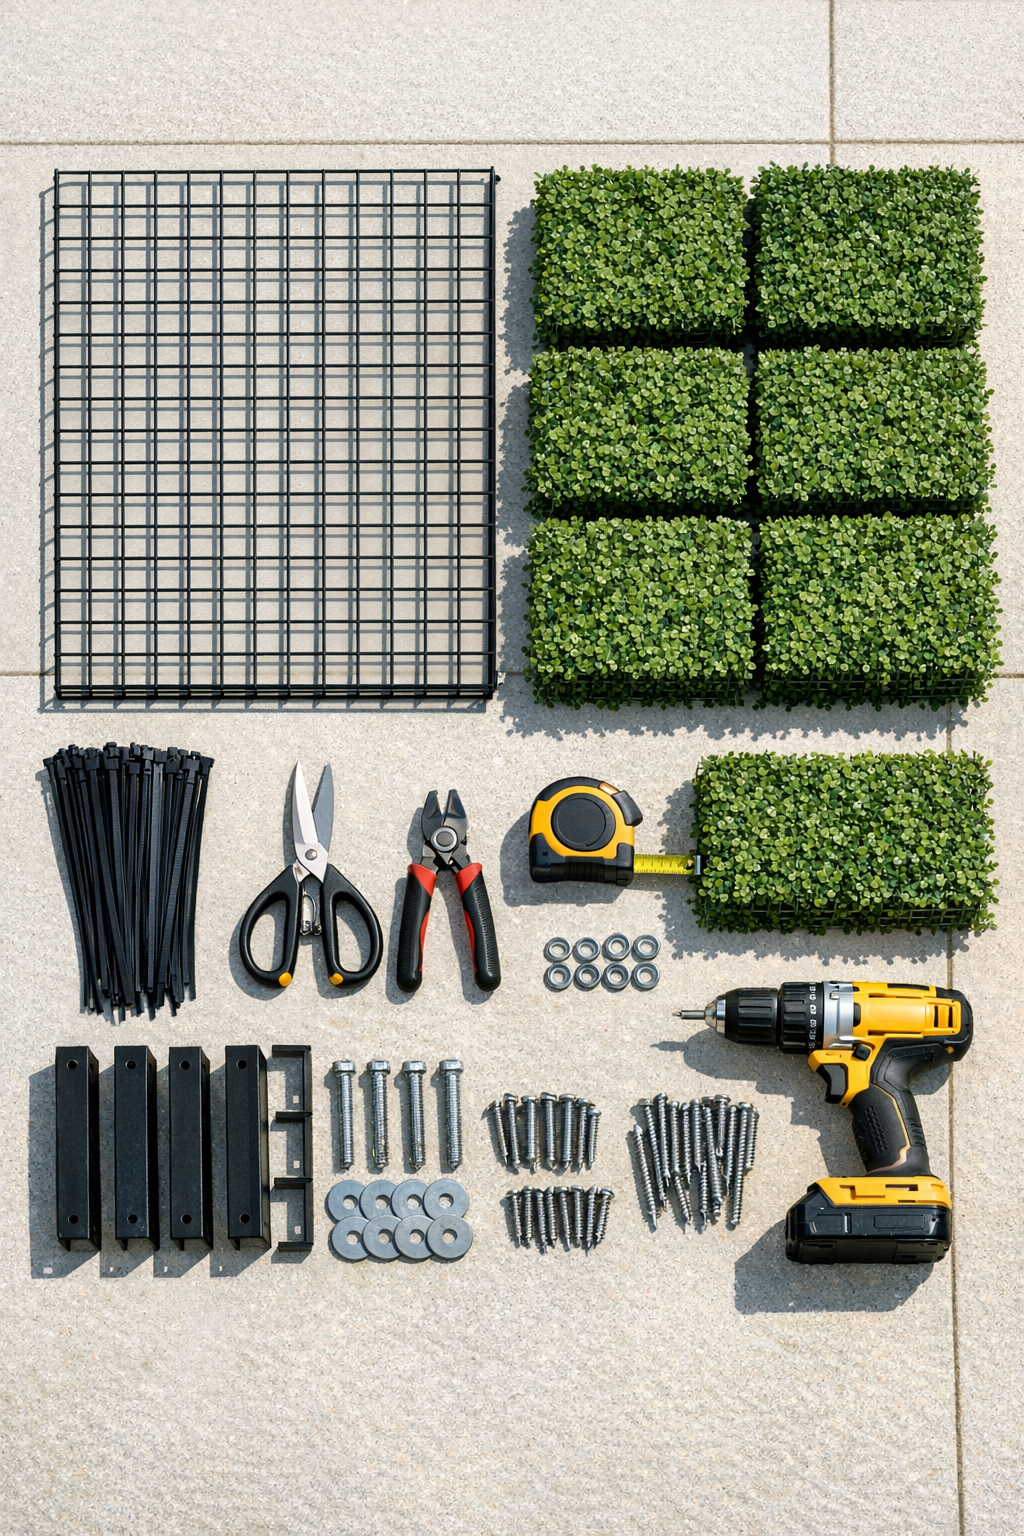
Materials
Instructions
1. Measure the area where you want the privacy screen and decide the finished width and height before buying anything. I like to mark the footprint on the patio first so I can picture how much seating space I’m keeping.
2. Install your posts or confirm your existing wall, railing, or frame is solid enough to hold the panels without wobbling. Use a level as you go, because a screen that leans even a little will be much more noticeable once the greenery is attached.
3. Hold the first metal grid panel in place and attach it to the posts or mounting surface with screws and washers or the proper brackets. Repeat with the second panel, keeping the top edges aligned and the gap between panels as tight and even as possible.
4. Test-fit the boxwood mats against the grid before fastening them so you can plan the weave pattern and seam placement. If needed, trim edge mats with heavy-duty scissors to match the exact height or width of your screen.
5. Start at one top corner and weave the first boxwood mat through the metal grid so some sections sit in front of the panel and some tuck slightly through it. This woven placement helps the screen look fuller and more custom than simply tying the mats flat to the front.
6. Secure the first mat with zip ties at each corner and then every 6 to 8 inches along the edges. Pull each tie snug enough to hold the mat firmly, but not so tight that it crushes the plastic backing.
7. Add the next mat beside or below the first, overlapping the greenery slightly so you don’t see obvious seams. Connect the plastic backings to each other with zip ties or short pieces of garden wire for a tighter, more seamless look.
8. Continue weaving and fastening the remaining mats across the full panel, checking every couple of rows that coverage stays even. If you spot a thin area, tuck in extra clippings from trimmed pieces and wire them into the backing.
9. Trim all zip tie tails flush with wire cutters and gently fluff the greenery with your hands to hide the plastic grid backing. If any cut metal or hardware shows more than you like, touch it up with black exterior spray paint and let it dry.
10. Step back from several angles and add a few extra ties anywhere the screen shifts or lifts in the breeze. Once it feels secure and looks full, style the patio with seating or string lights and enjoy your new private little outdoor room.

Variations & Tips
For more privacy: Use a second layer of boxwood mats in staggered sections on the most exposed side. This is especially helpful if your patio faces a close neighbor or a busy street.
For a softer look: Mix in faux eucalyptus or ivy garlands through a few sections of the grid. I think this makes the screen feel a little less formal and more welcoming for family gatherings.
For renters: Mount the grid panels to freestanding planter boxes or a weighted frame instead of drilling into existing structures. That way you can take the whole screen with you later.
For windy areas: Add more zip ties than you think you need, especially around the perimeter and the center of each mat. A little extra fastening now saves you from chasing loose greenery after the first storm.
Budget tip: If you only need coverage in one sightline, build a narrower panel instead of screening the whole patio. Even one well-placed section can make dinner outside feel much more intimate.
Kid- and pet-friendly tip: Keep trimmed plastic bits and zip tie ends picked up as you work. I always do one quick sweep at the end, because those tiny scraps have a way of traveling right where little feet or paws will find them.