If your car doors always seem to end up a little too close to the garage wall, this simple pool noodle project is one of those fixes that feels almost too easy once you see it finished. I love a practical DIY that solves a daily annoyance without sending me to the hardware store for a cart full of supplies, and these heavy-duty bumper guards do exactly that.
This is a great project for busy families, new drivers, or anyone parking in a tight garage. By slicing pool noodles and attaching them to the wall with two common household items, you can make a soft, visible cushion that helps protect car doors from dings and scrapes. It is quick, inexpensive, and easy enough to tackle in an afternoon.
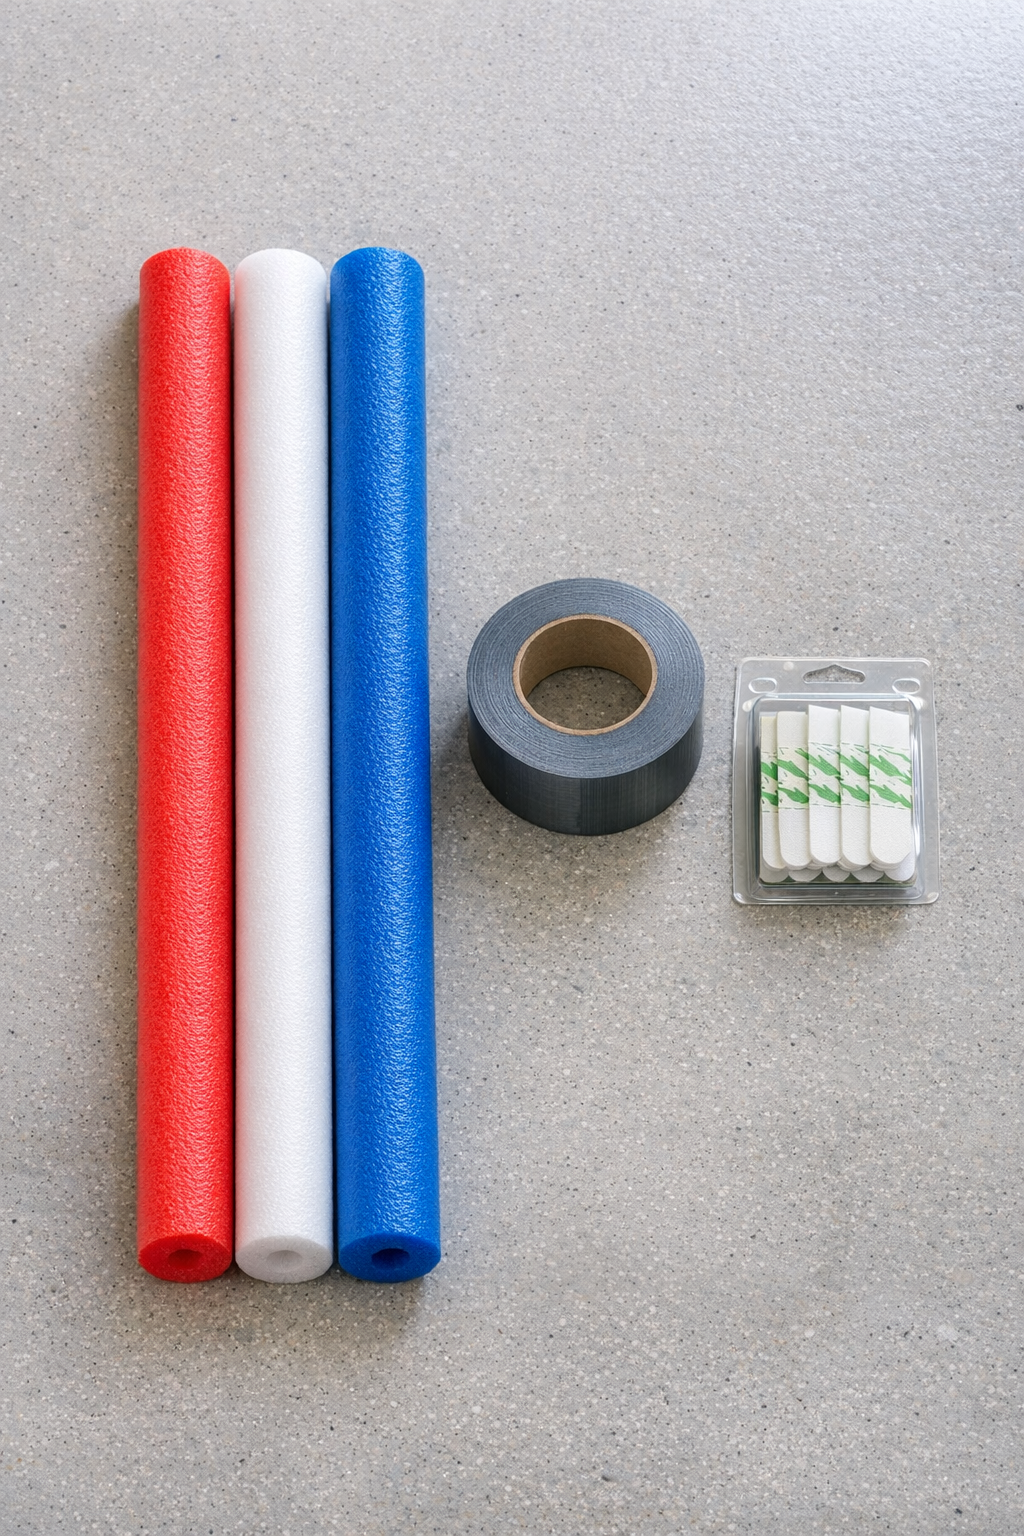
Materials
1 red pool noodle, 55 inches long x 2.5 inches diameter
Instructions
1. Park your car in its usual spot and open the door slowly to find the exact place where the edge of the door comes closest to the garage wall. Mark that height and length on the wall with a light pencil line so your guard lands in the right spot.
2. Slice each pool noodle lengthwise down one side so it can open slightly and sit flatter against the wall. If you want a wider bumper area, cut the noodles into halves or thirds lengthwise and keep the deepest curved sections.
3. Arrange the red, white, and blue noodle pieces side by side in the order you like, keeping the lengths even. Press the edges together and run long strips of duct tape along the front and back seams to create one thicker bumper panel.
4. Flip the panel over and place the adhesive mounting strips evenly along the back, spacing them about every 8 to 10 inches. Add extra strips near both ends and in the center so the guard stays firmly in place.
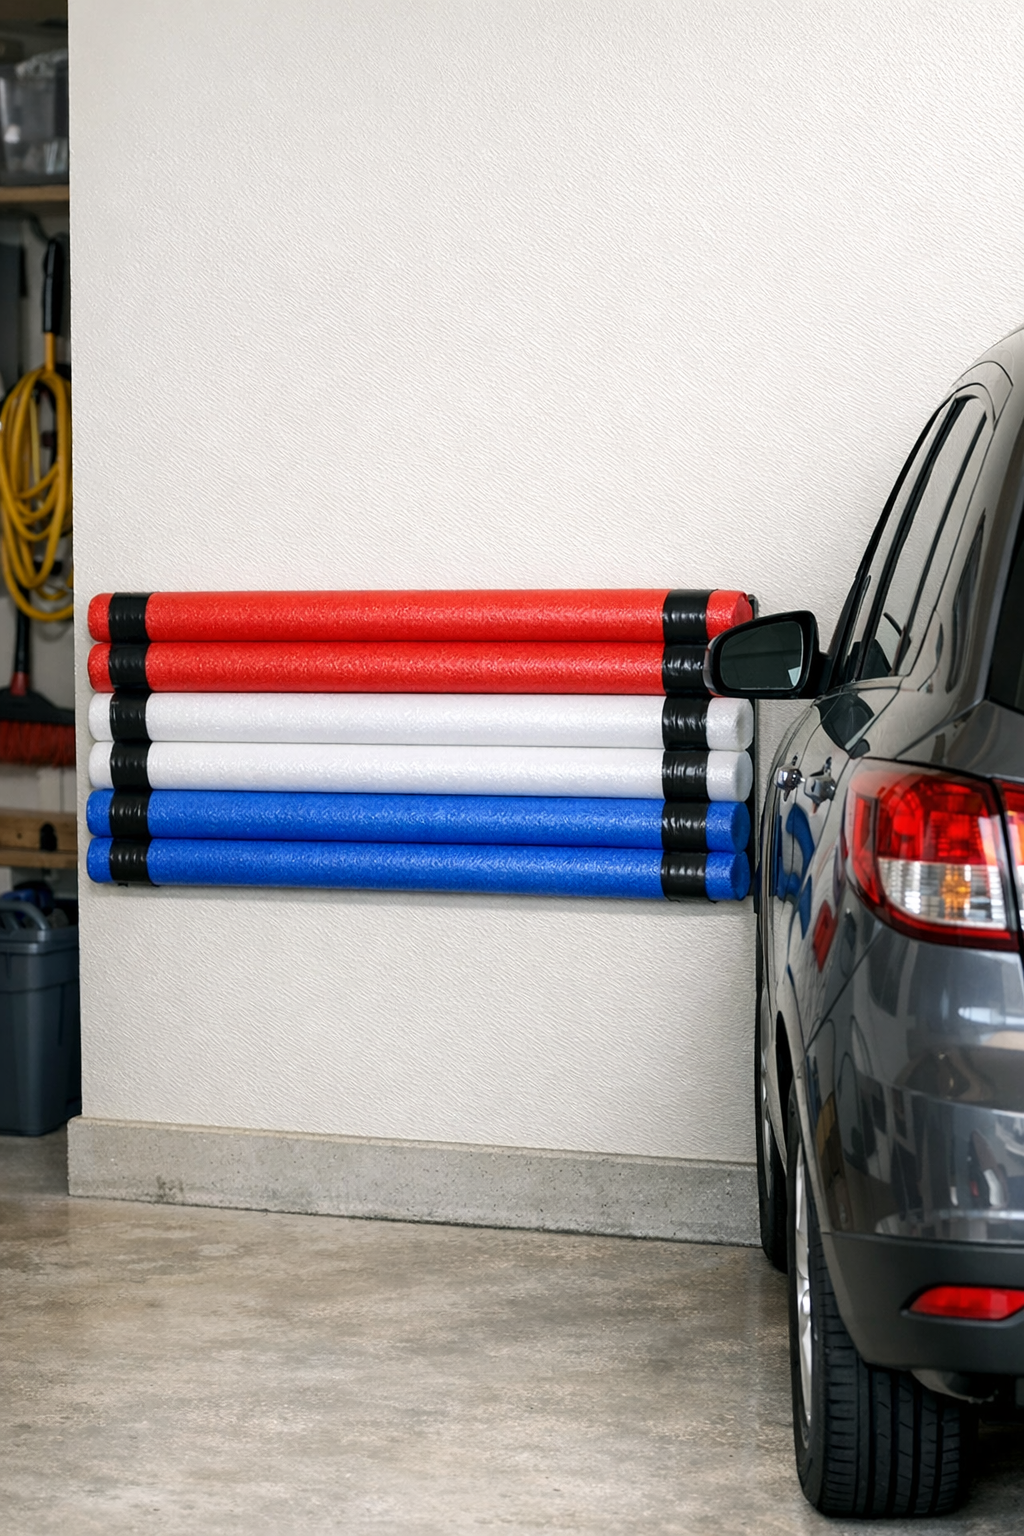
5. Clean and dry the marked section of the garage wall so the adhesive sticks well. Line up the bumper guard with your pencil marks, then press it firmly against the wall for 30 to 60 seconds along the full length.
6. Test the placement by opening the car door gently until it touches the noodle guard. If needed, reposition right away or add a second row below the first using leftover noodle sections for extra protection on lower door panels.
Variations & Tips
For larger vehicles: If you drive an SUV or truck, make two long bumper panels and mount them at two different heights so both the doors and lower body panels have protection.
For extra hold: If your garage gets hot or humid, wrap a few extra bands of duct tape around the full panel before mounting it. That helps the noodles act like one solid cushion instead of shifting apart over time.
For picky parkers: In my house, everybody seems to park a tiny bit differently, so I like to test the wall guard with every vehicle before calling it done. A few extra minutes here can save a lot of door-edge frustration later.
For rental-friendly installation: Use removable heavy-duty mounting strips if you do not want a permanent setup. They are a nice choice when you need protection but also want the option to take everything down cleanly.
For a cleaner finish: Match your duct tape color to the garage wall or cover the front seams with white tape for a tidier look. It is a small touch, but it makes the project feel more intentional and less makeshift.
For more coverage: Cut shorter sections and stack them vertically if your car door swings into different spots depending on who is getting out. This works especially well for families with kids who tend to open doors a little wider.