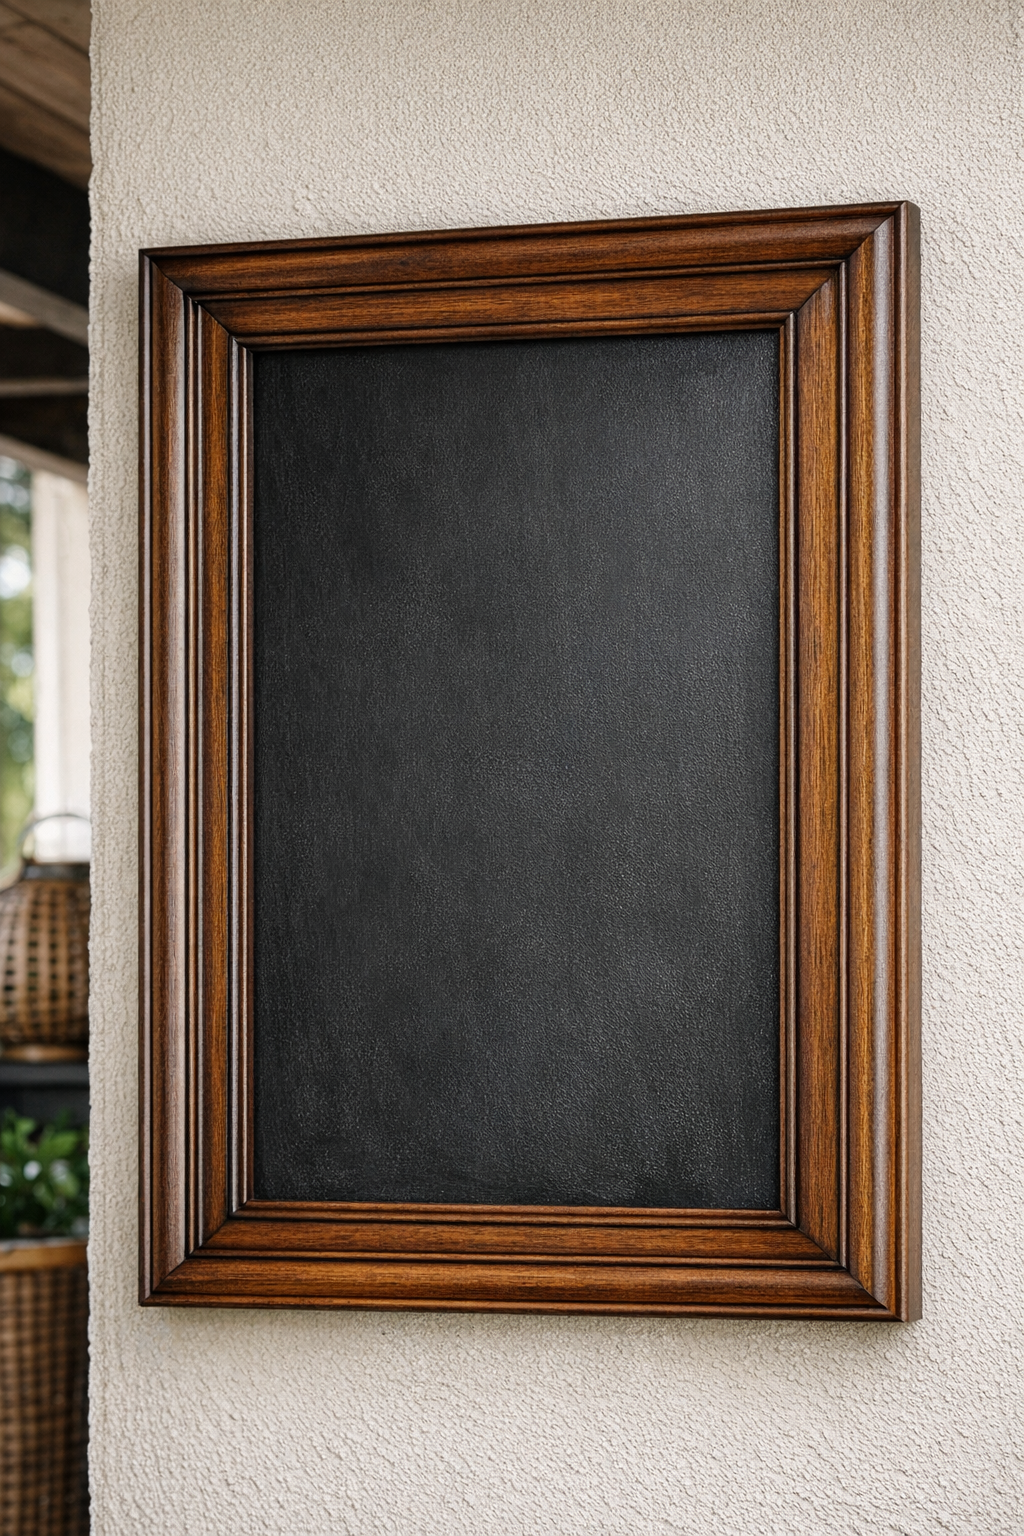
I’ve always had a soft spot for old cabinet doors. Out here in the country, it seems there’s always one leaning in a shed corner or tucked behind a workbench, just waiting for a second life. This outdoor chalkboard is one of my favorite ways to use one up. With a salvaged wooden cabinet door, a little sanding, and a few coats of chalkboard paint, you can make a handsome message board that feels right at home on a patio, porch, or garden wall.
This is a good project for anyone who enjoys practical decorating without spending much money. I especially love it for outdoor gatherings, where it can hold a welcome message, the day’s menu, or a little note for the grandkids. The decorative trim on an old cabinet door gives it charm you just can’t buy new, and the work itself is simple enough for a relaxed afternoon.
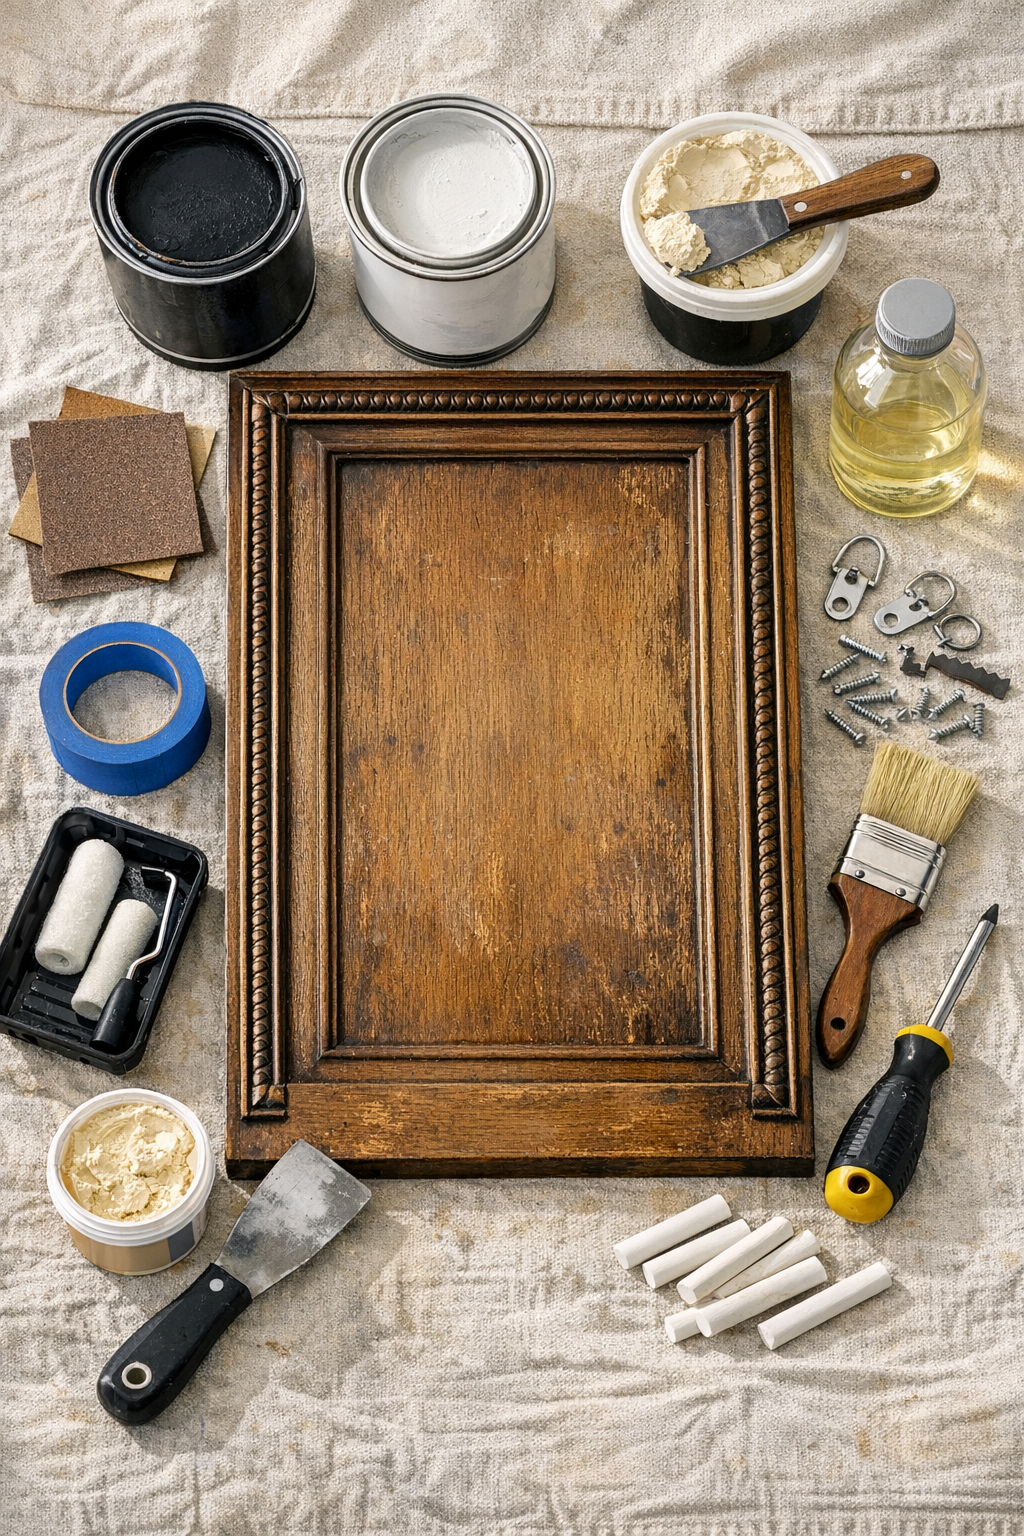
Materials
Instructions
1. Set the cabinet door on a drop cloth and remove any hinges, handles, or magnetic catches so you have a clean working surface.
2. Wash the door with warm water and mild soap, then let it dry completely so paint and primer will stick properly.
3. Fill old hardware holes, chips, or dents with wood filler using the putty knife, and let it dry according to the package directions.
4. Sand the entire door with 120-grit sandpaper to remove loose finish and smooth the filler, then wipe away all dust with a soft cloth.
5. Sand again lightly with 220-grit sandpaper, especially over the center panel where the chalkboard surface will go, and wipe it clean.
6. Use painter’s tape to mask off any decorative trim or outer frame areas you want to keep unpainted, leaving the main flat panel exposed.
7. Brush primer into corners and along trim edges, then roll a thin, even coat of primer onto the exposed panel and any frame areas that will be painted.
8. Let the primer dry fully, then sand very lightly with 220-grit sandpaper and wipe away the dust for a smoother chalkboard finish.
9. Apply the first coat of chalkboard paint with the angled brush around edges and the foam roller across the flat panel, rolling in one direction for an even surface.
10. Allow the first coat to dry, then apply a second coat the same way; add a third coat if the surface still looks streaky or thin.
11. Carefully remove the painter’s tape while the final coat is just barely set, then let the door cure fully for the time recommended on the paint can.
12. Brush clear exterior sealer onto the decorative trim, outer frame, top, bottom, and back of the door, but do not seal the chalkboard writing surface.
13. Attach the D-ring hangers to the back near the top corners, twist on the hanging wire, and press rubber bumpers onto the lower back corners.
14. Season the chalkboard by rubbing the side of a piece of chalk over the entire surface and wiping it clean, then hang it in a covered patio spot and start writing.
Variations & Tips
Natural wood frame: If your cabinet door has pretty grain or carved trim, leave the outer frame unpainted and seal it for a warm, rustic look.
Full painted finish: For a more uniform style, paint the entire front of the door and use the center panel as the writing area without exposing any wood.
Outdoor placement: This chalkboard will last longer if you hang it on a covered patio or porch rather than in direct rain and full sun all season long.
Smoother writing surface: Thin coats and light sanding between primer and paint make a big difference. I’ve learned over the years that rushing the finish only gives you more work later.
Color choices: Chalkboard paint now comes in more than black, so deep green or charcoal can be lovely if you want a softer look that still feels old-fashioned.
Using salvaged doors: Check that the cabinet door is solid wood or a sturdy wood composite with a flat center panel. Very warped doors are harder to paint evenly and hang straight.
Care and cleaning: Wipe the board with a barely damp cloth and let it dry before writing again. If it starts to ghost, re-seasoning it with chalk usually freshens it right up.