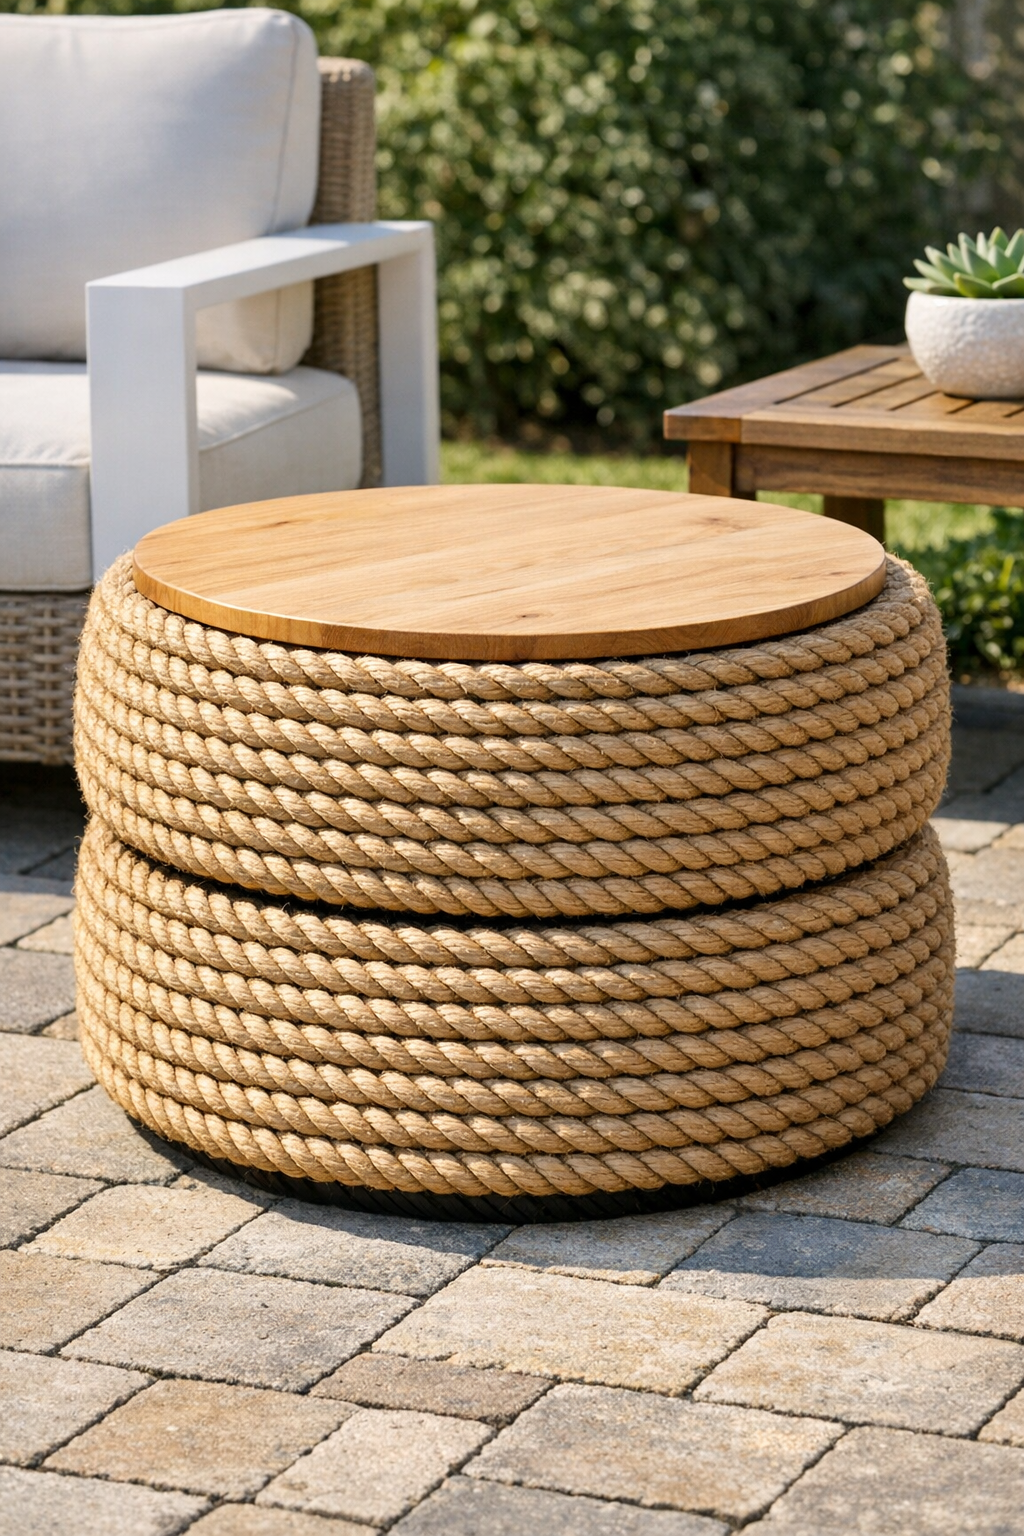
I love a project that turns humble, hard-wearing materials into something you’d actually be proud to keep on the patio, and this outdoor ottoman does exactly that. By stacking old rubber tires, wrapping them in thick nautical rope, and topping the piece with a plywood lid, you get a sturdy backyard seat or footrest with a polished, coastal look. It’s one of those builds that feels clever and practical at the same time, which is my favorite kind.
This is a great project for anyone who wants budget-friendly outdoor furniture and doesn’t mind a little hands-on assembly. The rope softens the industrial look of the tires, while the plywood top gives the ottoman structure and function. I especially like that the finished piece can work as extra seating, a side table with a tray, or simply a place to put your feet up after a long summer evening outside.
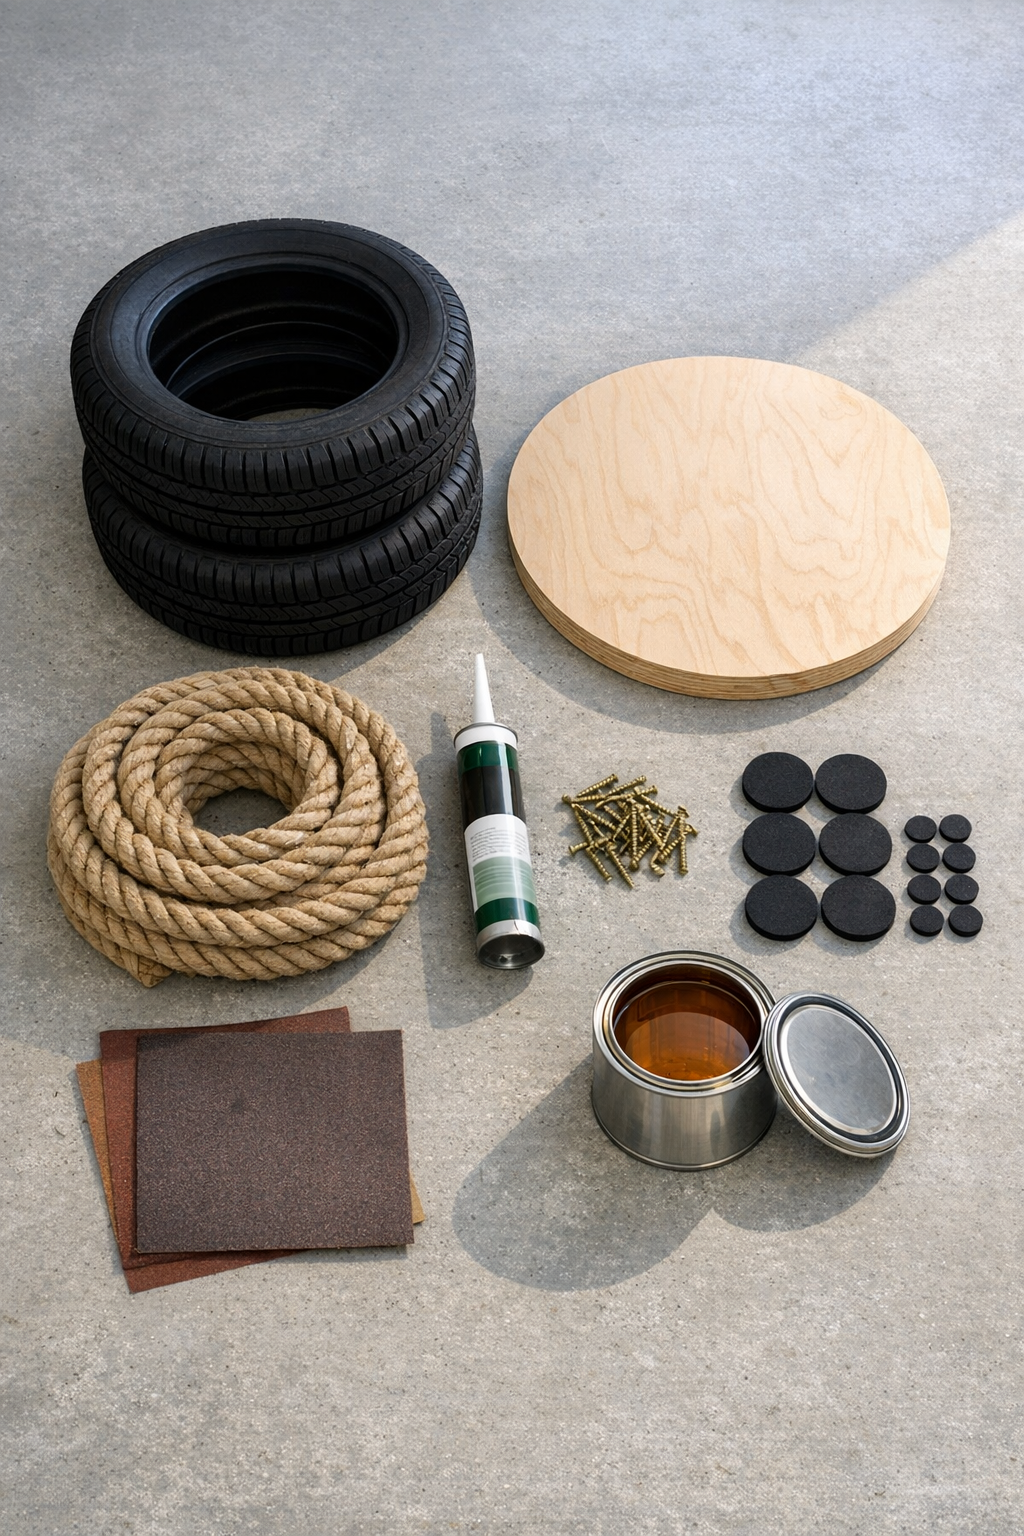
Materials
Instructions
1. Scrub the tires thoroughly with warm soapy water and a stiff brush, then let them dry completely so the adhesive will bond well.
2. Stack the two tires evenly and check that the sidewalls line up as closely as possible before fastening them together.
3. Drive 6 exterior screws down through the upper tire into the lower tire, spacing them evenly around the circle to keep the stack stable.
4. Sand the plywood disc smooth around the face and edge with 120-grit sandpaper, then finish with 220-grit for a cleaner touch.
5. Brush on two thin coats of exterior polyurethane or spar varnish to the plywood, letting each coat dry fully according to the product directions.
6. Center the finished plywood disc on top of the stacked tires and drive 6 screws through the plywood into the upper tire, keeping the screws about 2 inches in from the edge.
7. Apply a generous bead of exterior construction adhesive at the bottom edge of the tire stack and press the end of the rope firmly into place to start the wrap.
8. Continue wrapping the rope tightly around the sides of the tires, adding adhesive in short sections and pressing each round snugly against the previous one so no rubber shows.
9. When you reach the top edge, trim the rope neatly and glue the end down securely, then hold it in place with painter’s tape or a heavy object until set.
10. If you want a softer look, glue rope in a tight spiral across the visible top surface of the plywood, starting at the outer edge and working inward.
11. Turn the ottoman over carefully and attach the 4 furniture pads to the bottom to protect your deck or patio surface and help the piece sit evenly.
12. Let all adhesive cure fully before using the ottoman outdoors, then add an optional round cushion if you want a more comfortable seat.
Variations & Tips
Add a cushion: A weather-resistant round cushion makes this piece much more comfortable as extra seating, especially if you’ll use it for long evenings outdoors.
Choose the right rope: Natural sisal has a beautiful rustic look, but synthetic marine rope generally holds up better in wet weather and is easier to keep clean.
Use matching tires: The closer the tires are in size and shape, the cleaner and more professional the finished ottoman will look.
Seal the wood well: Even if most of the plywood is covered, I still recommend sealing every exposed surface and edge because outdoor humidity always finds the weak spots.
Turn it into a table: If you prefer a side table instead of a footrest, leave the plywood top exposed, stain it, and add a removable tray for drinks.
Work in small glue sections: Construction adhesive can skin over quickly, so I like to apply it 8 to 10 inches at a time for a tighter, cleaner wrap.