If you want the look of chunky stone garden edging without hauling home heavy rocks or spending a small fortune at the garden center, this is one of my favorite little backyard tricks. By coating ordinary kitchen sponges in cement and stacking them into place, you can make a border that looks surprisingly natural once it cures and weathers a bit. It’s a simple project, but the payoff is big, especially around flower beds, a mailbox garden, or a small path.
I love projects like this because they stretch a budget and still make the yard feel cared for and cozy. If you’re a beginner, this is very doable, and if you have kids or grandkids who like to “help outside,” they can hand you supplies and watch the transformation happen. It’s a good weekend project when you want something practical that also gives the garden a finished, welcoming look.
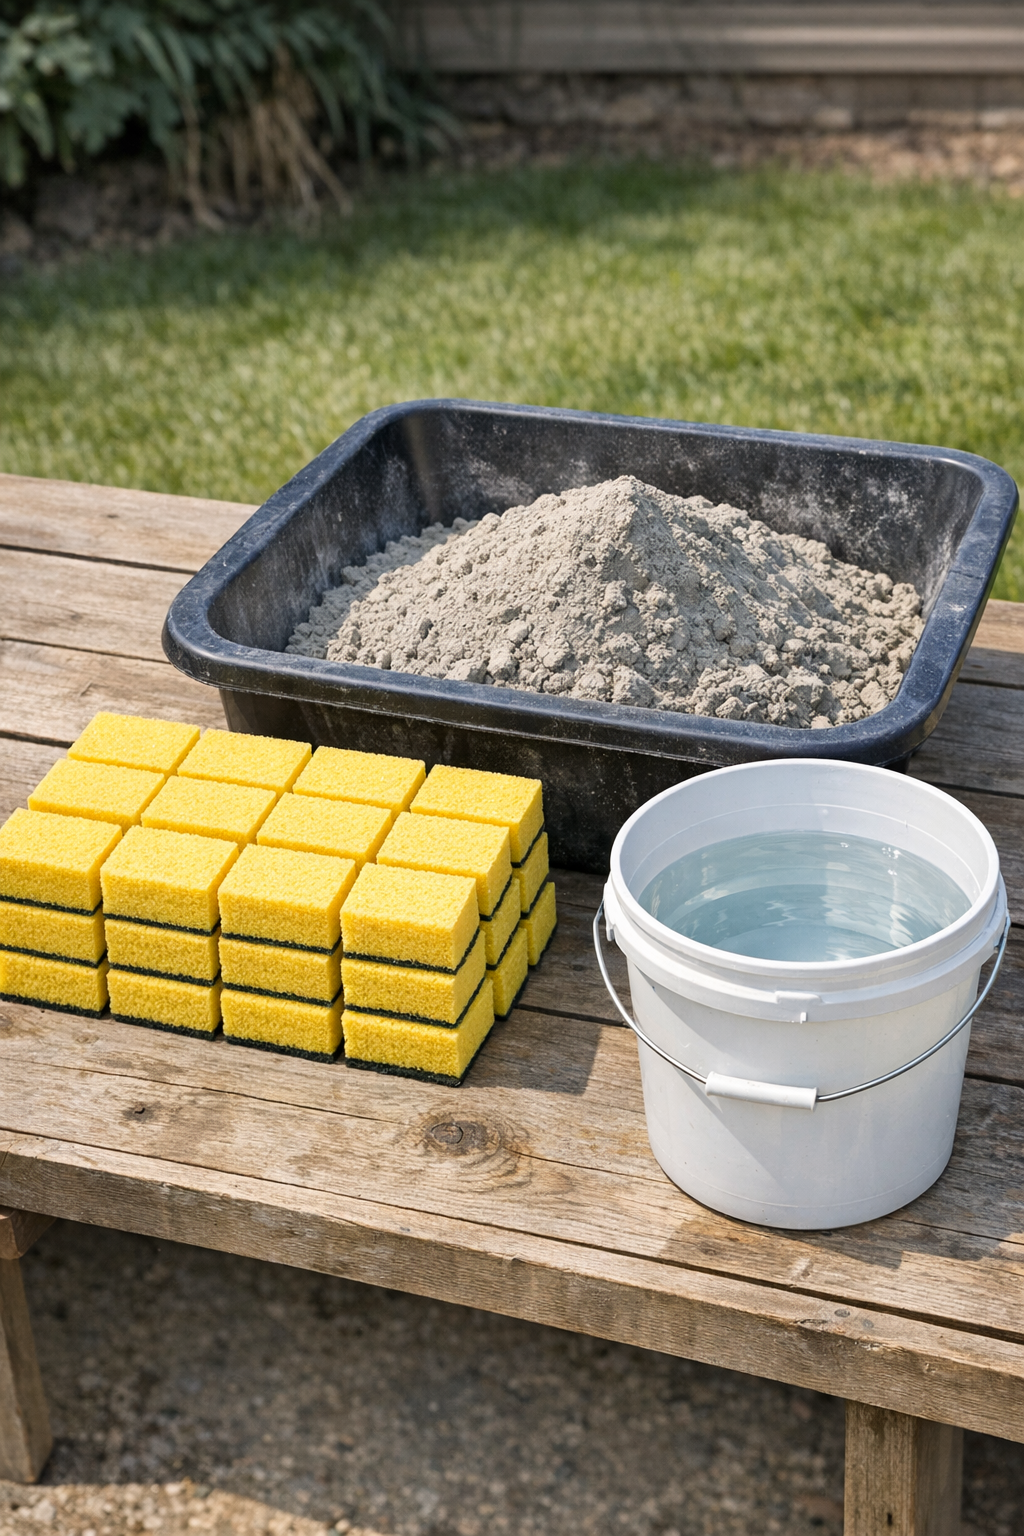
Materials
24 standard kitchen sponges, about 4 1/4 x 2 3/4 x 1/2 inches each
Instructions
1. Choose the edge of the garden bed you want to define and clear away loose mulch, weeds, and stones so you have a clean strip of soil to work on.
2. Press the soil flat with your hand or the back of a shovel to create a level base about 4 inches wide where the edging will sit.
3. Pour the cement mix into a bucket, tub, or wheelbarrow and add water a little at a time until it becomes a thick, pancake-batter-like coating that will cling to a sponge without dripping fast.
4. Dip one kitchen sponge into the cement mixture, turn it to coat all sides, and lift it out gently so the holes and texture of the sponge stay visible under the cement.
5. Set the coated sponge on the prepared soil line and press it down lightly so it makes good contact with the ground.
6. Coat a second sponge and place it snugly against the first, then continue building a row, varying the angle slightly so the pieces don’t look too uniform.
7. Start a second layer by coating more sponges and stacking them over the seams of the first row, like laying bricks, to make the edging stronger and more natural-looking.
8. Pinch, press, and rough up the wet cement on each sponge with your gloved fingers so the surfaces look uneven like real stone instead of smooth blocks.
9. Continue stacking until the border reaches the height you want, usually 2 to 3 sponge layers high for a small bed edge.
10. Smooth only the very bottom where the edging meets the soil, leaving the outer faces rugged for the most convincing faux stone finish.
11. Let the edging dry undisturbed for 24 hours, then lightly mist it with water once or twice over the next day if the weather is very hot and dry to help the cement cure more evenly.
12. After the edging has hardened, backfill soil or mulch around the base to lock it in visually and make the border look like it has always belonged there.

Variations & Tips
For a more natural shape: I like to tear a few sponges into uneven pieces before coating them if I want the border to mimic fieldstone a little more closely. Mixing full and partial sponge pieces keeps the pattern from looking too boxy.
For picky gardeners who like neat lines: If you prefer a tidier, more formal bed edge, line up the first row very straight and keep every sponge the same direction. It gives you a cleaner cottage-garden look that still has texture.
For extra thickness: If your sponges are very thin, use a heavier cement coating and build three layers instead of two. That fuller profile reads much more like real stone from across the yard.
Best placement: This works especially well in low-traffic garden beds, around decorative trees, or along mulch borders. I would not use it where people regularly step on the edging, since faux stone pieces this light are better for looks than heavy-duty foot traffic.
Weather tip: Try to make these on a mild, dry day. If rain is coming too soon, the coating can slump before it sets, and I’ve learned the hard way that it’s much easier to be patient than to rebuild a soggy border.
Blending it into the yard: Once cured, tuck mulch, gravel, or a little soil into the gaps and around the base. That one small finishing step is what really helps the edging look settled and believable instead of freshly placed.