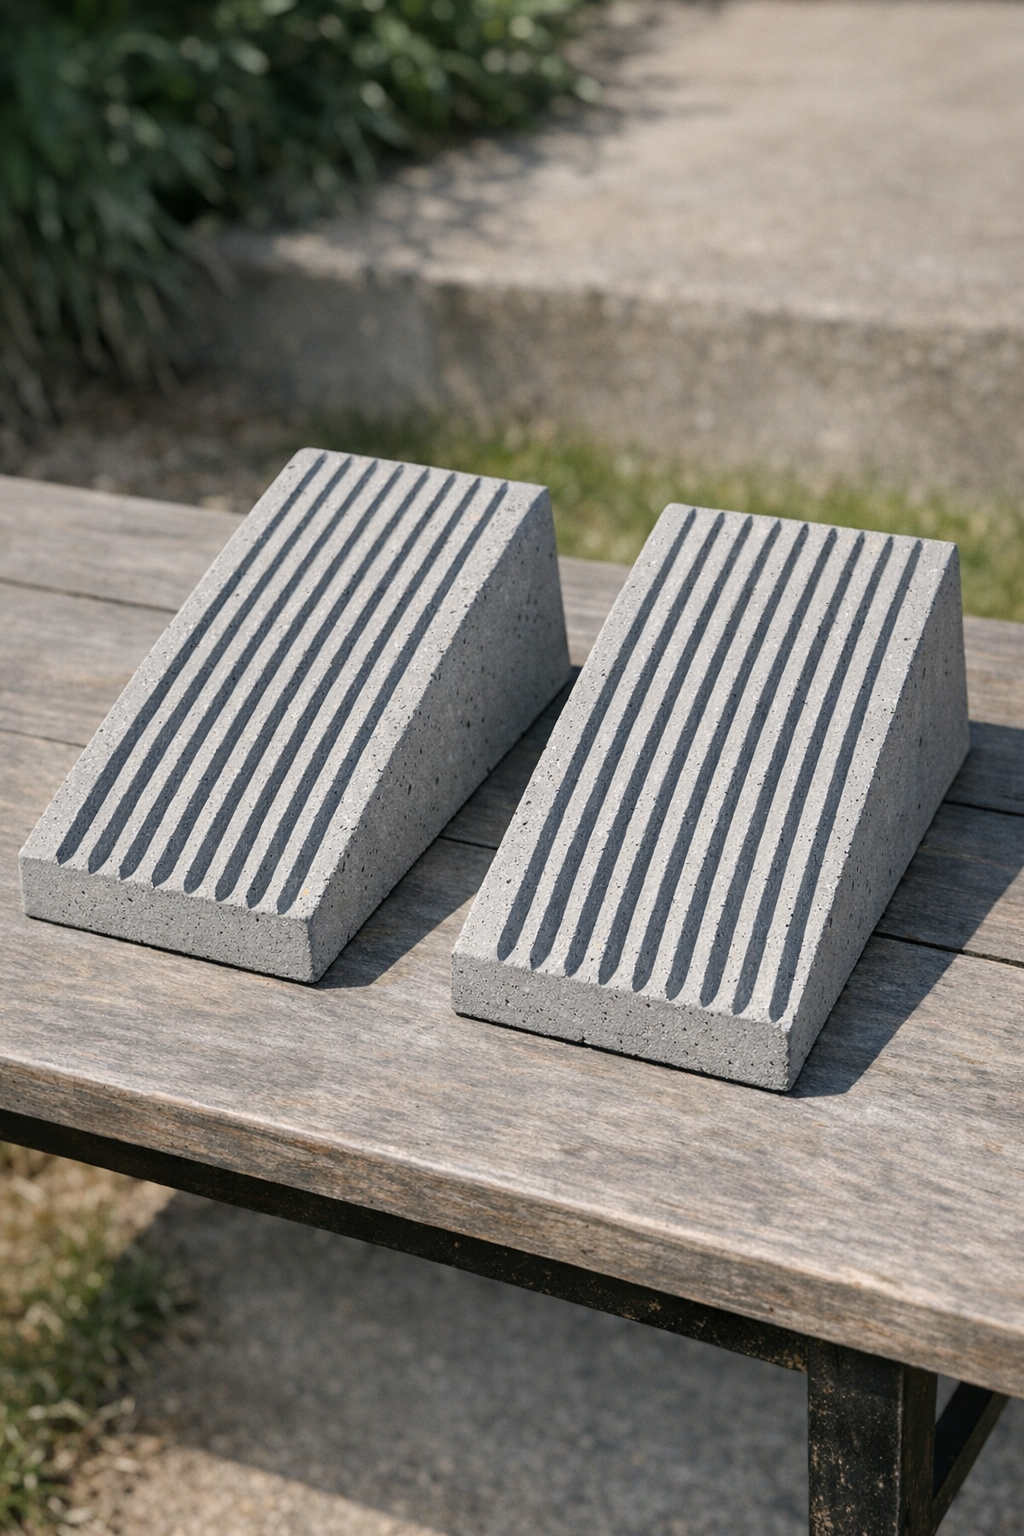
I love a project that looks a little mysterious at first and then turns out to be wildly practical, and these heavy ribbed wedge slabs are exactly that. By pouring cement into plastic paint roller trays and using one simple household item to help shape and release them, you end up with sturdy, textured concrete wedges that can work as rustic doorstops, garden accents, bookends, or even decorative risers on a patio table.
This is the kind of DIY I reach for when I want something satisfying but not fussy. If you’re busy like I usually am during the week, this is a great weekend project because the hands-on time is short, the supplies are inexpensive, and the roller tray does most of the design work for you.
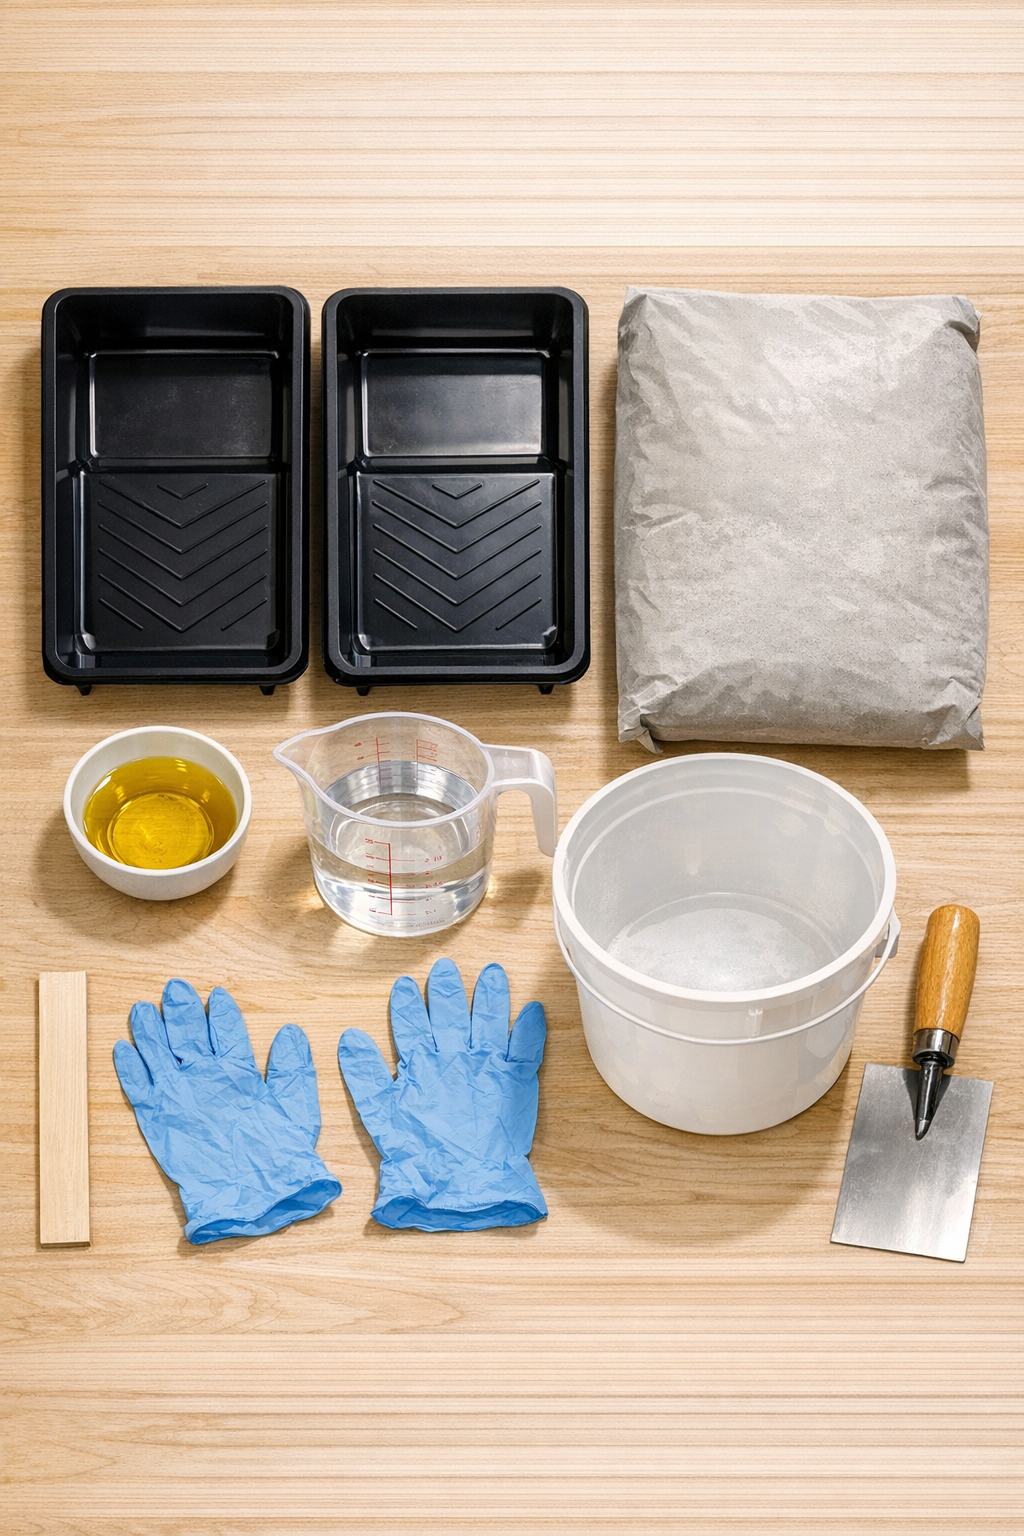
Materials
2 plastic paint roller trays, standard 9-inch size
Instructions
1. Cover your work surface with a drop cloth or cardboard and set the two plastic paint roller trays on a flat, level surface where they can stay undisturbed overnight.
2. Rub a thin, even coat of cooking oil over the inside of each tray, including the ribbed ramp section and corners, so the cured cement releases more easily later.
3. Put on gloves, then mix the cement in a bucket with water a little at a time until it reaches a thick pancake-batter consistency that can still be poured but is not runny.
4. Tap the bucket lightly on the floor or worktable once or twice to bring large air bubbles to the surface before pouring.
5. Pour the wet cement evenly into both trays, filling each one to roughly the same depth so the finished wedge slabs match in weight and size.
6. Use a trowel or spoon to spread the mix into the corners and smooth the top just enough to level it without disturbing the ribbed pattern underneath.
7. Lift each tray an inch or two and tap it gently against the table several times to release trapped air and settle the cement into the ridges.
8. Let the cement cure in the trays for at least 24 hours, or longer if your mix requires it, until the slabs are fully firm and cool rather than damp to the touch.
9. Flex the plastic trays gently around the edges and tip each cured slab out onto a towel or piece of cardboard so the corners stay intact.
10. Allow the slabs to air-dry for another 24 to 48 hours before using them, especially if you plan to place them indoors where you want them fully cured and dust-free.
Variations & Tips
Use as doorstops: These work beautifully as substantial doorstops because of their weight and sloped shape. I like adding a small felt pad underneath if I’m using them on hardwood floors.
Try a smoother finish: If you want a cleaner, more polished look, sand any rough edges lightly after the slabs are fully cured. Do this outdoors and wear a dust mask.
Add color: You can mix in a small amount of concrete pigment before pouring if you want charcoal, terracotta, or soft stone tones instead of basic gray.
Make them more rustic: For a garden look, leave the edges slightly imperfect and let the natural ribbing be the star. I think these look especially nice tucked beside planters.
Watch the water ratio: The biggest mistake with small cement projects is adding too much water. A thicker mix gives you stronger slabs and sharper ribbed detail.
Protect your trays while unmolding: Flex the plastic slowly instead of prying the concrete out. The first time I tried a tray-mold project, I rushed this part and chipped a corner that would have been easy to save with a little patience.