There is something deeply satisfying about turning what most folks would toss in the bin into something handsome enough to dress up a porch or garden corner. This project uses torn styrofoam egg cartons and two simple pantry-and-hardware-cabinet helpers to make faux ceramic-style outdoor tiles with a smooth, stone-like finish. The first time I tried a variation of this, I was reminded of the old Midwestern habit of saving every scrap because “you just never know.” Sure enough, those scraps can become something surprisingly pretty.
If you enjoy budget-friendly upcycling and don’t mind a little hands-on mixing and shaping, this is a fine project for you. These tiles are best for decorative outdoor use, like setting under planters, lining a garden shelf, or leaning against a fence as little accents. I like projects like this because they feel thrifty, practical, and just a touch magical.
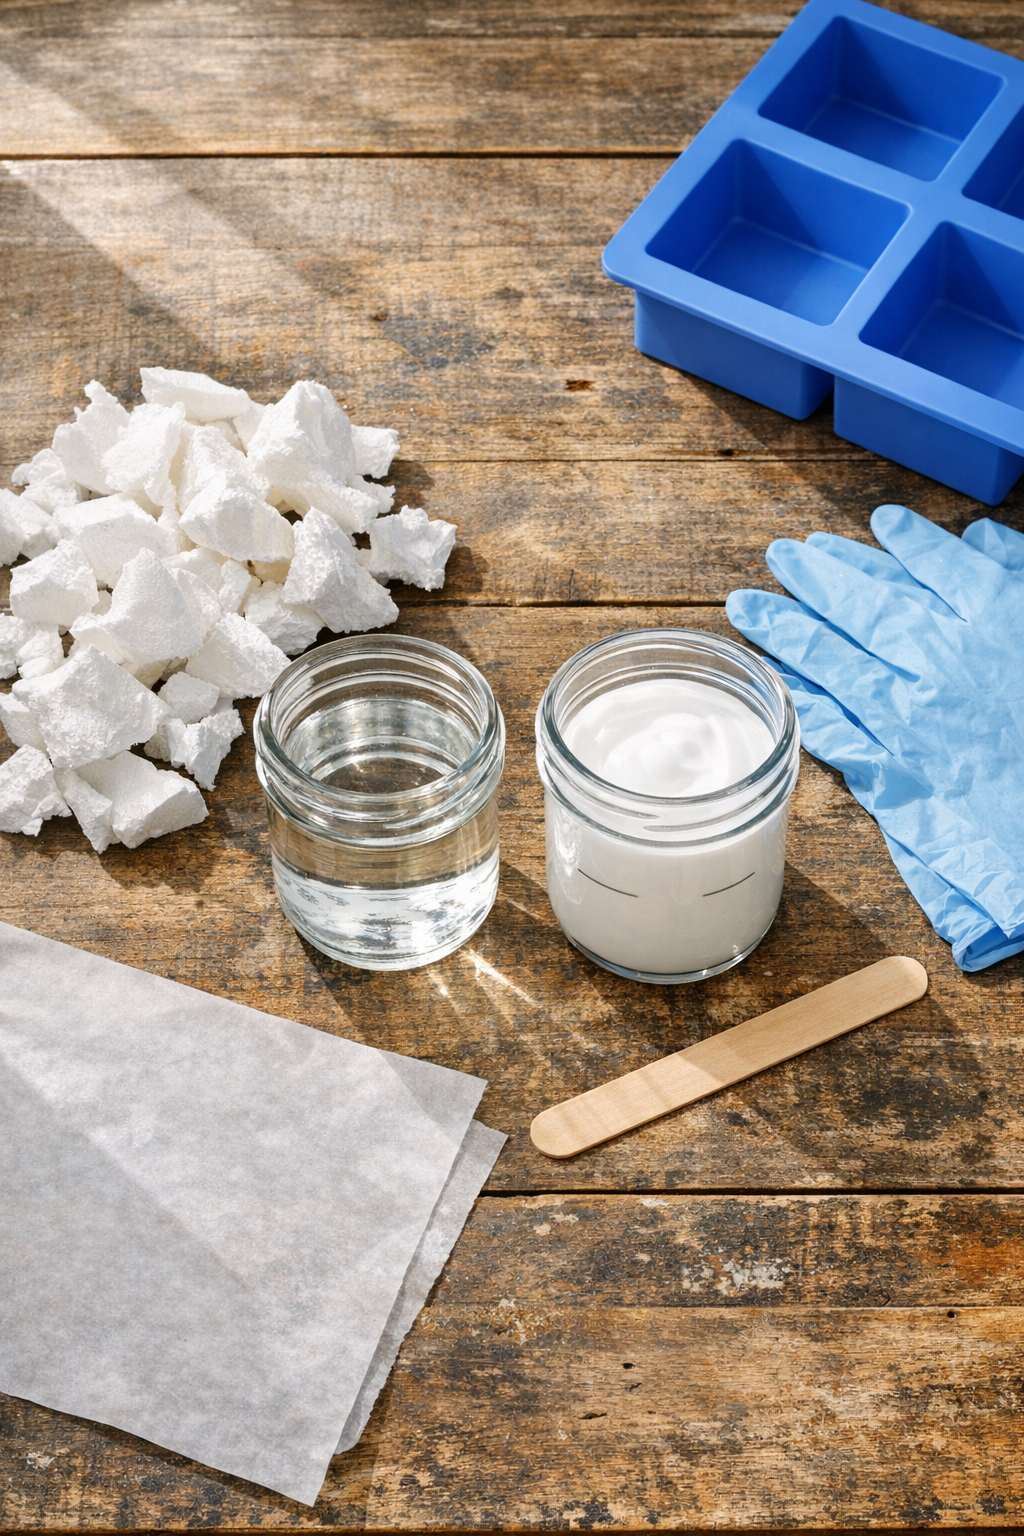
Materials
Instructions
1. Work outdoors or in a very well-ventilated area, and put on gloves. Set parchment paper under your work area and lightly grease the inside of your mold with petroleum jelly or cooking oil.
2. Pour 1 cup of acetone into a glass or metal mixing container. Add the torn styrofoam egg carton pieces a handful at a time, pressing gently as they soften and shrink.
3. Stir and fold the softened material until it forms a thick, putty-like mass. If it looks overly wet, let it sit for 2 to 3 minutes before mixing again.
4. Add 1 cup of exterior-grade white glue and knead or stir until the mixture is smoother and more workable. Mix in the fine sand now if you want a slightly more stone-like finish.
5. If you want colored tiles, knead in up to 1 tablespoon of acrylic craft paint until the color is even. For a faux ceramic look, soft white, clay, pale blue, or sage green all work nicely.
6. Press the mixture firmly into the greased mold, pushing it into the edges and smoothing the top with your fingers or the back of a spoon. Aim for a tile thickness of about 1/2 inch.
7. Leave the molded tile to set in a dry, airy place for 24 hours. Then unmold it carefully and place it on parchment paper to continue drying for another 48 to 72 hours, turning once a day.
8. Once fully dry, sand any rough edges lightly by hand if needed. If you like, brush on a clear outdoor sealer and let it cure according to the product directions.
9. Use the finished tile as an outdoor decorative accent rather than a walking surface. Make several in matching colors or shapes for a tidy little collection.

Variations & Tips
Stone-Look Finish: Sprinkle a pinch of extra fine sand on the surface before the tile fully sets for a more weathered garden-stone appearance.
Pressed Texture: Press a lace doily, leaf, or silicone trivet gently into the top before drying if you want a patterned tile. I have used leaves from the yard for this, and they give such a pretty old-country feel.
Mold Options: Muffin-top pans, soap molds, and small tart molds can all create different tile shapes, as long as you grease them well and do not make the pieces too thin.
Best Outdoor Use: These are best for decorative spots protected from heavy rain and foot traffic. I like to tuck them under flowerpots on the porch where they can be admired without taking a beating.
Batch Advice: Make one tile first to learn the texture you want, then mix the next batch. Like biscuit dough or pie crust, this sort of project gets easier once your hands know what the mixture should feel like.