
I’m always looking for practical ways to reuse packaging before it heads to the trash, especially when it can solve a real garden problem. These ultra-durable greenhouse-style panels made from discarded plastic bubble wrap are one of those projects that feel a little surprising the first time you make them. With just bubble wrap and two common household items, you can create lightweight plastic sheets that work beautifully for small greenhouse doors, cold frames, seed-starting covers, or wind-blocking garden panels.
As someone who squeezes projects like this in between work and weeknight dinner prep, I appreciate anything inexpensive, useful, and fast to batch out on a Saturday afternoon. If you’ve got a pile of shipping bubble wrap and want a smart upcycling project that’s actually worth keeping, this one is beginner-friendly and very satisfying.
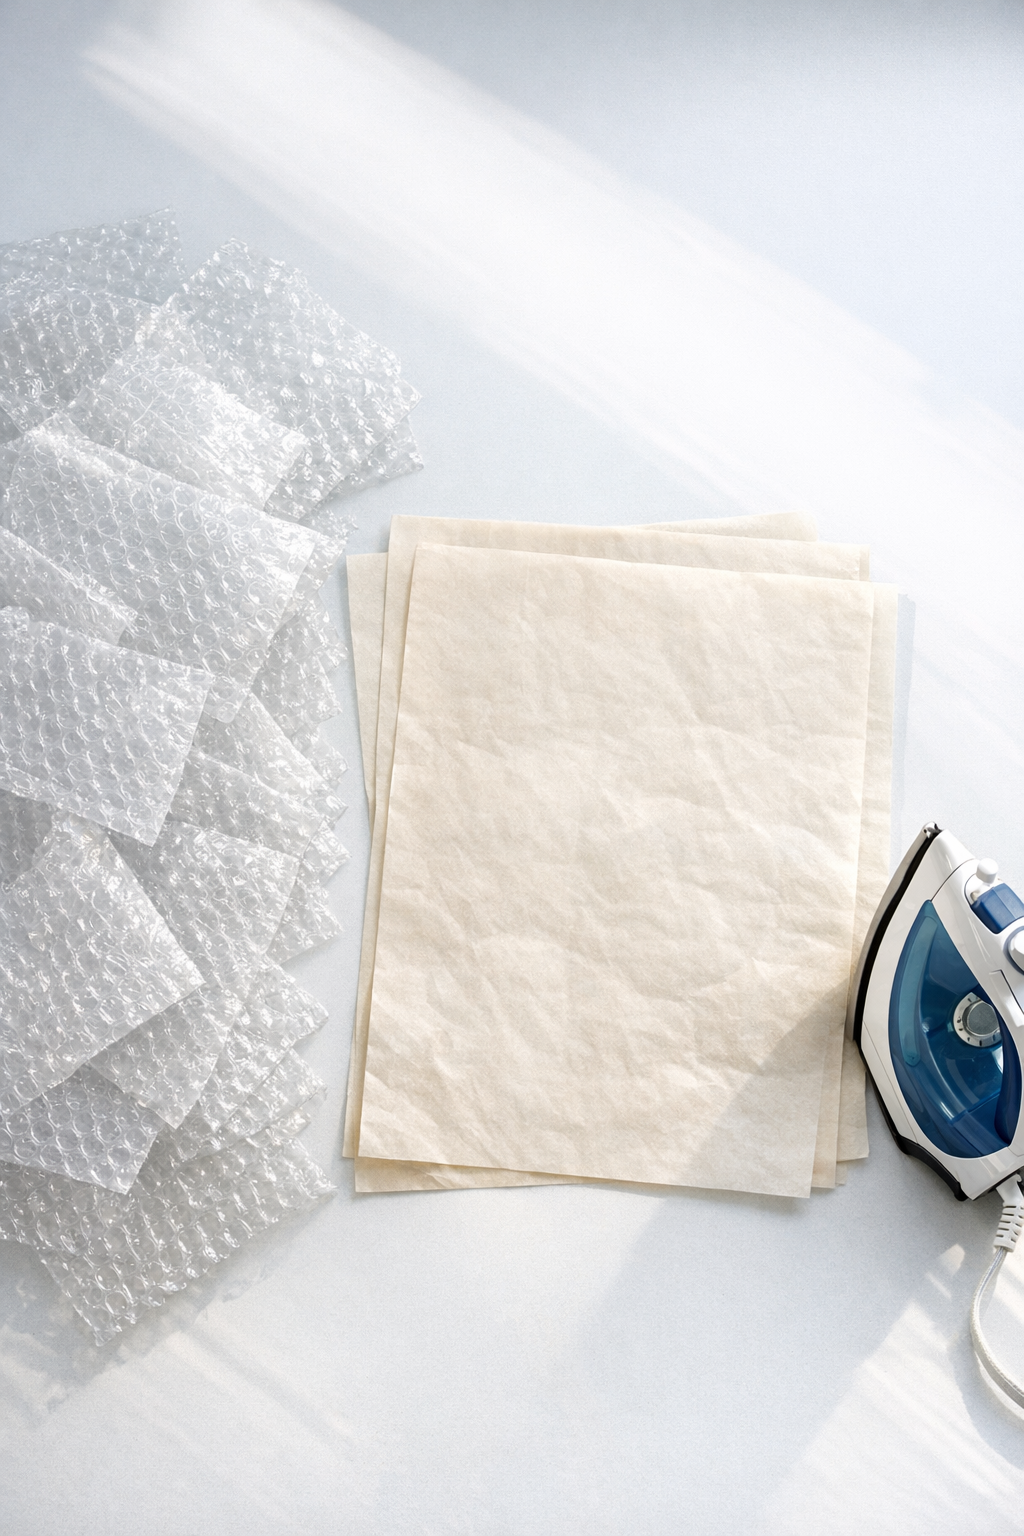
Materials
Instructions
1. Clean and flatten the bubble wrap, then cut away any taped seams, labels, or torn edges so you have uniform sheets in the same size.
2. Cover your work surface with a large towel and set your iron to a low synthetic setting with the steam turned completely off.
3. Stack 3 to 5 layers of bubble wrap to make one panel, lining up the edges as closely as possible for even fusing.
4. Place one sheet of parchment paper under the stack and one on top, then clip the corners if needed to keep the layers from shifting.
5. Press the iron lightly over the parchment in slow passes for 5 to 10 seconds at a time, starting in one corner and working across the panel instead of holding the iron still in one spot.
6. Lift one corner of the parchment and check the plastic; the bubbles should soften and fuse into a thicker pebbled sheet without turning brown or shrinking dramatically.
7. Continue ironing section by section until the entire stack is bonded, then let it cool flat for 2 to 3 minutes before moving it.
8. Peel away the parchment paper and trim the edges square with scissors or a craft knife so the panel fits your frame or greenhouse opening.
9. For a thicker, more rigid panel, repeat the process and fuse a second finished sheet on top of the first using parchment paper on both sides.
10. Test the finished panel by flexing it gently; it should feel sturdier than the original bubble wrap while still remaining lightweight and slightly translucent.
11. Attach the panel to a simple wood frame, hoop house opening, cold frame lid, or seed shelf cover using clips, staples on the frame edge, or narrow battens depending on your setup.
12. Make additional panels the same size and overlap them by 1 inch if you want to cover a larger greenhouse section or create a more weather-resistant barrier.
Variations & Tips
Best thickness: I’ve found 4 layers is a sweet spot for many small projects because it fuses well without becoming too warped or stiff.
Temperature control: Start lower than you think you need. If the plastic curls hard or the bubbles collapse too fast, the iron is too hot.
For larger panels: Fuse several smaller sheets first, then overlap and bond the edges between parchment paper to make wider sections that are easier to handle.
For cleaner results: Use bubble wrap that is all one type and thickness when possible. Mixing very thin and very thick pieces can create uneven melting.
Surface protection: Always keep parchment paper between the iron and plastic. I learned this the cautious way after ruining an old ironing-board cover years ago with another melted-plastic experiment.
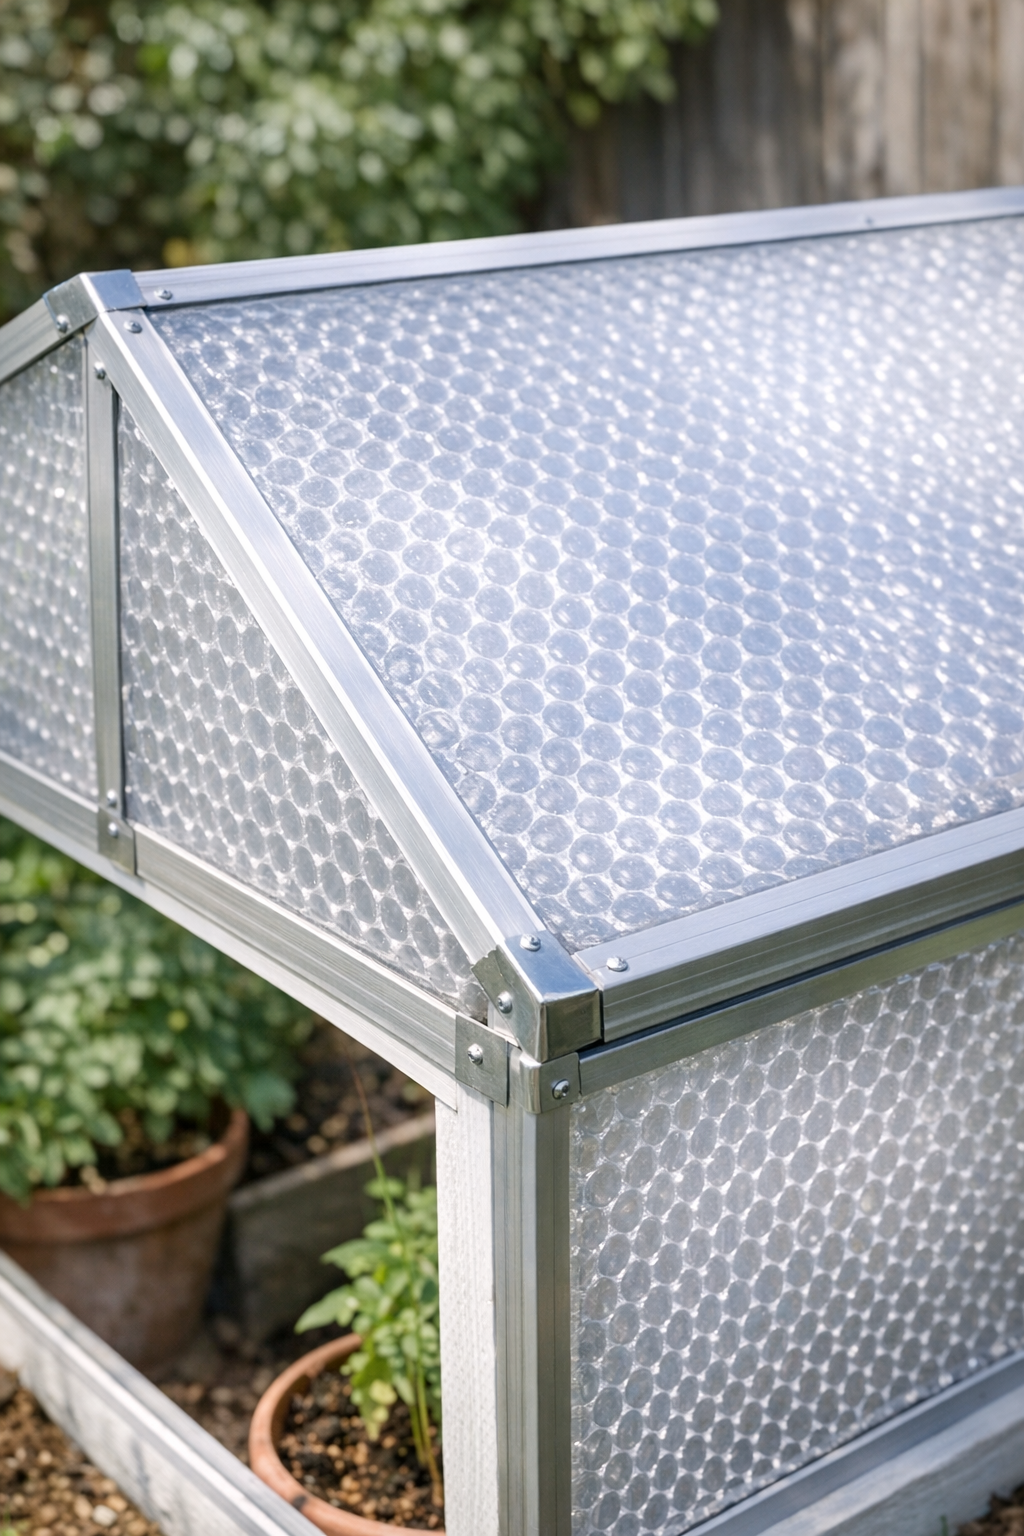
Where to use them: These work especially well for temporary greenhouse cladding, frost protection covers, garage window insulation, and seed-starting shelves where you want diffused light instead of a perfectly clear panel.
Storage tip: Stack finished panels flat with parchment or paper between them so they do not stick together if stored in a warm shed or garage.