
I have always had a soft spot for projects that turn plain household castoffs into something sturdy and useful, and this one does exactly that. These simple paving bricks are made by combining crushed plastic bottle caps with sand, then melting and pressing the mixture into molds to create tough little pavers that are surprisingly durable for garden paths, potting-shed walkways, or a neat stepping area by the back door.
Out where I live, we have always believed in making do with what is on hand, and I think that spirit is part of what makes a project like this so satisfying. If you are comfortable working carefully with heat outdoors and want a practical upcycling project, this is a good one for a handy beginner or an experienced tinkerer alike.
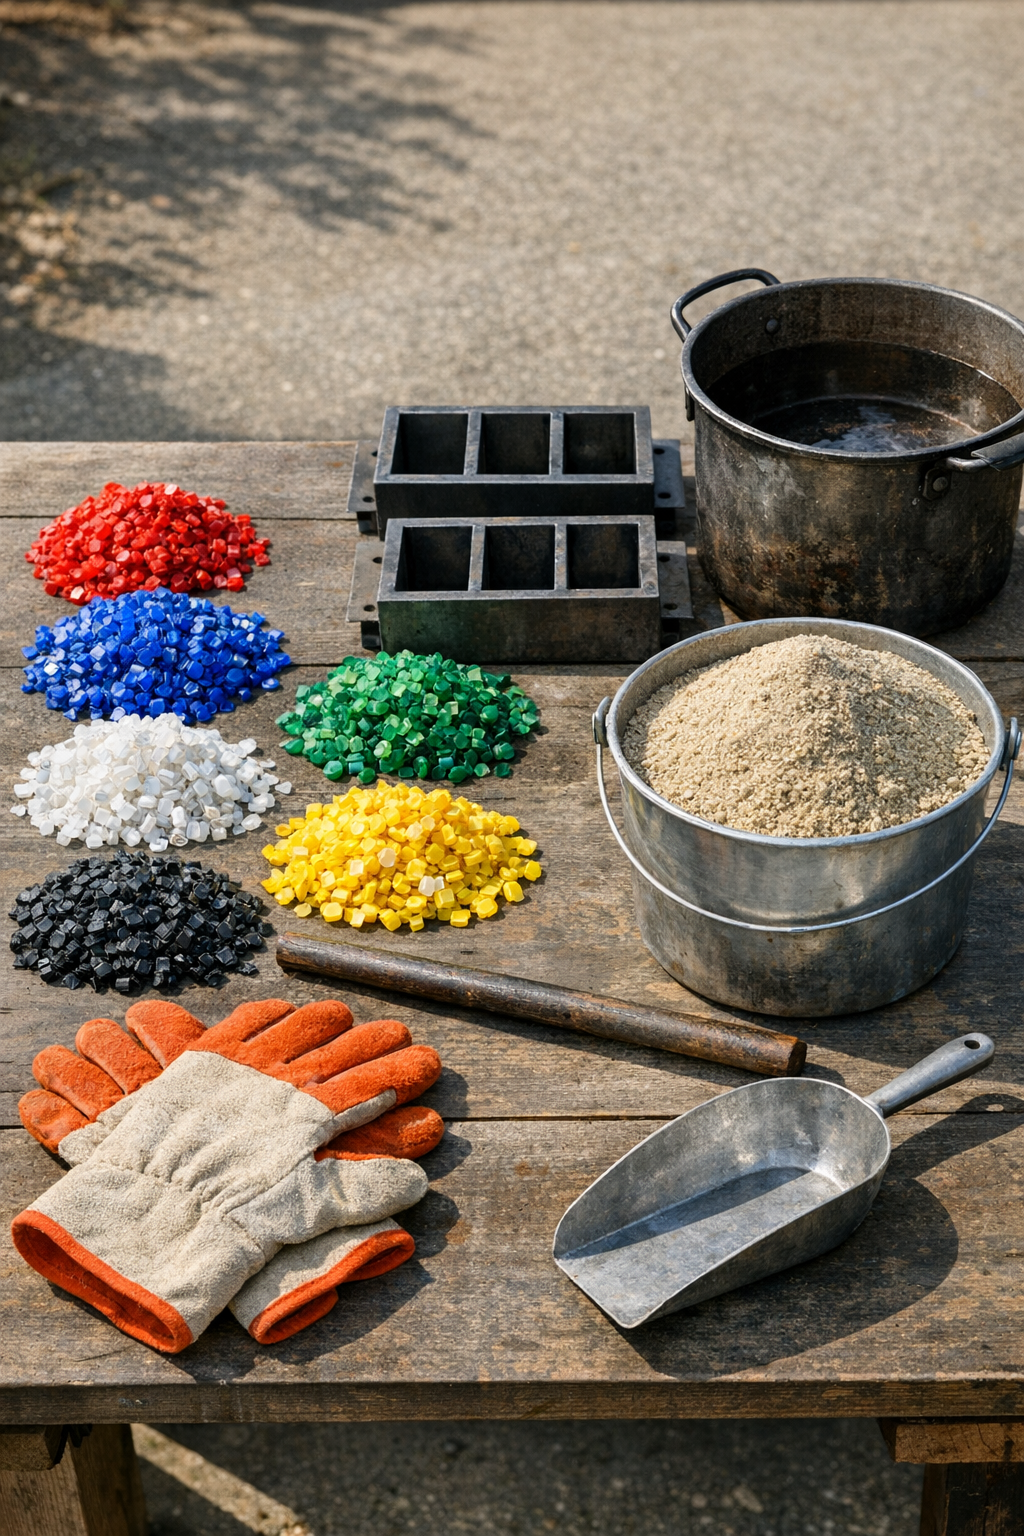
Materials
Crushed plastic bottle caps (HDPE or PP only) — 8 cups
Instructions
1. Sort the bottle caps and use only HDPE or PP caps, then wash and dry them thoroughly so no dirt, paper, or moisture gets into the mix.
2. Crush or chop the caps into small pieces about 1/4 to 1/2 inch wide so they melt more evenly and combine better with the sand.
3. Set up your work area outdoors on a flat, nonflammable surface, placing the molds, tray, gloves, and tools within easy reach before you begin heating.
4. Measure equal volumes of crushed caps and dry sand, using about 4 cups of each for one standard brick.
5. Heat the metal pot slowly over the burner and add the crushed caps first, stirring steadily as they soften into a thick, sticky mass.
6. Add the sand gradually, one scoop at a time, and stir well after each addition until the mixture looks fully coated and evenly blended.
7. Keep heating only until the mixture is uniform and workable, then remove it from the heat as soon as there are no loose dry pockets of sand left.
8. Quickly scoop the hot mixture into the metal molds, slightly overfilling each one so you can press it down firmly.
9. Compact the mixture tightly into the molds using the back of the scoop or a flat metal press, paying special attention to the corners and edges.
10. Let the bricks cool in the molds for 20 to 30 minutes, then unmold them onto parchment paper or a metal tray to finish cooling completely.
11. Check the bricks once cool and trim any sharp overflow with a utility blade or metal file before placing them in your path.
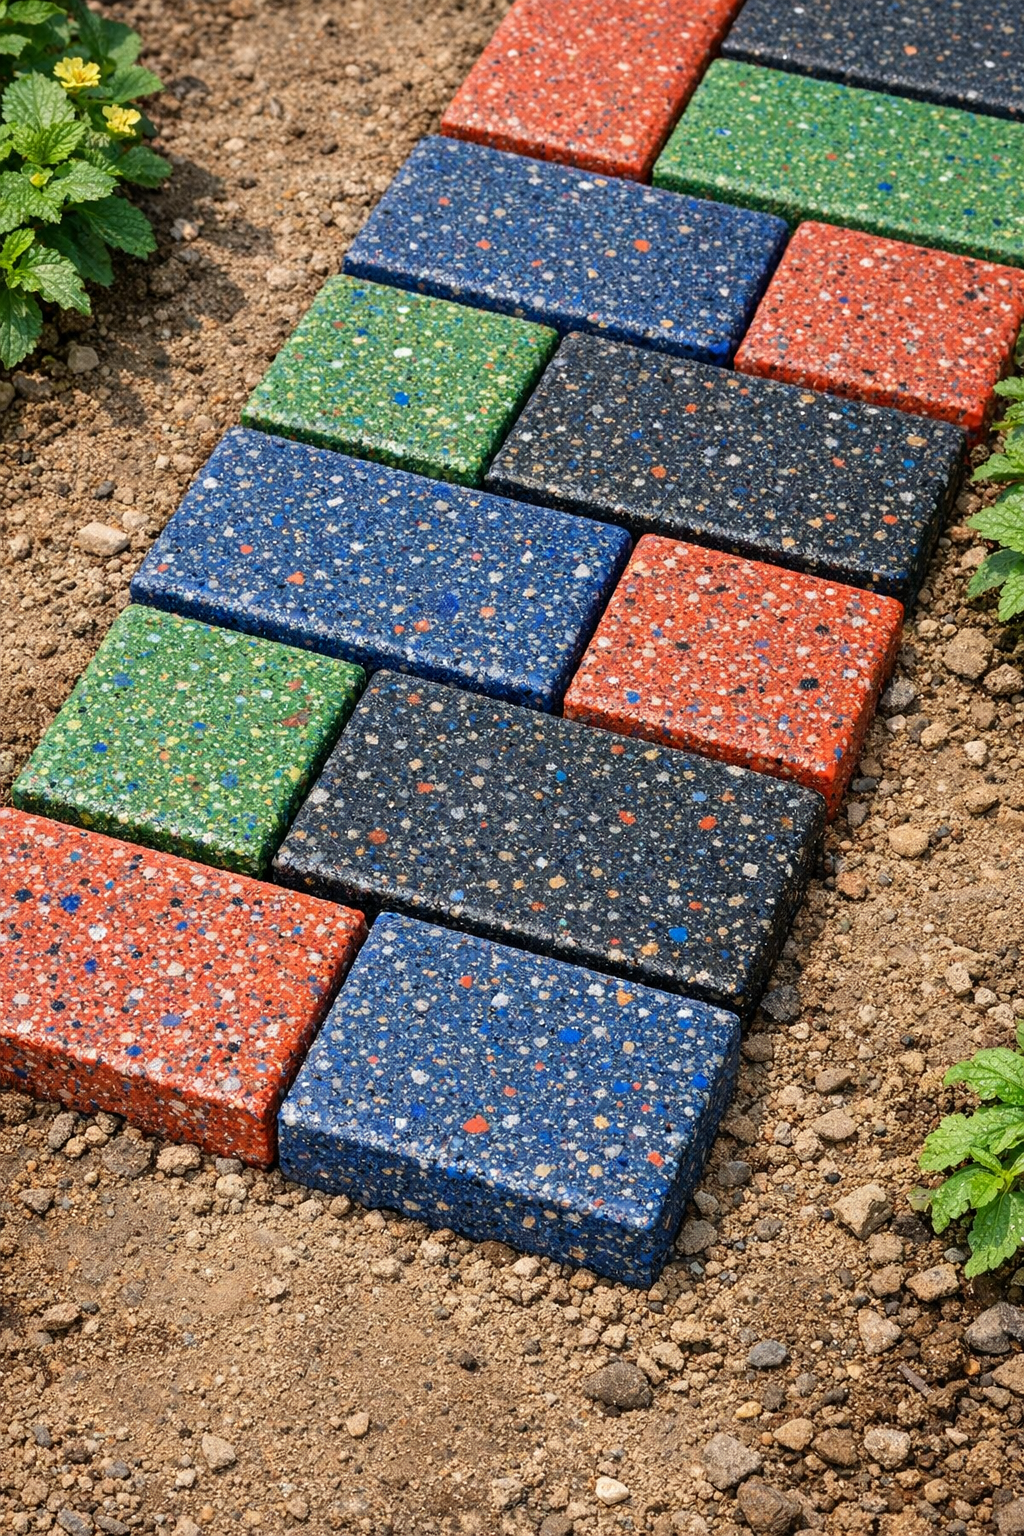
12. Set the finished bricks over a level bed of compacted sand or gravel so they sit flat and stay stable under foot traffic.
Variations & Tips
For a more natural look: Use mostly neutral-colored caps or sort colors into separate batches so the finished bricks look more uniform and less patchy.
For stronger compaction: Press the mixture firmly while it is still very hot, because that is when you can pack out air gaps most effectively.
For smaller projects: Try making 6 x 6 inch stepping tiles instead of full bricks if you want a manageable first batch.
For safer results: Always melt plastic outdoors and stand upwind, and keep this project strictly for garden use rather than indoor flooring.
For easier installation: Lay the bricks over compacted sand with a little space between them, then sweep dry sand into the joints to help lock them in place.
For consistent batches: Measure the plastic and sand by volume each time so one brick matches the next in thickness and density.