
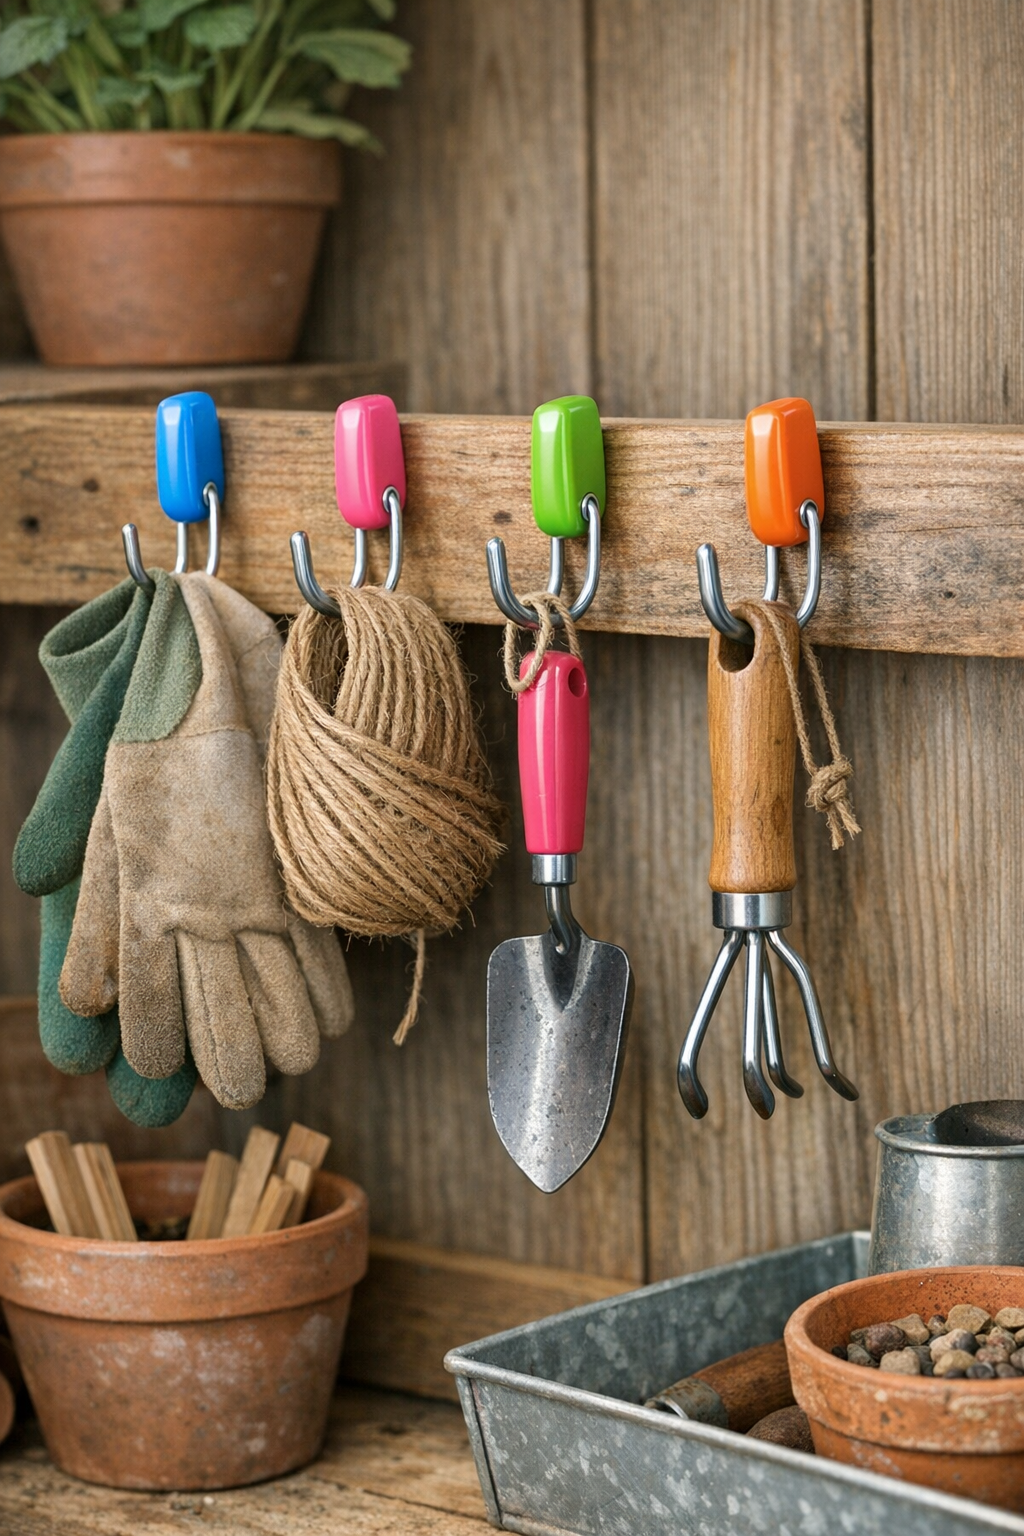
I love a project that turns something inexpensive into something genuinely useful, and these garden hooks do exactly that. By softening cheap plastic toothbrushes in hot water and shaping them around sturdy wire, you can make compact hooks that hold lightweight garden tools, twine, gloves, plant tags, or even seed packets right where you need them.
This is the kind of weekend DIY I gravitate toward when I want to organize a messy corner without making a full trip to the hardware store. If you like practical upcycling, small-space garden organization, or just clever fixes that fit into a busy schedule, this one is simple, fast, and surprisingly durable when done carefully.
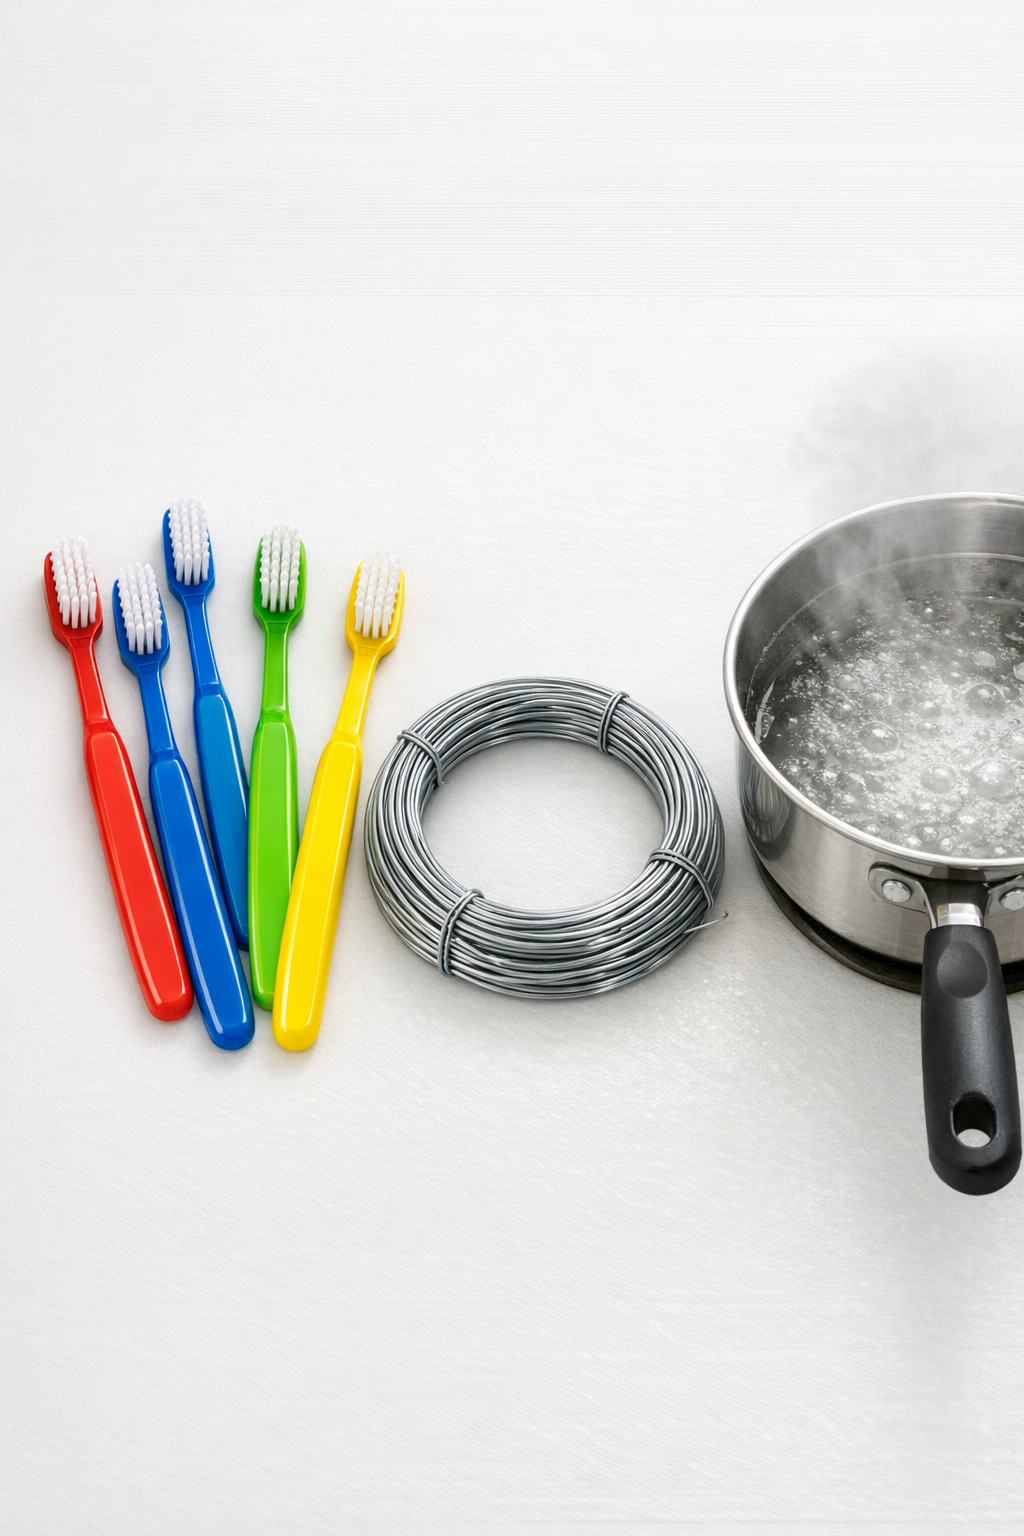
Materials
Instructions
1. Cut the galvanized wire into 4 pieces, each 24 inches long, so you have one support core for each hook.
2. Bring the water to a gentle boil in a pot deep enough to submerge the toothbrush handles, then reduce the heat so the water stays very hot without splashing.
3. Place one toothbrush in the hot water for 3 to 5 minutes until the handle softens slightly and becomes flexible, keeping the bristle end above the water if possible.
4. Remove the toothbrush carefully and immediately press the wire along the back of the handle, leaving about 4 inches of wire extending past the head end and 6 inches past the bottom end.
5. Bend the softened handle around the wire so the toothbrush forms a hooked curve, using the longer wire end as the mounting stem and the shorter end as the inner support near the hook.
6. Hold the shape in place for 30 to 60 seconds until the plastic cools enough to keep its curve, then adjust the wire ends so they sit snugly against the plastic.
7. Twist the long wire end into a tight loop or mounting tail, depending on where you plan to hang the hook in your garden shed, fence, or potting bench area.
8. If the hook needs a deeper curve, dip just the handle portion back into the hot water for 1 to 2 minutes and reshape it slightly tighter around the wire core.
9. Repeat the boiling and shaping process for the remaining toothbrushes, making each hook the same size if you want a matched set.
10. Let all the hooks cool completely, then test each one with a lightweight garden item like gloves or a small hand trowel before regular use.
Variations & Tips
Choose the right toothbrush: Solid plastic handles work best. I avoid rubbery grips, layered materials, or very thin bargain brushes because they tend to soften unevenly.
Keep the load light: These are great for gloves, pruners, twine, plant markers, and other small gear. I would not use them for heavy hoses, large metal tools, or anything with significant weight.
Make a matching set: If you want the hooks to look intentional instead of random, use toothbrushes in the same color family and cut all wire lengths before you start. That little bit of prep makes the finished area look much neater.
Use reheating to fine-tune: One thing I’ve learned from squeezing projects into busy evenings is that you do not need to get the shape perfect on the first try. A quick reheat of the handle section makes small corrections easy.
Create different hook profiles: A shallow bend works well for gloves and twine, while a deeper curve is better for hand tools. You can also angle the mounting wire a bit to make the hook sit flatter against a wall or bench.
Test before installing: I always make one sample hook first and hang the exact item I plan to store on it. That quick test tells you whether you need a tighter curve, a shorter hook, or a sturdier wire core before making the full set.