
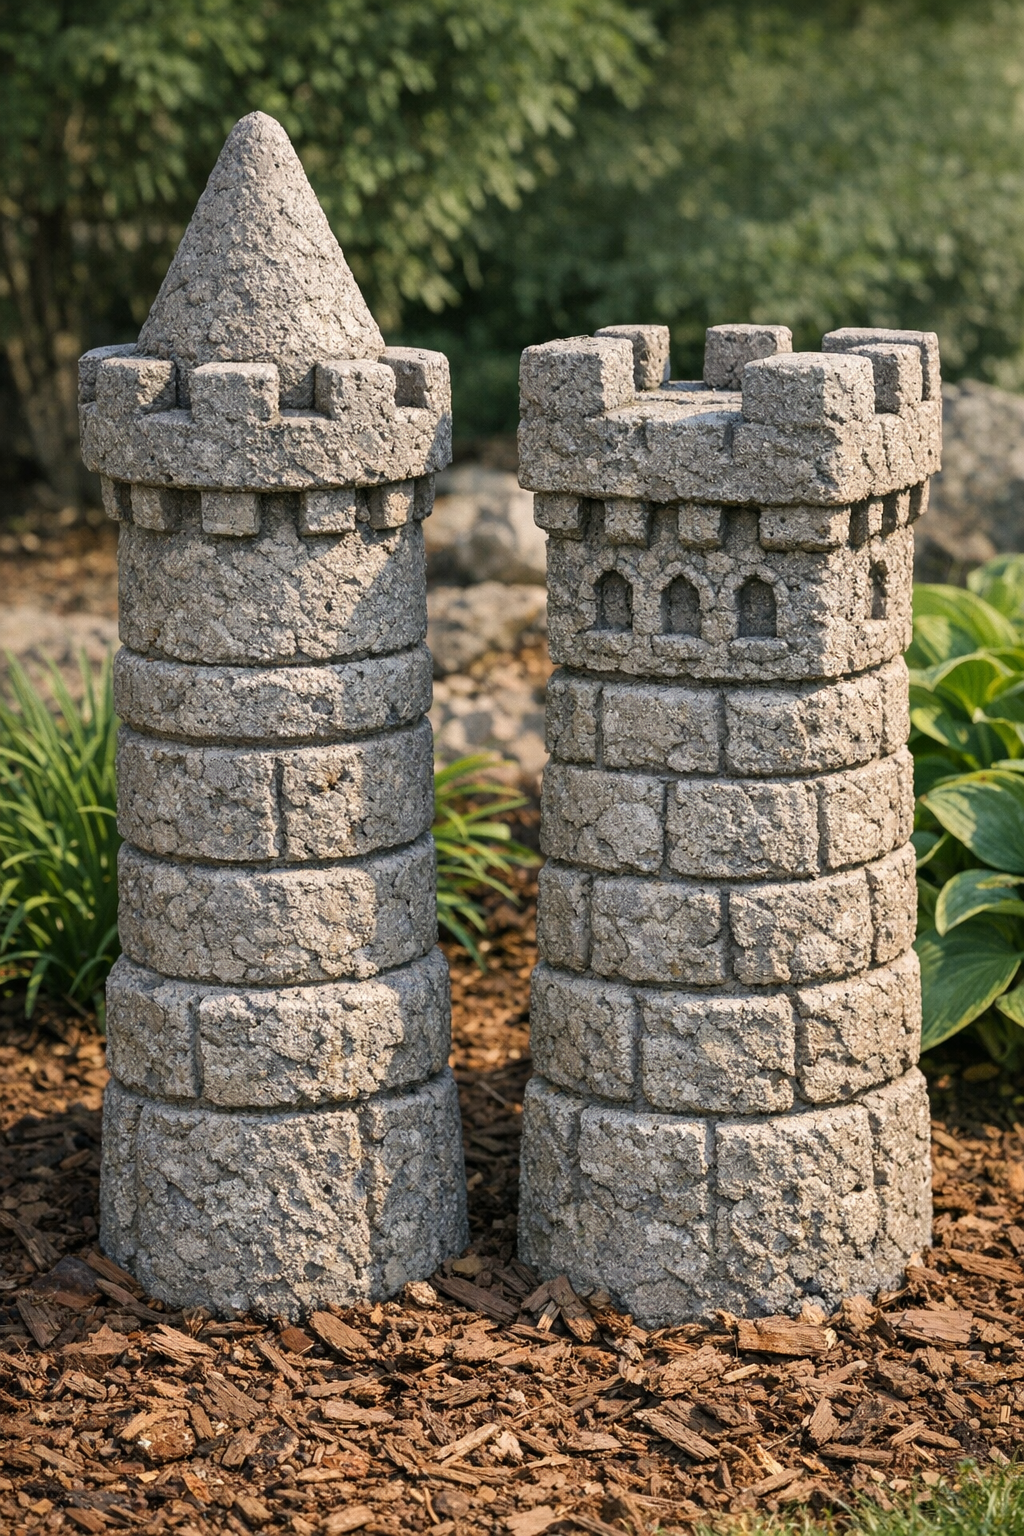
I’m always drawn to garden projects that look far more expensive than they really are, and these heavy textured yard pillars are exactly that kind of build. Using plastic sandcastle molds and cement, you can make sturdy decorative pillars with a carved, old-world look that reads like stone from a distance but comes together with surprisingly simple materials.
This is a good project for anyone who wants to add height, texture, and a bit of drama to a flower bed, porch corner, or walkway without buying precast concrete décor. If you’re comfortable mixing cement and working a little quickly before it sets, you can absolutely make these in an afternoon. I especially love projects like this because they rely on shape and texture rather than fancy tools, which is often the smartest route in DIY.
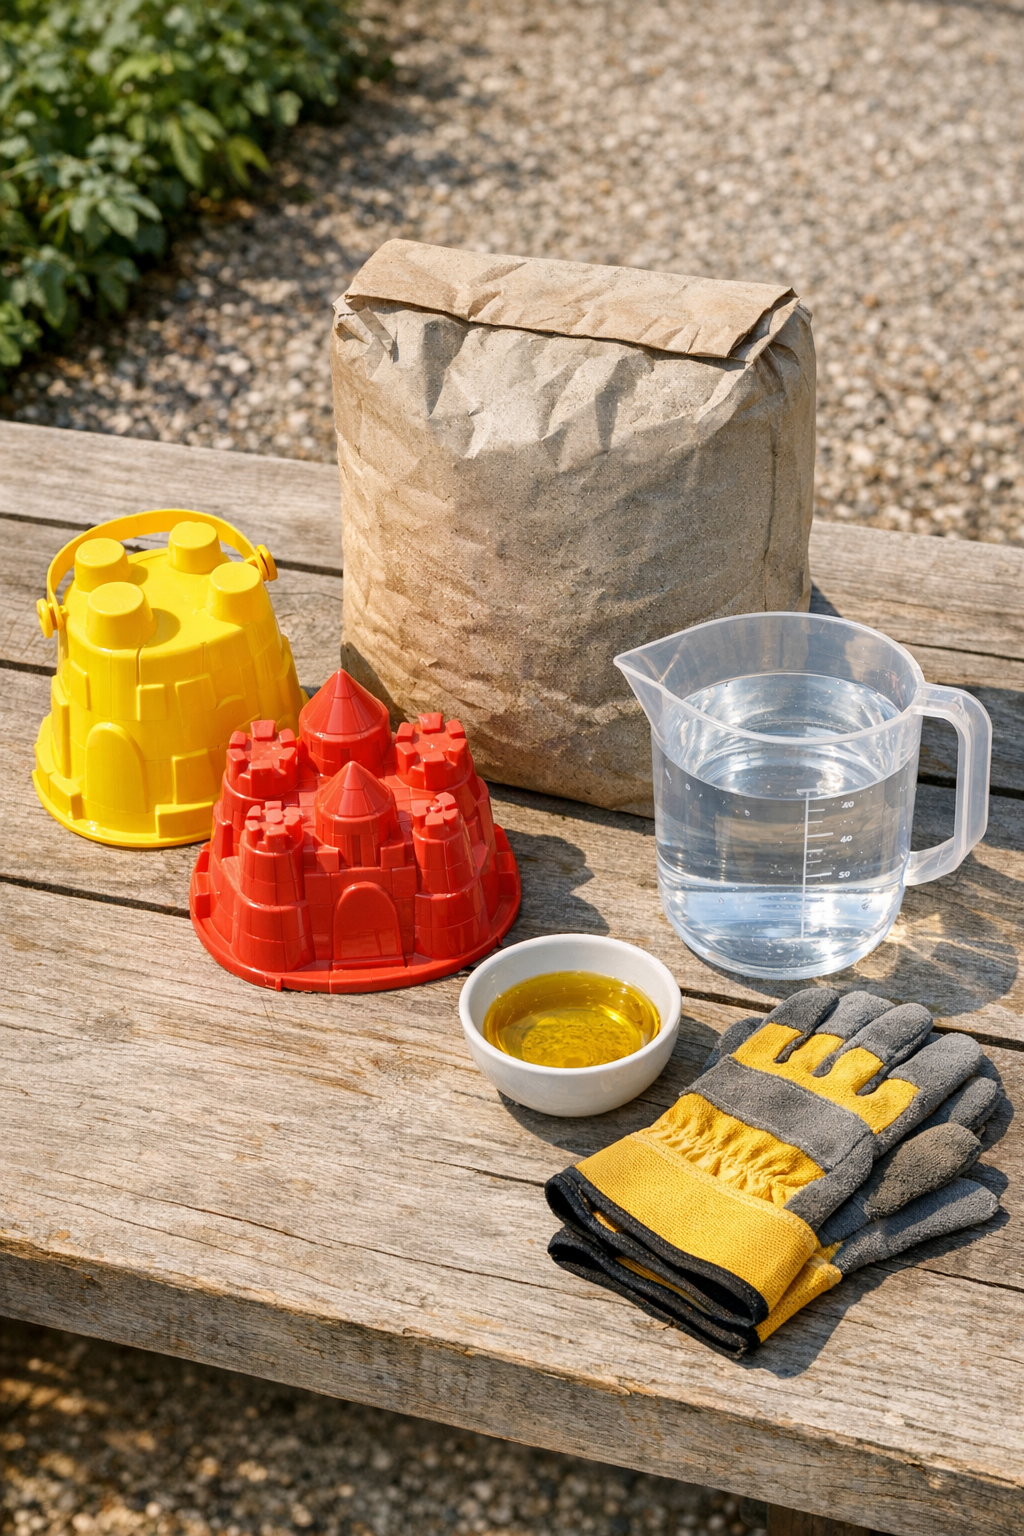
Materials
Instructions
1. Choose a flat outdoor workspace and set the sandcastle molds upside down, then lightly coat the inside of each mold with a thin film of oil so the cement releases more easily.
2. Mix the concrete or cement in a bucket or mixing tub according to the package directions, adding water slowly until it feels like thick oatmeal and holds its shape when scooped.
3. Scoop the wet cement into the first sandcastle mold in 2- to 3-inch layers, pressing each layer down firmly with your gloved hand or a scrap stick to remove air pockets and capture the texture.
4. Fill the mold to the top, then tap the sides several times and smooth the open back with a trowel or scrap board so the pillar will sit evenly once unmolded.
5. Repeat the packing process with the second mold, keeping the fill level and surface as even as possible so both finished pillars look like a matched pair.
6. Let the filled molds rest undisturbed for 24 hours, or until the cement is firm enough that the surface no longer dents easily when pressed.
7. Gently flex the plastic molds and turn them out onto a folded towel or patch of cardboard, easing the pillars free without dropping them.
8. Set the pillars in a shaded spot and cure them for another 3 to 5 days, misting lightly once or twice a day if the weather is hot or dry to help reduce cracking.
9. Place the finished pillars in the yard, along a path, or at the edge of a planting bed on firm level ground so they stay stable and show off their texture.
Variations & Tips
For a more aged look: After the pillars fully cure, brush on a thin cement wash or dab diluted gray and tan outdoor paint into the grooves, then wipe the high spots so the texture stands out.
If you want taller pieces: Use deeper sandcastle molds or make several matching pillars in graduated heights for a grouped display. I find odd-numbered groupings usually look more natural in the garden.
To reduce air pockets: Pack the cement in small layers instead of all at once and tap the mold after every few scoops. That extra minute makes the molded details much sharper.
For easier unmolding: Don’t rush the release if the cement still feels green or fragile. Plastic molds usually flex enough to let go cleanly once the mix has had time to firm up properly.
Placement tip: These look best where the side texture catches light, such as near a walkway, beside low plants, or framing a porch step. In cooking, we talk about contrast on the plate; in the yard, height and texture do the same job visually.
Weather note: Avoid pouring in freezing temperatures or direct blazing sun. Moderate conditions give cement a slower, stronger cure and a better finished surface.