
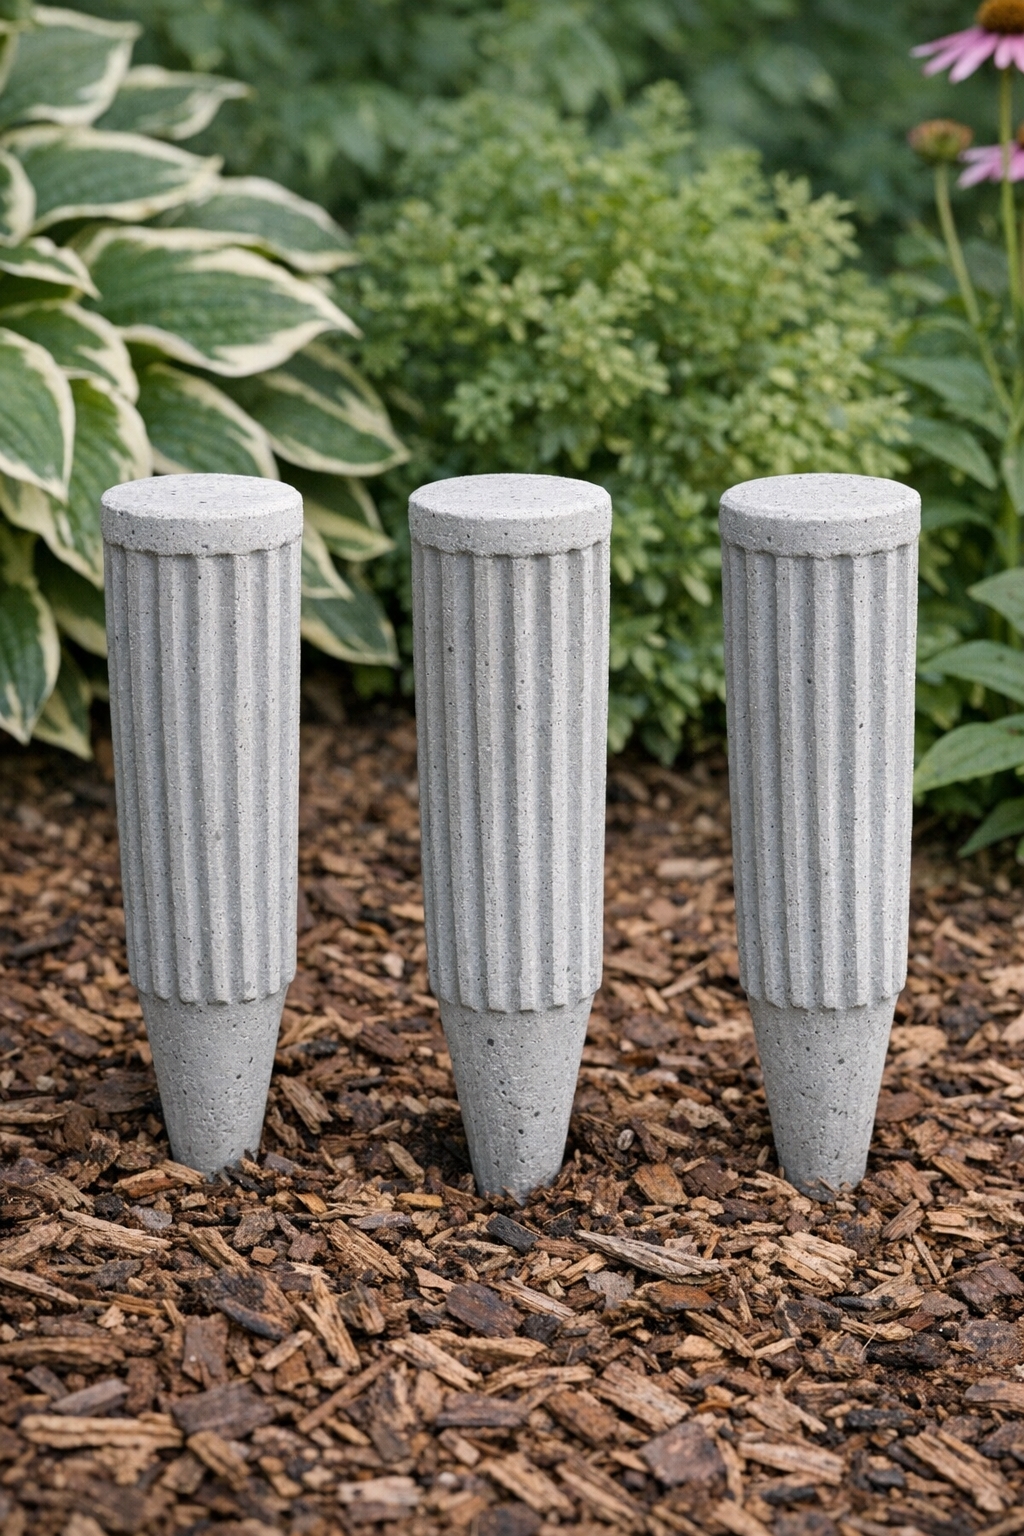
I love a project that gives me a big visual payoff without sending me to the craft store for a cart full of supplies, and these heavy fluted yard stakes do exactly that. By using bright silicone push-pop molds, cement, and a couple of simple add-ins, you can make sturdy decorative stakes that look surprisingly high-end tucked into flower beds, lining a walkway, or standing in a large porch planter.
This is the kind of weekend project I’d happily do while supper simmers and the kids are in and out of the backyard asking what I’m making now. If you enjoy easy outdoor décor with a little personality, this one is for you. The finished stakes have a clean fluted shape, nice weight, and enough durability to hold up beautifully outdoors.
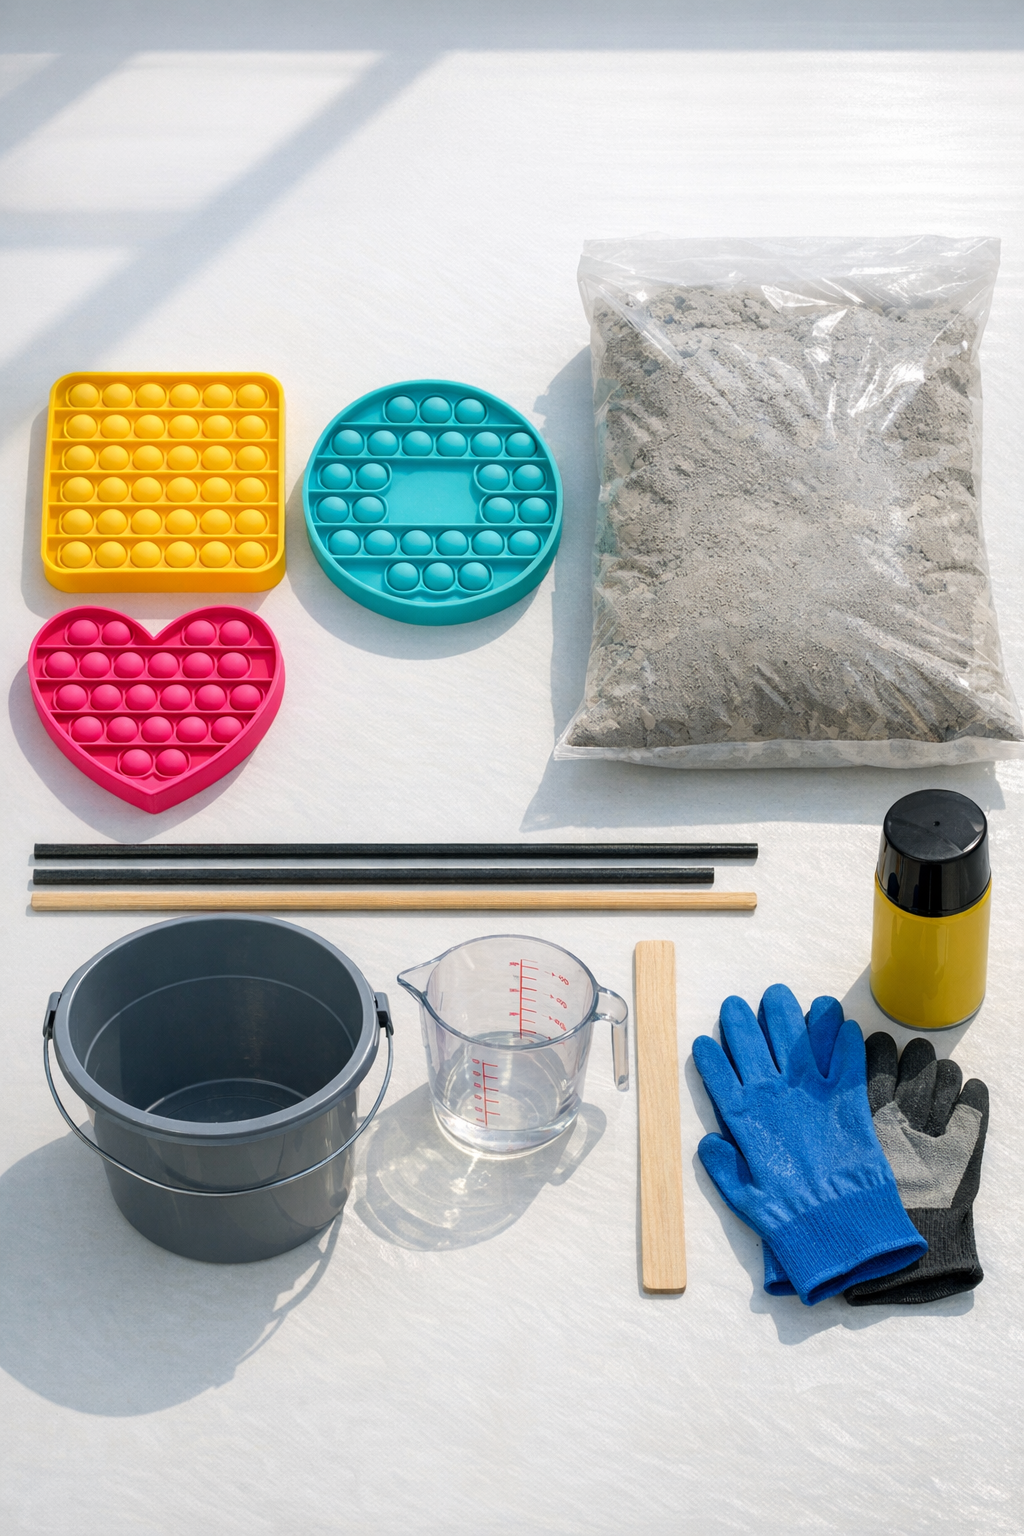
Materials
Instructions
1. Cover your work surface with a plastic drop cloth and set the silicone push-pop molds upright in a box, loaf pan, or container that will help keep them steady while you fill them.
2. Lightly coat the inside of each mold with cooking spray or mold release, then wipe out any heavy puddles so the fluted detail stays crisp.
3. If you want extra weight low in the piece, add about 1/3 cup pea gravel or sand to the bottom of each mold before pouring in the cement.
4. In a bucket, mix the cement and water until it looks like thick brownie batter with no dry pockets; stir slowly to keep air bubbles to a minimum.
5. Spoon or carefully pour the cement into each mold, filling to about 1/2 inch below the top, then tap the sides several times to release trapped bubbles.
6. Insert one stake or dowel rod into the center of each mold, pushing it down far enough for a secure hold but not so deep that it breaks through the bottom.
7. Use a small piece of painter’s tape across the top of each mold to help keep the stake centered while the cement sets.
8. Let the pieces cure undisturbed according to the cement package directions, usually 24 hours for handling and longer for full strength.
9. Once the cement is firm, gently peel back the silicone molds and push from the bottom to release each fluted cement form without chipping the edges.
10. Stand the stakes upright and let them continue curing for another 24 to 48 hours before placing them in the garden or a planter.
Variations & Tips
For a smoother finish: If you want a cleaner, more polished look, sift out any large grit from the cement mix or use a finer cement product. A smoother mix shows off those fluted lines beautifully.
For extra personality: After full curing, dry-brush the raised ridges with outdoor masonry paint in white, charcoal, sage, or terracotta. I think this is especially pretty in planters by the front steps.
For picky décor tastes: If your family likes the garden to feel simple and uncluttered, make all three stakes the same height for a tidy matched set. If you like more charm, vary the heights by trimming molds or using different stake lengths.
To prevent cracks: Don’t make the cement too watery, and always let the pieces cure slowly out of harsh direct sun on the first day. That little bit of patience makes a big difference.
If you do not have metal stakes: Sealed hardwood dowels can work in covered planters, but metal or fiberglass garden stakes hold up better outdoors over time.
Placement tip: These look best grouped in threes near low flowers, herbs, or ornamental grasses where the fluted shape can peek through. I like using handmade pieces like this to make even a small yard feel thoughtful and finished.