
Patterned patio stones are one of those projects that look far more expensive than they are, and this version is especially satisfying because the texture comes from everyday household items. In this tutorial, I’m using wicker plate holders plus two other simple texture-makers to press decorative patterns into wet cement and create a set of three heavy garden or patio stones with a handmade, old-world feel.
I like projects like this because they sit right at the intersection of practical and beautiful. As someone who spends a lot of time in the kitchen noticing texture, pattern, and presentation, I’m always drawn to surfaces that feel crafted rather than factory-made. These stones are a good fit for beginners, but they’re also fun for experienced DIYers who want a quick weekend project with a dramatic result.
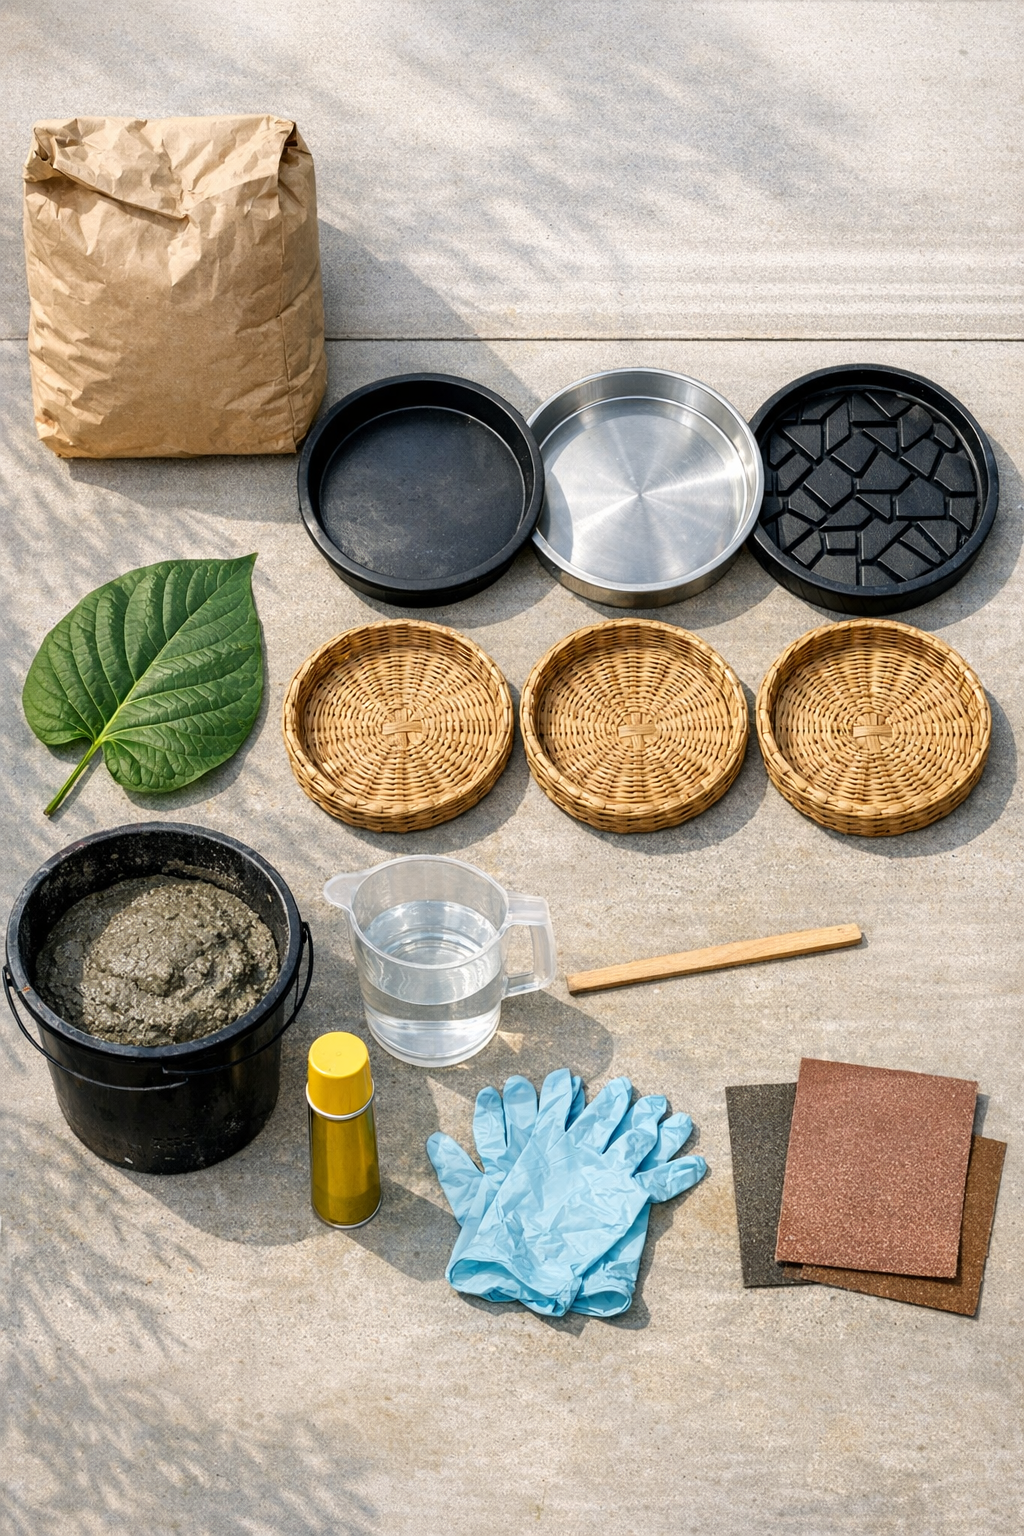
Materials
Instructions
1. Cover your work surface with a plastic drop cloth and set the three molds on a flat area where they can remain undisturbed for at least 24 hours. Use pebbles or small cardboard shims under the molds if needed so each one sits level.
2. Lightly coat the inside bottom and sides of each mold with nonstick spray or a thin film of oil. This makes the stones easier to release and helps preserve the patterned surface.
3. Choose one texture item for each stone: a wicker plate holder for the first, a piece of patterned rubber mat for the second, and a large leaf for the third. Trim the rubber or leaf if needed so each texture fits comfortably inside its mold without folding up the edges.
4. In a bucket or mixing tub, combine the concrete mix with water a little at a time until it reaches the consistency of thick oatmeal or brownie batter. It should hold its shape when scooped but still spread easily into the molds.
5. Place the wicker plate holder, rubber mat, and leaf into the bottoms of their molds with the textured side facing up toward the cement. Press each one flat so the pattern will transfer evenly.
6. Fill each mold with wet cement to a thickness of about 1 1/2 inches. Tap the sides firmly with your hand and gently jiggle the molds to release trapped air bubbles.
7. Smooth the top surface with a stir stick or trowel, remembering that this side will become the bottom of the finished stone. If you want a cleaner edge, run a gloved finger lightly around the rim.
8. Let the cement set until firm, following the timing on your mix, usually 24 hours for safe unmolding. If the weather is hot and dry, lay plastic loosely over the molds so they cure more evenly and don’t dry too fast.
9. Turn each mold over onto a protected surface and gently flex or tap the mold to release the stone. Peel away the wicker, rubber, or leaf slowly to reveal the pattern underneath.
10. Allow the stones to cure for another 2 to 5 days before placing them on the patio or in the garden. Once fully dry, sand any rough edges lightly with 120-grit sandpaper.
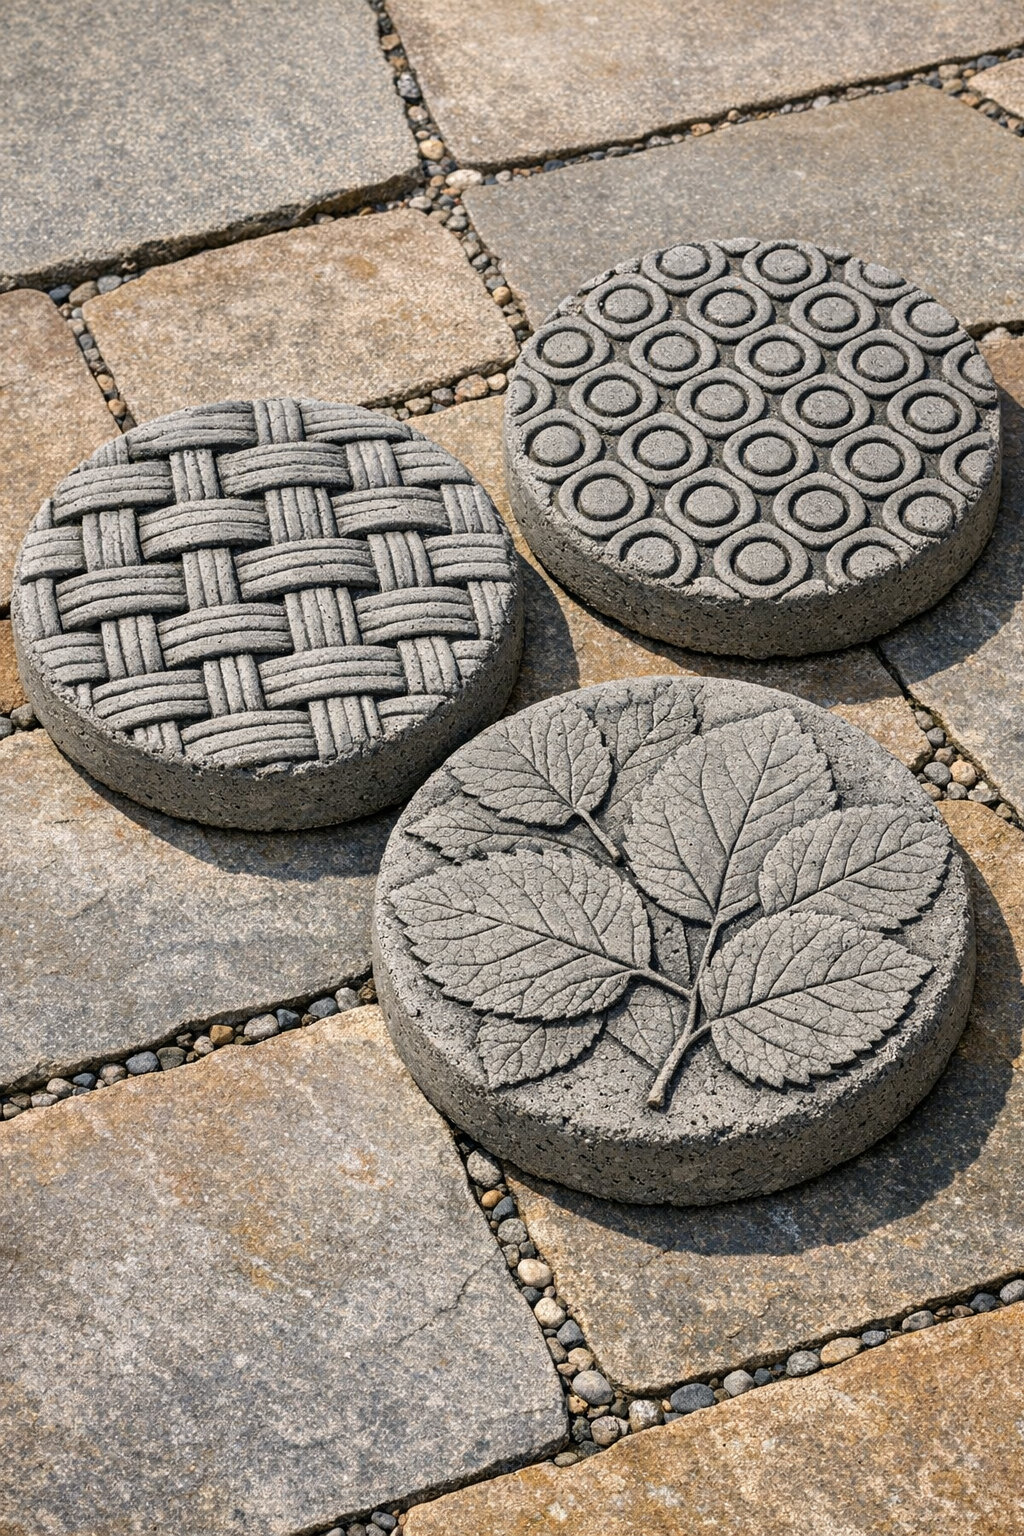
Variations & Tips
Try different mold shapes: Round stones are classic, but square trays, loaf pans, or shallow storage lids can give you a more modern look.
Choose strong textures: The deeper and more defined the pattern, the better it reads in cement. Woven wicker, rubber mats, and broad-veined leaves tend to give the clearest impressions.
Don’t make the mix too wet: A soupy batch weakens the stone and blurs the pattern. I’ve learned, much like with a batter or dough, that consistency is what determines the final texture.
Use a release layer when needed: If your wicker is delicate, lay a very thin sheet of plastic wrap over it before adding cement. The texture will be a bit softer, but cleanup is easier.
Add color after curing: You can brush on diluted exterior acrylic paint or masonry stain to highlight the pattern, then wipe back the high spots for an aged effect.
Place them carefully: These stones are heavy and hold up best on compacted soil, gravel, or a stable patio base. Set them in place only after full curing so the edges stay crisp.