
I’ve always had a soft spot for projects that turn something worn-out into something useful, especially when the end result can stand up to weather, hard use, and a bit of muddy Midwestern life. These DIY landscaping bricks made from shredded blue jeans and two everyday household liquids are one of those satisfying little transformations that feel almost like kitchen-table magic, only the finished piece belongs out by the garden path instead of on the supper table.
If you’ve got old denim that’s too far gone for mending, this is a practical way to give it a second life. The method is simple, the ingredients are few, and the finished bricks work well for edging small beds, filling decorative garden gaps, or making stepping accents in lighter-traffic areas. I like this kind of project for folks who enjoy upcycling, don’t mind a little hands-on mixing, and want something sturdy without a long shopping list.
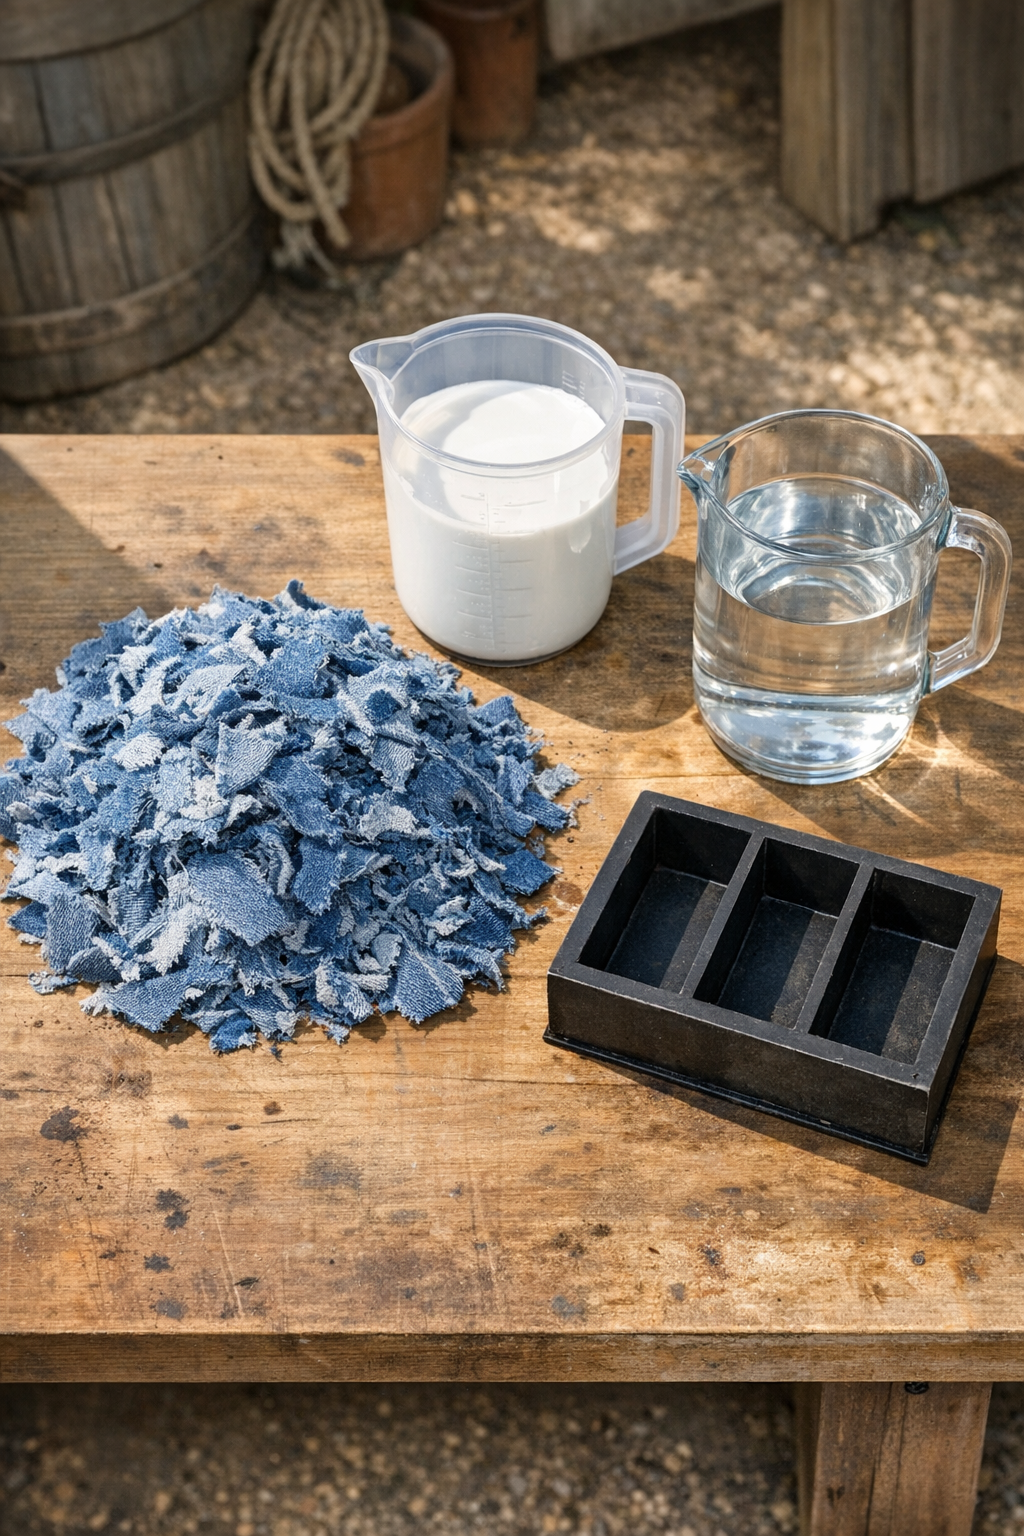
Materials
Instructions
1. Cut or tear the denim into small shredded pieces, aiming for an even mix so the fibers bind together more smoothly. If there are thick seams, belt loops, or metal parts, remove them before shredding.
2. In a large bucket or mixing bowl, combine the 2 cups of white glue and 1 cup of warm water until the liquid is smooth and evenly blended. The mixture should look milky and pour easily.
3. Add the shredded denim to the glue mixture a handful at a time, stirring well after each addition so every piece gets fully soaked. Let it sit for 10 to 15 minutes so the fibers absorb the liquid.
4. Stir and press the mixture until it forms a thick, heavy pulp that holds together when squeezed in your hand. If dry pieces remain, work them down into the wet mixture until the texture is consistent.
5. Pack the denim pulp firmly into a brick mold, loaf pan, or a simple rectangular form lined with plastic or wax paper for easy release. Press down hard in layers to remove air pockets and make the brick as dense as possible.
6. Smooth the top surface and press again with a flat board, can, or scrap wood to compact it further. The tighter you pack it now, the harder and more durable the finished brick will be.
7. Leave the mold in a warm, dry, well-ventilated spot for 24 to 48 hours, then carefully remove the brick from the mold. Set it on a rack or board so air can reach all sides.
8. Dry the unmolded brick for 5 to 7 more days, turning it once a day so it hardens evenly. Wait until it feels firm, dry, and rock-hard before using it outdoors.
Variations & Tips
For a smoother finish: Use smaller denim shreds and press the top firmly with wax paper between the brick and your flattening board. That gives the surface a more even, tidy look.
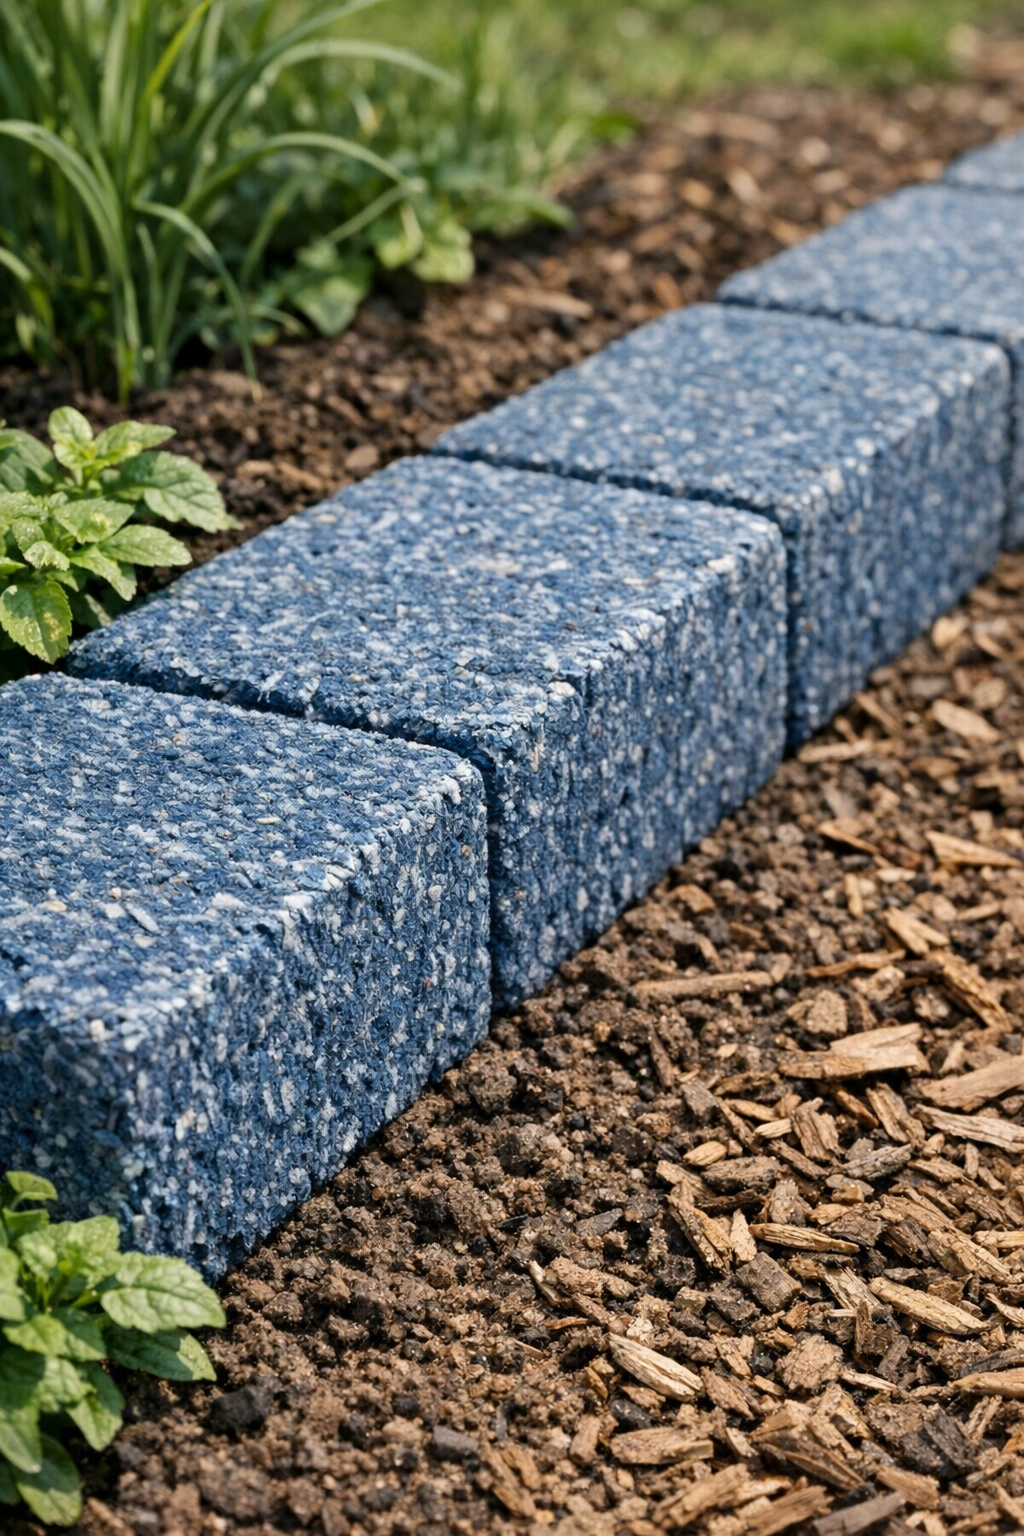
For thicker garden edging: Make narrower but taller molds instead of broad flat ones. I’ve found those easier to tuck along bed lines where you want definition without taking up too much planting space.
For easier drying: Set the bricks where there’s moving air, like a covered porch or shed with a fan nearby. Around my way, a still humid day can slow a project like this by more than you’d expect.
For better durability: Pack the mixture harder than seems necessary and do not rush the cure time. A thoroughly dried brick will hold up far better than one that still has moisture trapped in the middle.
Best use note: These are ideal for decorative landscaping, bed edging, and light stepping paths rather than structural building. I treat them like a hardworking garden accent, and that’s where they shine.
Denim choice: All-cotton blue jeans work best because the fibers break down and bind more evenly. Stretch denim with lots of synthetic fiber can still work, but the texture is usually rougher and a little springier.
Mold tip: If you don’t have a brick mold, a small loaf pan or homemade wooden form does the job just fine. That kind of make-do spirit reminds me of how folks around here have always built useful things from what was already on hand.