
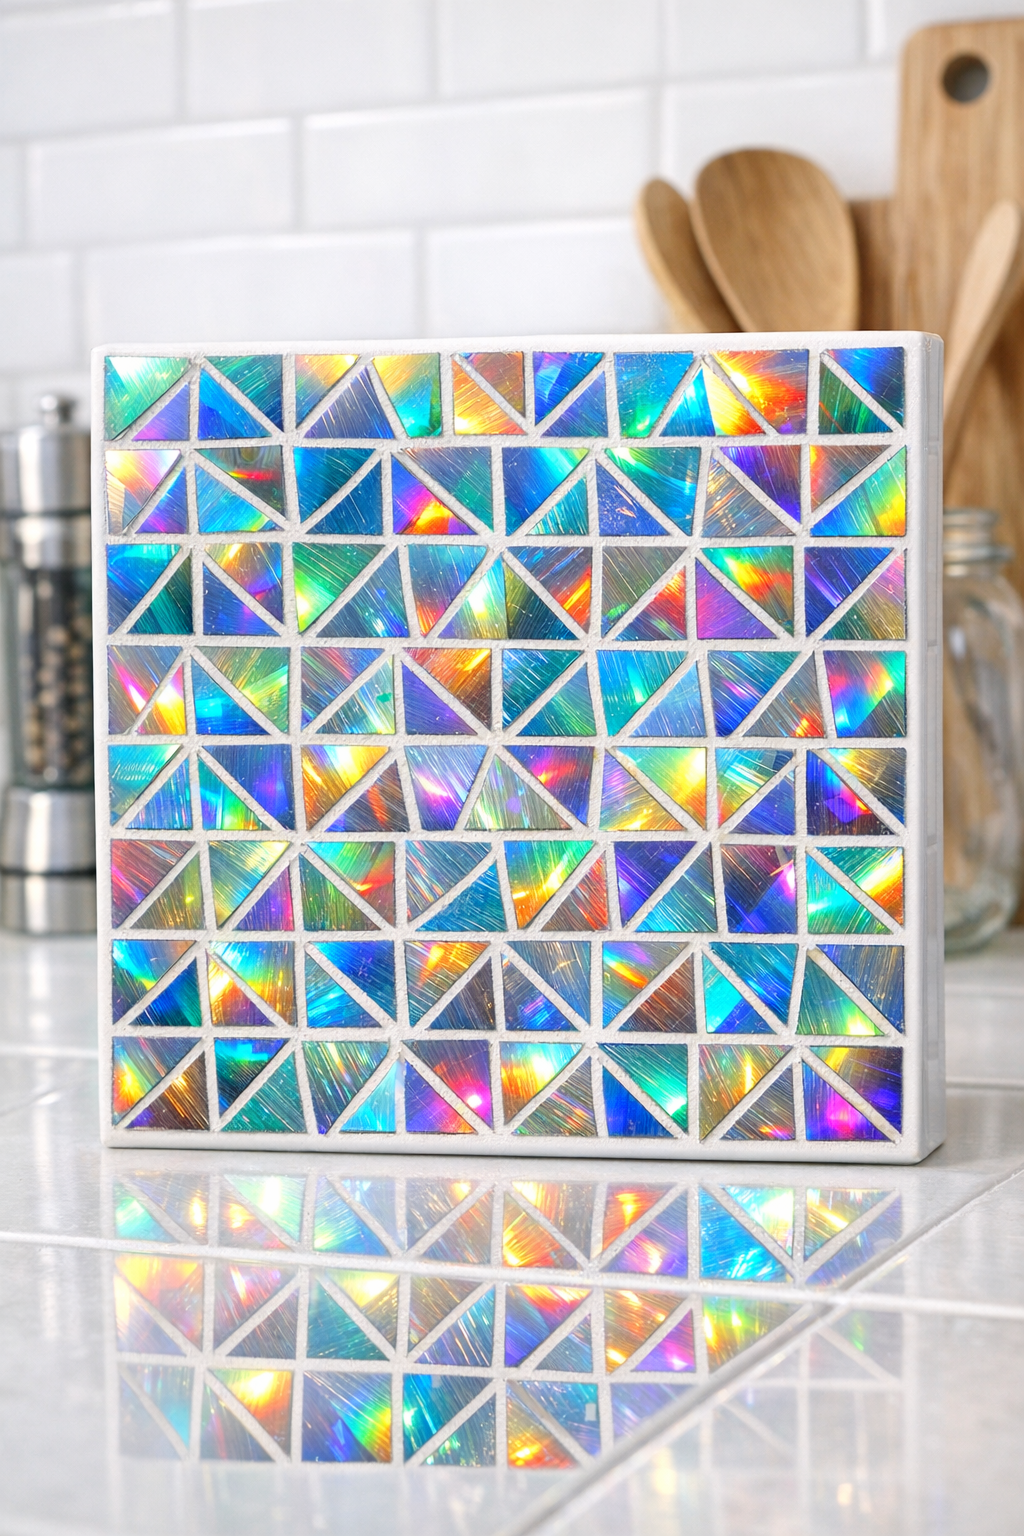
If you have a stack of scratched old CDs tucked in a drawer, this is one of those wonderfully satisfying projects that turns clutter into something genuinely pretty and useful. In this tutorial, I’ll show you how I make simple iridescent mosaic backsplash tiles using old CDs plus two everyday basics. The finished look catches the light in such a cheerful way, and it’s a lovely budget-friendly update for a small kitchen nook, coffee bar, or craft corner.
I especially like this kind of project for anyone who wants a big visual payoff without fancy supplies. As a parent, I’m always drawn to projects that help me reuse what I already have, and this one feels a little magical the first time you see those rainbow pieces set into place. It does take a bit of patience, but the steps are straightforward and very doable at home.
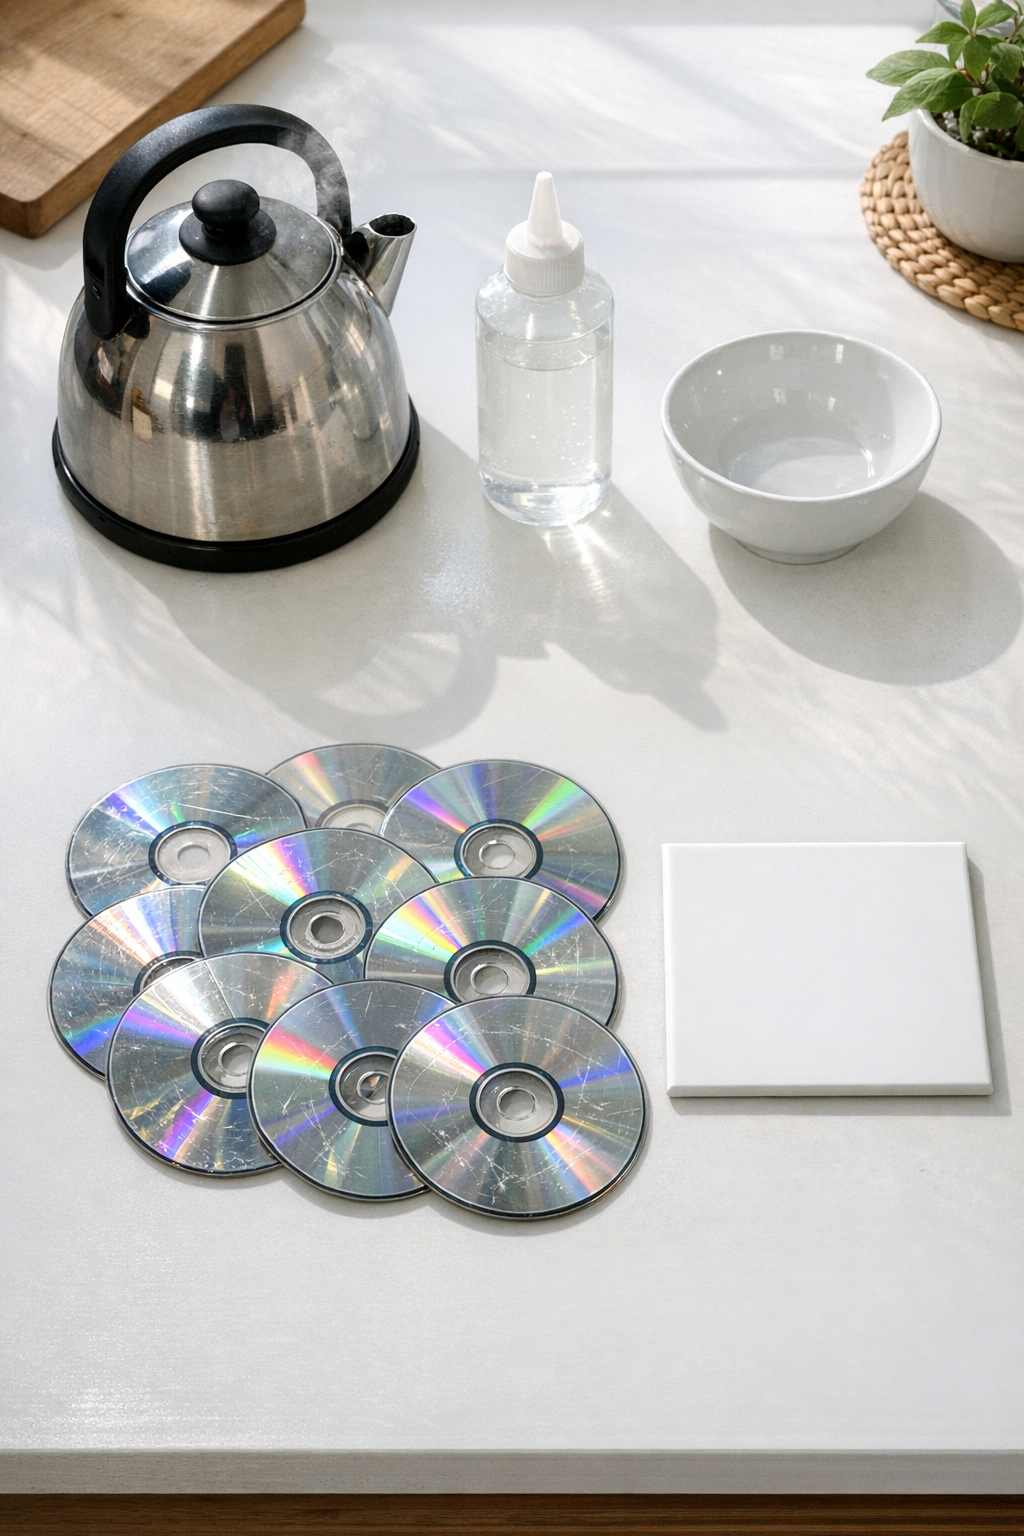
Materials
Instructions
1. Bring 6 cups of water to a boil, then pour it carefully into a heat-safe bowl. Place the scratched CDs in the hot water for 1 to 2 minutes to help loosen the top film layer.
2. Remove one CD at a time and gently start peeling apart the reflective film from the clear plastic layer with your fingernail. If it resists, return it to the hot water for another minute and try again.
3. Once the reflective layer is loosened, break or cut the CD into small mosaic pieces about 1/2 inch to 1 inch wide. Varying the shapes gives the finished tile a more natural mosaic look.
4. Wipe the ceramic tile clean and dry so the glue will bond well. Set it flat on your work surface before arranging any pieces.
5. Lay the CD pieces on the tile without glue first and experiment with spacing until you like the pattern. I usually leave a narrow gap between pieces so the mosaic design feels balanced instead of crowded.
6. Lift a few pieces at a time and spread a thin layer of clear-drying glue onto the tile, then press the pieces back into place. Work in sections so the glue stays tacky and the layout remains neat.
7. Continue gluing until the tile surface is covered with your mosaic design. Check that all edges are pressed down well, especially the smaller corner pieces.
8. Let the tile dry completely for at least 24 hours before using it as a decorative backsplash accent or display piece. Once dry, the surface should feel secure and glossy.
Variations & Tips
For a softer look: Use larger CD pieces with more space between them if you want the finished tile to feel less busy and a little more modern.
For picky decorators: If your family likes things simpler, make a border pattern around the tile edge and leave the center plain instead of covering the whole surface.
For easier handling: Sort the broken CD pieces by size before gluing so you can quickly fill large areas first and tuck small pieces into the gaps at the end.
For better shine: Place the finished tile where it catches natural light or under-cabinet lighting; that’s when the iridescent effect really comes alive.
For a safer finish: If any edges feel sharp after placing the pieces, choose flatter sections from the CDs and press them firmly into the glue so the surface stays as smooth as possible.
Use note: This works best as a decorative backsplash accent, trivet-style display tile, or small panel rather than a heavy-duty cooking splash zone unless you seal and install it with products made for permanent tile work.