
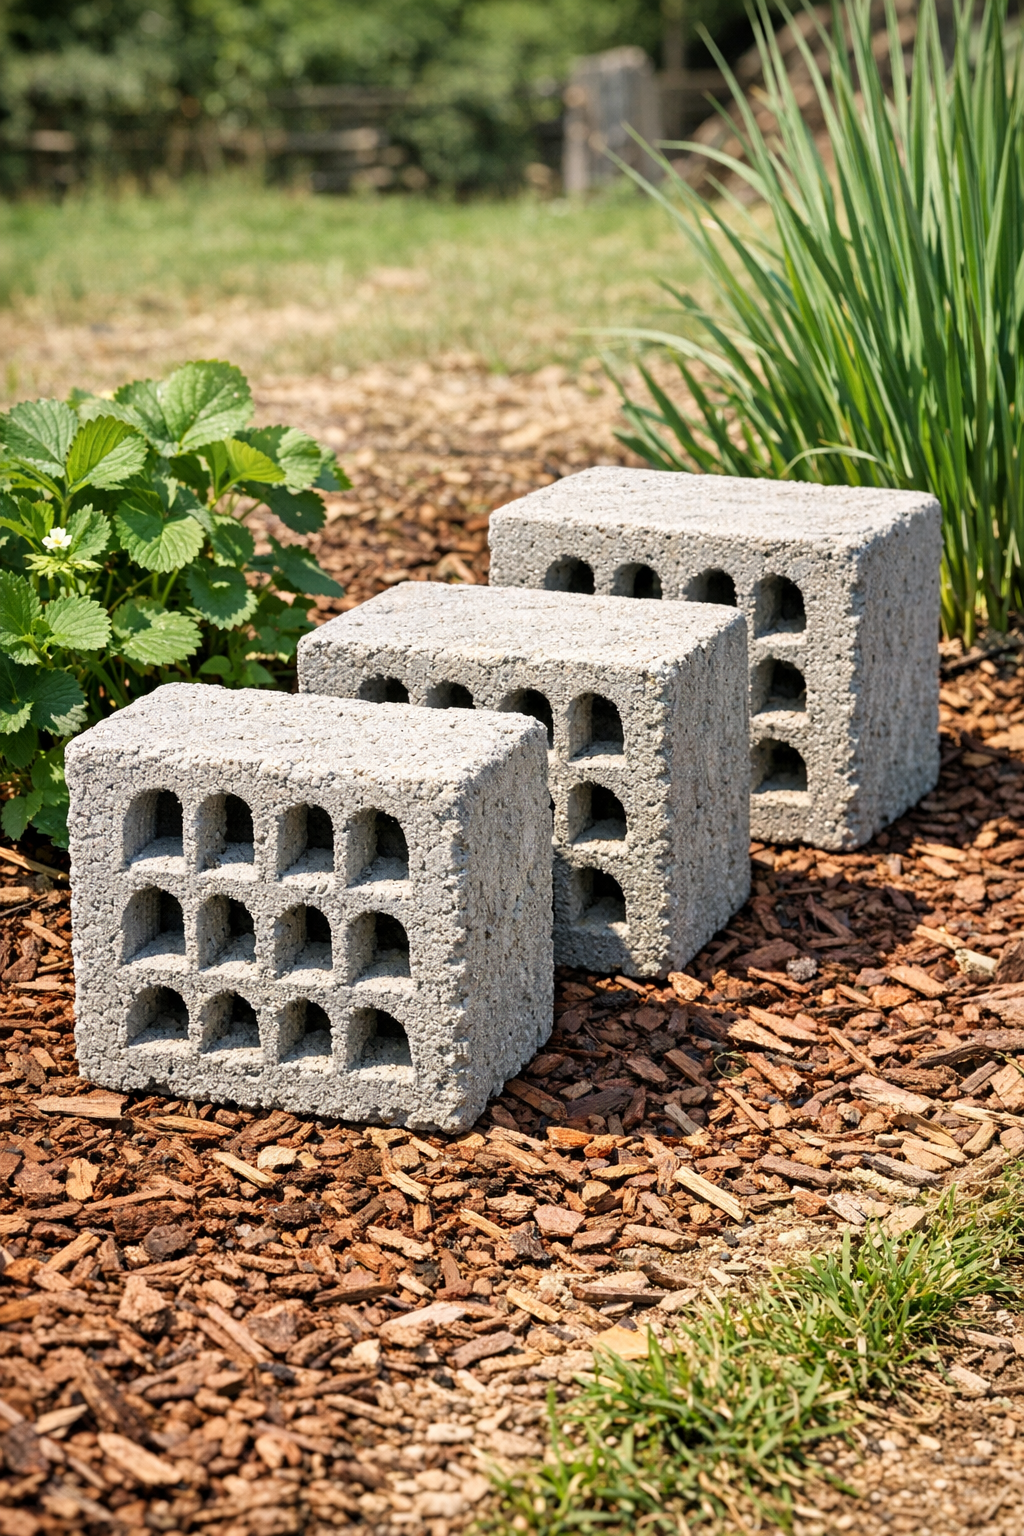
There’s something deeply satisfying about turning throwaway packaging into something solid and useful, especially out here where I’ve always believed a good idea ought to earn its keep. This little project uses plastic strawberry clamshells as molds to make heavy vented yard blocks from cement, and the finished pieces have a lovely open pattern that looks far more expensive than the ingredients would suggest.
I’m especially fond of projects like this because they feel a bit like the old farmstead way of doing things: save what you can, use what you have, and make something sturdy enough to last. These blocks are wonderful for tucking into flower beds, edging a path, weighting down a light garden screen, or simply adding a pretty bit of structure to the yard. If you’re patient enough to let cement cure properly, this is an easy beginner project.
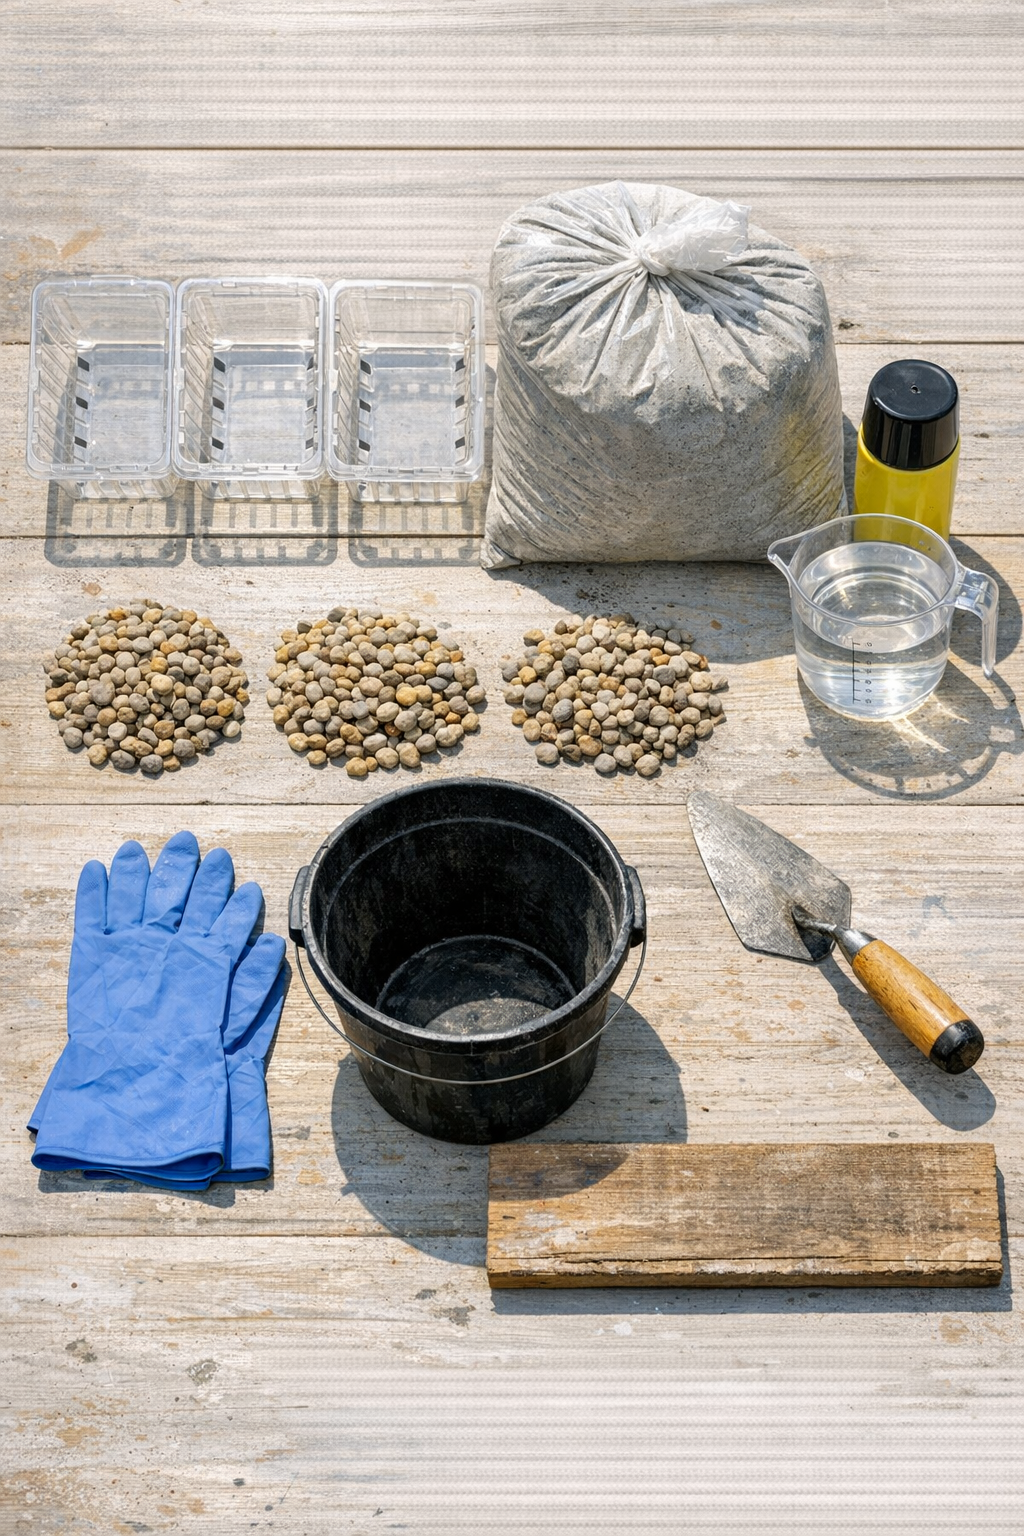
Materials
Instructions
1. Wash the strawberry clamshells thoroughly and let them dry completely, then snap each one shut and check that the hinge and latch still hold their shape.
2. Cover your work surface with a plastic drop cloth and set the clamshells on a flat, level area so the finished blocks cure evenly.
3. Lightly coat the insides of the clamshells with cooking spray or a thin film of vegetable oil, making sure to get into the corners and around the vent openings.
4. In the bucket, mix the cement with water a little at a time until it reaches the texture of thick oatmeal; it should hold its shape when scooped but still settle when tapped.
5. Spoon about 1 inch of cement into the bottom half of each clamshell, then tap each container gently against the table to release large air bubbles.
6. Scatter 1/2 cup of pea gravel into each mold and press the stones lightly into the wet cement so they become embedded without sinking all the way down.
7. Add more cement on top until each clamshell is filled nearly to the rim, leaving about 1/4 inch of space so the lid can close without forcing excess mix out.
8. Close each clamshell gently and latch it, then press lightly on the top so the vented pattern transfers into the cement and the block takes on the shape of the mold.
9. Let the molds sit undisturbed for 24 hours, then open one carefully and check that the block feels firm before unmolding all three.
10. Peel the plastic away slowly, support the block with both hands, and set each piece in a shaded spot to cure for another 2 to 5 days before placing it in the yard.
11. If any edges feel rough, rub them lightly with an old sanding stone, brick, or a scrap of cured cement once the blocks have hardened fully.
Variations & Tips
For a smoother finish: Use a finer sand-topping mix instead of standard coarse cement mix if you want sharper detail from the clamshell pattern.
For extra weight: Add a little more pea gravel or a few small broken bits of old brick to the center of each block, but keep the top and bottom layers mostly cement so the shape holds together well.
For easy mold release: Don’t skip the oiling step. I’ve learned over the years that a tiny bit of preparation saves a heap of muttering later when it’s time to unmold.
For outdoor durability: Let the blocks cure slowly out of hot direct sun. Cement that dries too fast can turn chalky or crack before it has a chance to gain strength.
For decorative use: Once fully cured, you can dry-brush the raised areas with a little exterior masonry paint in soft gray, mossy green, or warm sandstone if you want them to stand out among the flowers.
For placement: These work nicely as small garden accents, around a stepping-stone border, or as weights at the base of lightweight yard décor. I like pieces that are practical first and pretty second, and these manage to be both.