
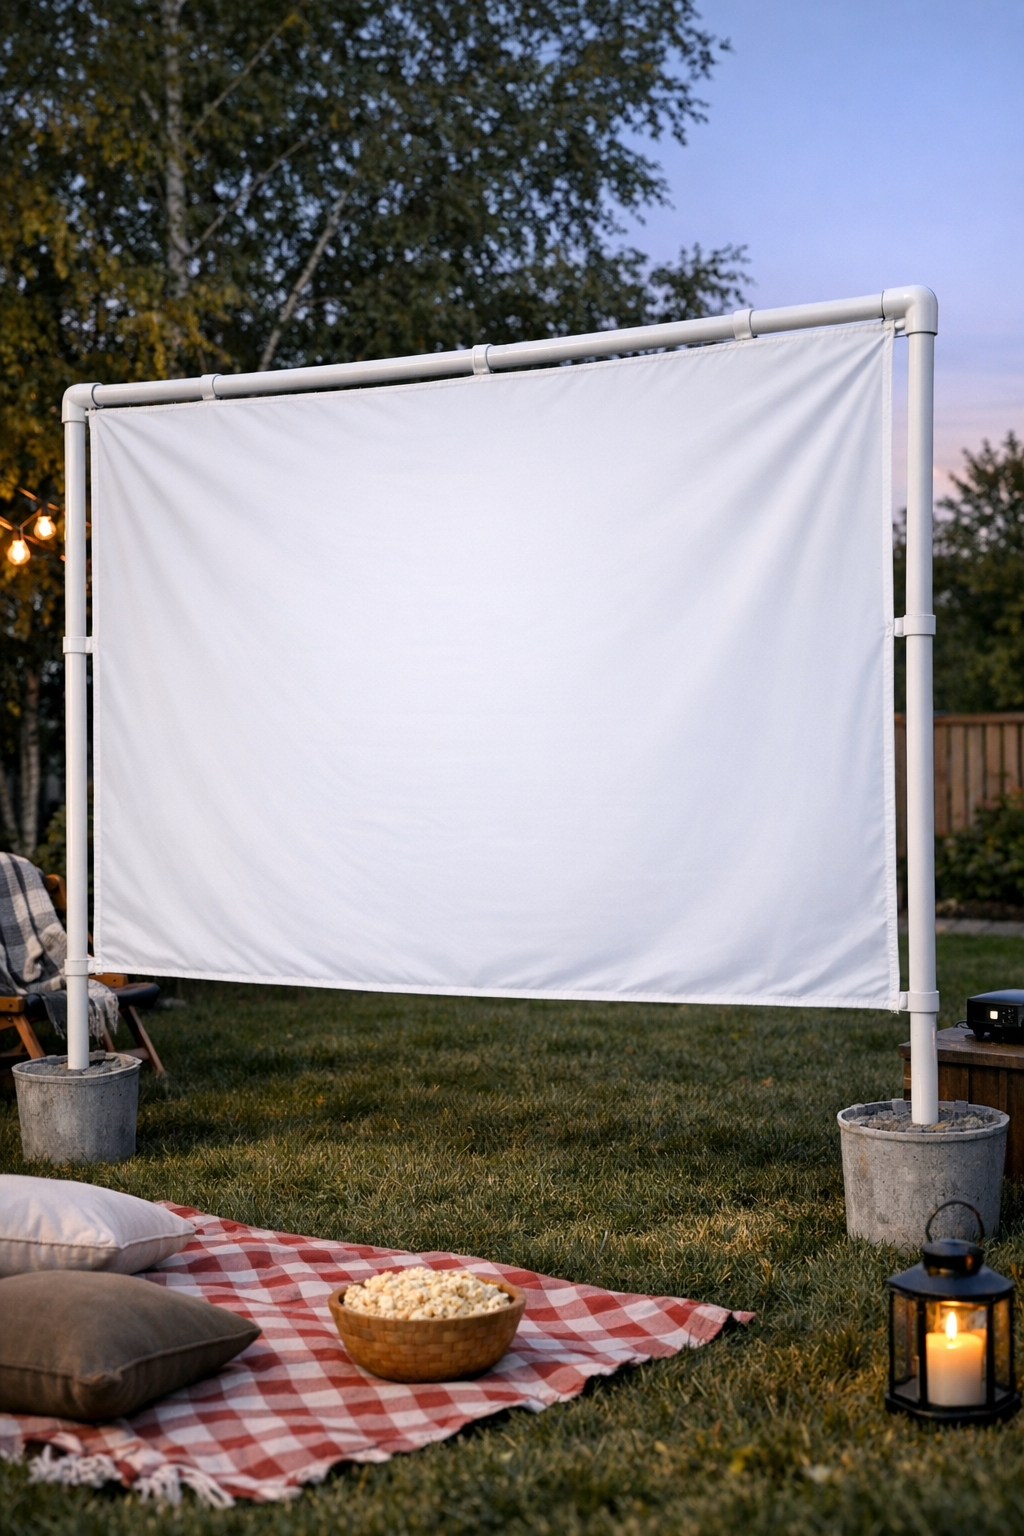
There is something so special about turning an ordinary backyard into a movie spot for the evening, and this simple outdoor screen is one of my favorite warm-weather projects. If you have a projector, a little open space, and a few basic supplies, you can make a sturdy movie screen by stretching a white bedsheet over a PVC frame instead of spending money on a store-bought setup.
I like this project because it is budget-friendly, lightweight, and easy to take apart when the season changes. It is a great choice for families, casual summer get-togethers, or anyone who wants that cozy backyard movie-night feeling without making the job complicated.
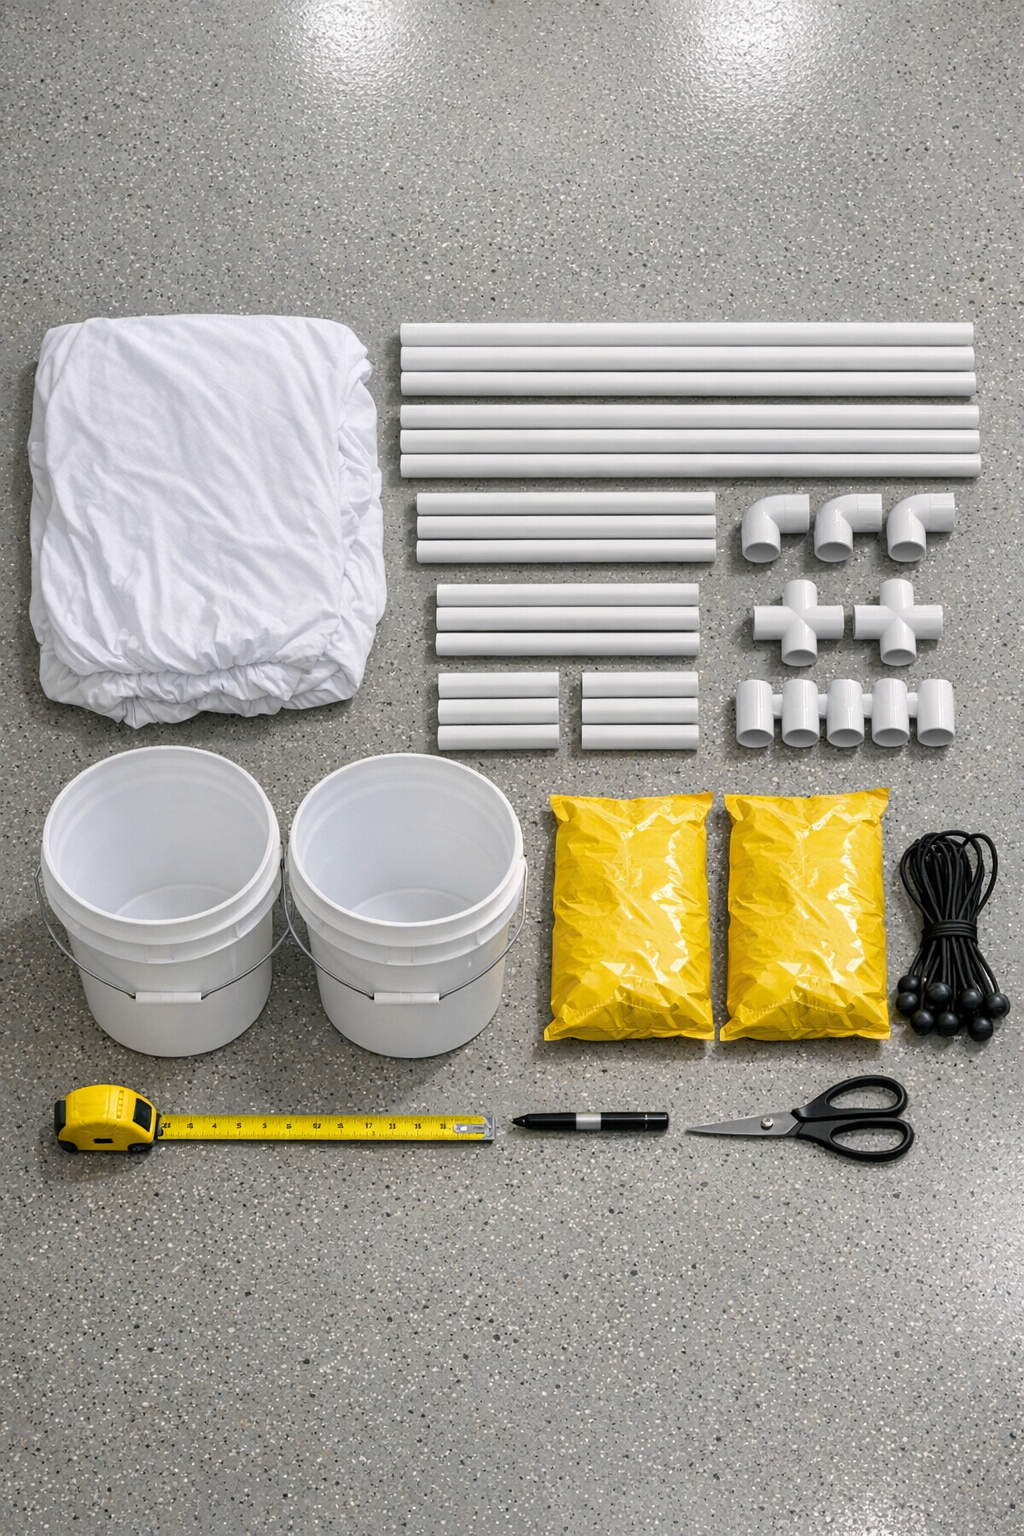
Materials
Instructions
1. Choose a flat backyard spot with enough room for the screen, projector, and seating, then measure your fitted sheet to confirm the visible white center will cover the frame opening well.
2. Cut your PVC if needed so you have two 90-inch width pieces, two 72-inch upright pieces, two 36-inch base feet, and two 24-inch rear support braces.
3. Build the rectangular screen frame by connecting the two 90-inch pipes and the two 72-inch pipes with four elbow connectors, checking that all corners sit square.
4. At the bottom of each side, add a T-connector if your layout requires it for the leg-to-base connection, then dry-fit the frame on the ground to make sure everything lines up before standing it up.
5. Make the two weighted bases by mixing concrete in each 5-gallon bucket and setting one upright PVC leg into the center of each bucket, holding it straight until the mix firms up.
6. Let the bucket bases set according to the concrete instructions, then attach the frame to the upright legs and connect the 36-inch base feet and 24-inch rear support braces so the screen stands tall and stable.
7. Slip the white fitted bedsheet over the frame, starting with the top corners and then pulling the pocketed corners over the bottom so the elastic edges hug the PVC.
8. Stretch the sheet evenly from side to side and top to bottom, then use 8 to 12 ball bungee cords around the back of the frame to tighten loose spots until the front looks smooth.
9. Stand back and check the screen surface for wrinkles, adjusting the sheet corners or adding a few more bungees or zip ties at the back until the fabric looks flat and centered.
10. Set your projector at the proper distance, test the picture after sunset, and rotate the screen slightly if needed so the image is bright and easy to see from your seating area.
Variations & Tips
For a tighter screen: If your sheet still sags a bit, clip or bungee the fabric at the middle of each side on the back of the frame. That little extra tension makes a big difference in picture quality.
For windy evenings: Add extra weight to the buckets or place sandbags over the bases. Around here, even a mild breeze can wobble a lightweight setup, so I always plan for that.
Sheet choice tip: A fitted sheet usually grabs the frame better than a flat sheet because the elastic corners help hold it in place. If you only have a flat sheet, use more bungees or clamps around the back edge.
Kid-friendly movie night setup: I like to spread out outdoor blankets, floor cushions, and a popcorn table in front of the screen to make the night feel extra special. It turns a simple project into one of those family memories everyone talks about later.
Storage tip: If you want to reuse the screen often, label the PVC pieces with a marker in small hidden spots so reassembly goes faster next time. It saves a surprising amount of guesswork.
Size adjustment: You can scale this project up or down based on your sheet size and projector strength. Just keep the frame slightly smaller than the stretched sheet so the fabric can stay taut.