
I love a project that turns something ordinary into something you’ll reach for every single day, and these ultra-durable workshop bins do exactly that. By cutting up thick plastic 3-ring binders and pairing them with one other simple item, you can make sturdy little bins that are perfect for sorting screws, wall anchors, zip ties, seed packets, craft notions, or all those tiny bits and pieces that seem to multiply in a drawer overnight.
What I especially like about this build is that it’s practical, inexpensive, and beginner-friendly. If you’ve got a garage, basement, craft corner, or even a kitchen junk drawer that needs taming, this is the kind of project that makes life feel a little more organized without a big fuss. Around my house, anything that helps everyone find what they need faster is a win.
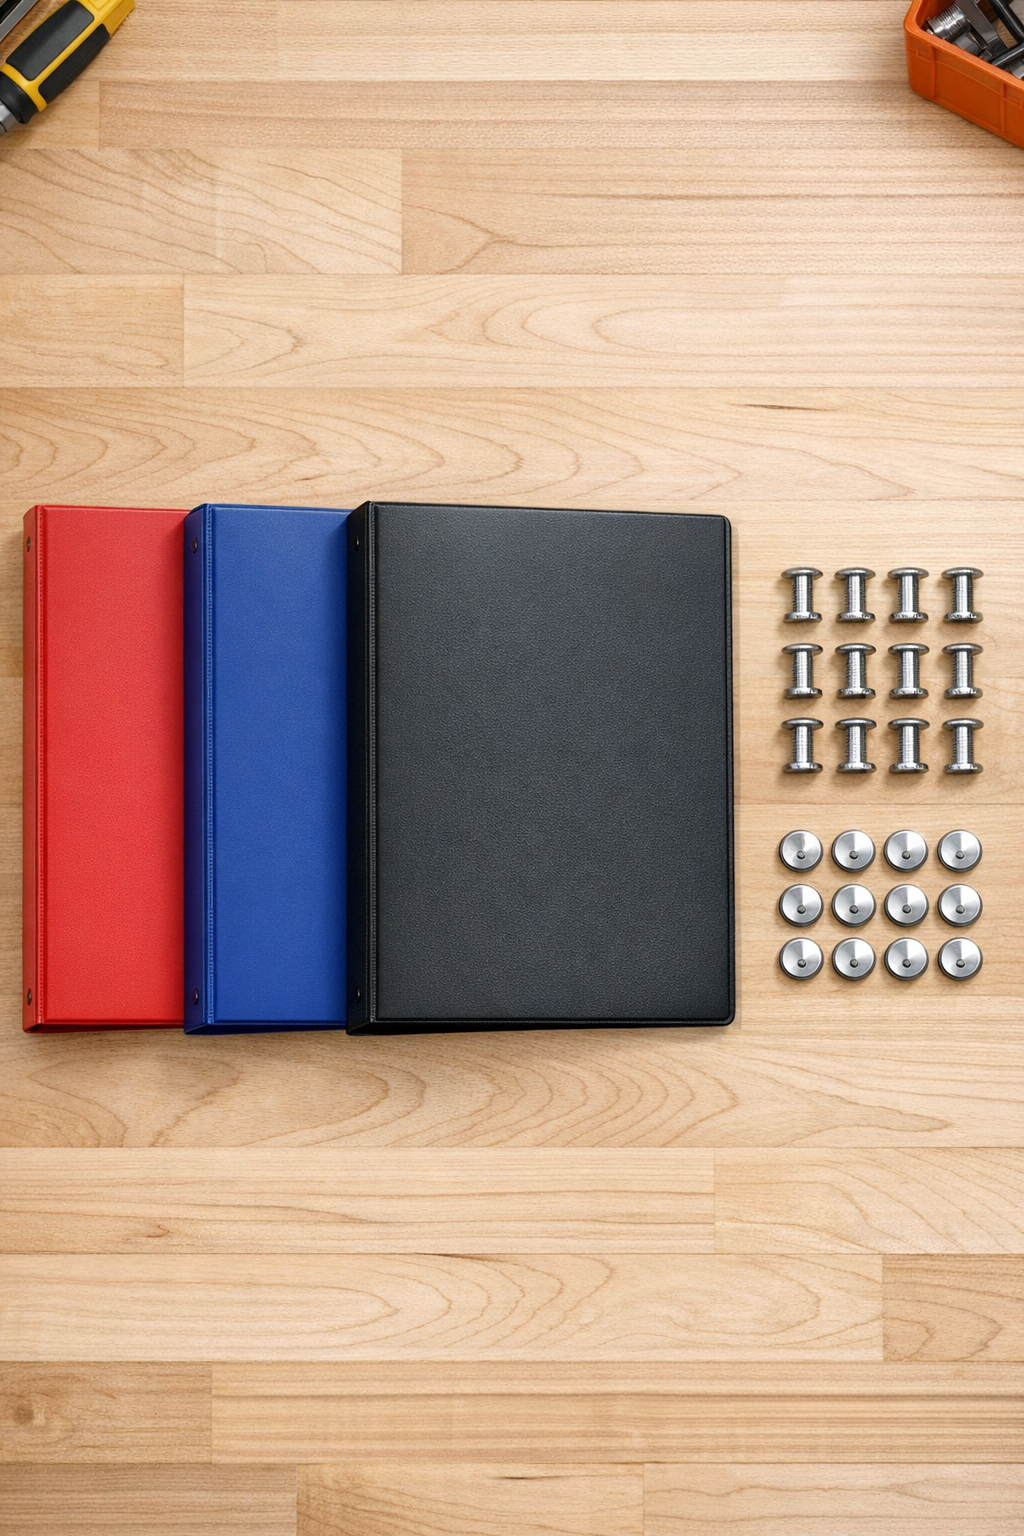
Materials
Instructions
1. Open one binder flat and study the cover layout so you can use the front cover, back cover, and spine as separate bin parts. Wipe the binder clean so you’re working on a dust-free surface.
2. Cut away the ring mechanism section so you’re left with flat plastic panels from the binder covers. Trim off any fabric edging, pockets, or uneven tabs to make clean rectangular pieces.
3. From the cover panels, cut one base rectangle measuring 8 inches by 5 inches, two long side panels measuring 8 inches by 3 1/2 inches, and two end panels measuring 5 inches by 3 1/2 inches. If your binder has a curved spine area, save the flattest sections for the base and long sides.
4. Stack the two long side panels against the long edges of the base and mark two fastening points on each side, placing each mark 3/4 inch in from the corners and 3/8 inch up from the bottom edge. Repeat on the two short ends, marking one or two fastening points per corner so all sides will join tightly.
5. Make holes at each marked point through the overlapping plastic layers, keeping the holes just large enough for the Chicago screw posts. Work slowly so the holes line up cleanly and the bin sits square when assembled.
6. Attach the long side panels to the base with Chicago screws, inserting the post from underneath the base and tightening the screw cap from the outside wall. Snug them firmly by hand so the plastic holds its shape without buckling.
7. Set the end panels between the long sides and fasten each corner with Chicago screws through the overlapping edges. Tighten each connection evenly, checking that the top rim stays level as you go.
8. Test the bin by pressing gently on each side and tightening any loose fasteners. If needed, trim the top edges so all four sides are even and smooth for easy stacking and handling.
9. Repeat the process with additional binders to make a matching set of bins for nails, hardware, small tools, or craft supplies. Keeping the sizes consistent makes them much easier to line up on a shelf.
Variations & Tips
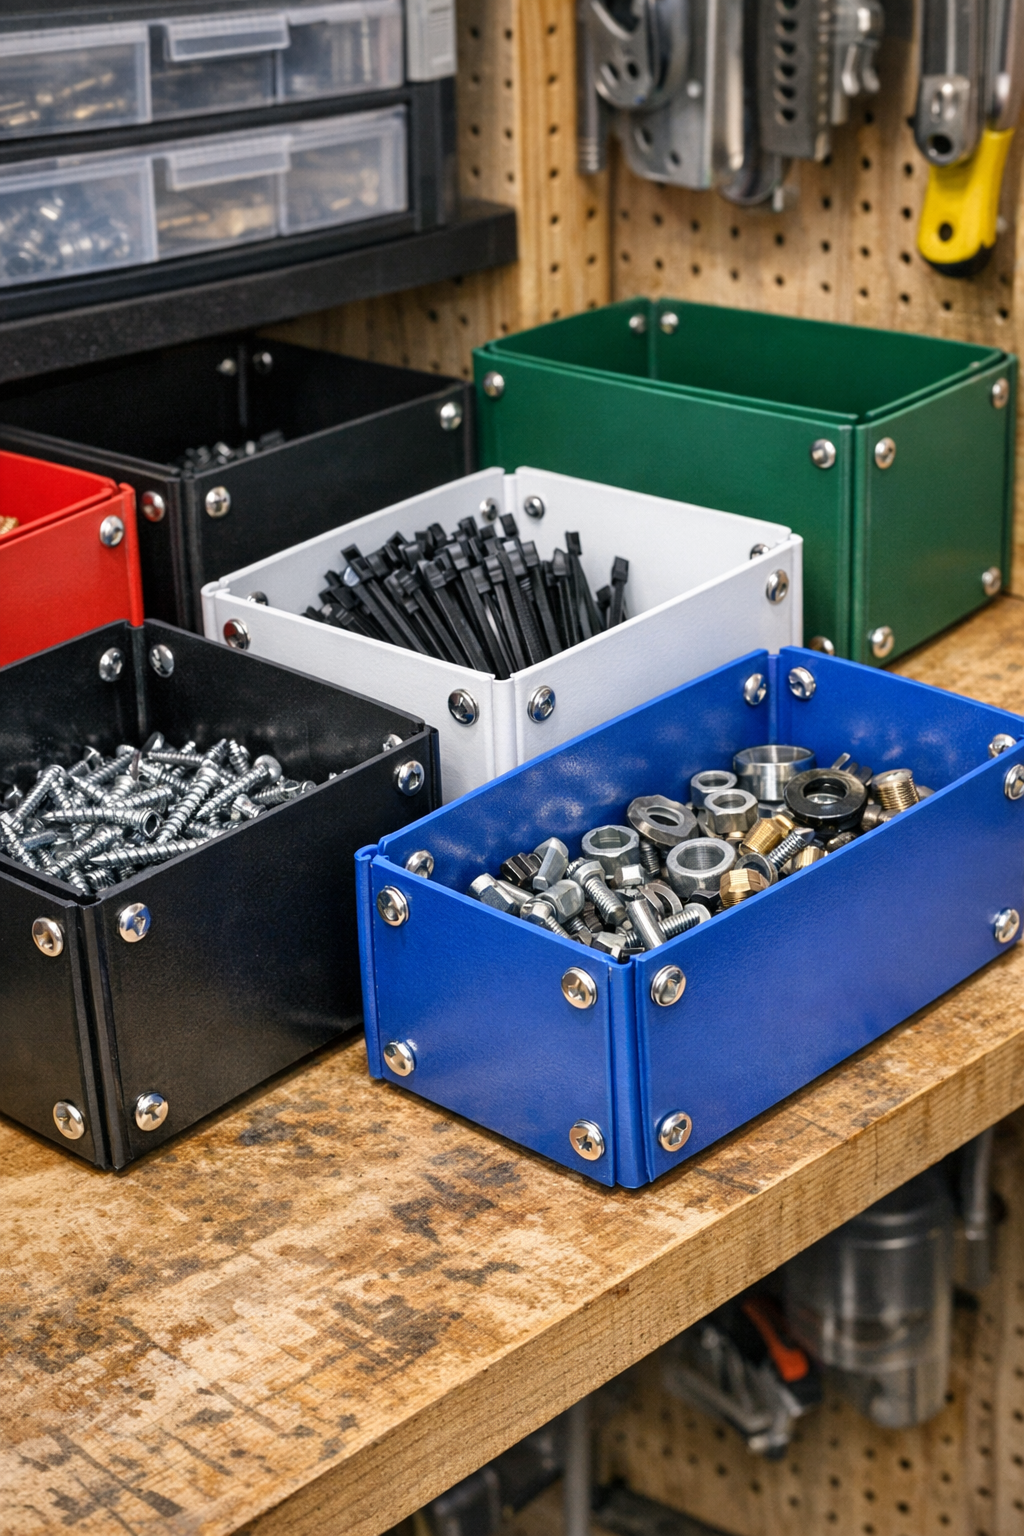
For picky organizers: If your family is anything like mine, people are more likely to put things back when every category has its own bin. Make a few in different binder colors so everyone can remember which one holds what.
Deeper bins: Increase the side height to 4 or 4 1/2 inches if your binder covers are tall enough. Just keep the base slightly smaller so the plastic doesn’t fight you during assembly.
Low-profile bins: For drawer storage, cut the side panels down to 2 or 2 1/2 inches tall. These shorter bins are wonderful for washers, picture hangers, beads, and sewing machine accessories.
Fastener spacing: If you plan to hold heavier hardware, add an extra Chicago screw near the center of each long side. That little bit of reinforcement makes the bins feel surprisingly solid.
Edge cleanup: Try to keep your cuts as straight as possible, especially along the top rim. A smooth, even edge gives the finished bin that polished look people never expect from old binders.
Best binder choice: The thickest polypropylene binders work best for this project. Flexible, flimsy covers can still be used, but the finished bins won’t have the same crisp shape or long-term durability.
Good uses beyond the workshop: These bins are just as handy in a pantry, laundry room, mudroom, or homework station. I’ve learned that a tough little container is one of those simple things that quietly makes a busy home run better.