
If you’ve ever had a set of plastic window blinds snap on you, this is exactly the kind of project I love turning them into instead of tossing them out. These woven patio privacy panels are simple, inexpensive, and surprisingly polished once they’re hung up, and they give you a little extra shade and separation on a porch, balcony, or patio without committing to anything permanent.
As someone who is usually squeezing projects in between work deadlines and figuring out dinner, I really appreciate DIYs like this one that use what you already have on hand and don’t require a full weekend. If you want a practical upcycle that looks intentional and modern, this is a very doable project for beginners.
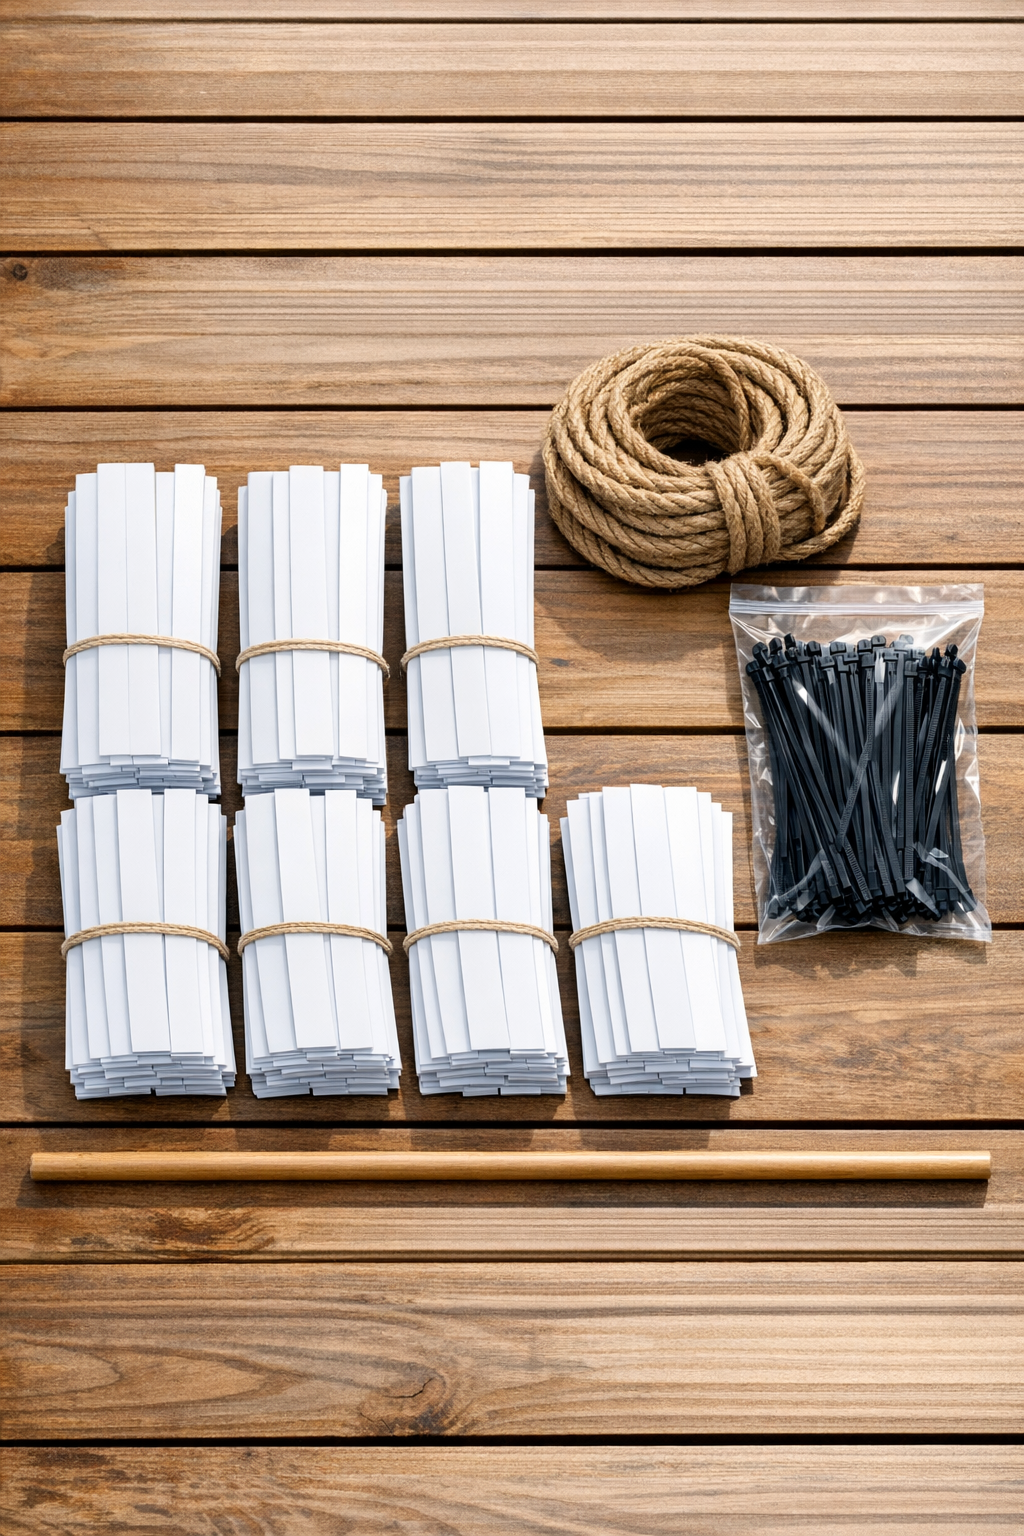
Materials
48 snapped plastic window blind slats, each about 1 inch wide and 48-60 inches long
Instructions
1. Sort your blind slats by length and condition, and set aside any badly cracked pieces; for four matching panels, aim for 12 usable slats per panel.
2. Wipe each slat clean with a damp cloth so dirt and dust don’t get trapped in the weave, then let them dry fully.
3. Lay two dowel rods parallel on a flat surface, spacing them 30 inches apart to form the top and bottom of your first panel.
4. Secure the first slat to the top dowel with a zip tie at each end, wrapping through the slat’s existing holes if possible; trim the zip tie tails neatly.
5. Attach the same slat to the bottom dowel with two more zip ties so it sits straight and lightly taut, creating the first vertical strip.
6. Add five more vertical slats across the panel, spacing them evenly about 5 inches apart and fastening each one to both dowels with zip ties.
7. Begin weaving horizontal slats through the vertical ones, going over one slat and under the next, then alternating the pattern on the following row.
8. Continue weaving until you have six horizontal slats interlaced with the vertical slats, then center the woven grid between the dowels.
9. Use small zip ties at the outer edges and a few center contact points to keep the weave from shifting, tightening only enough to hold the slats without bending them.
10. Cut two 24-inch lengths of jute rope and tie them securely to the ends of the top dowel to create a hanger for the panel.
11. Repeat the same layout, fastening, and weaving process to make the remaining three panels, keeping the spacing as consistent as possible for a matched set.
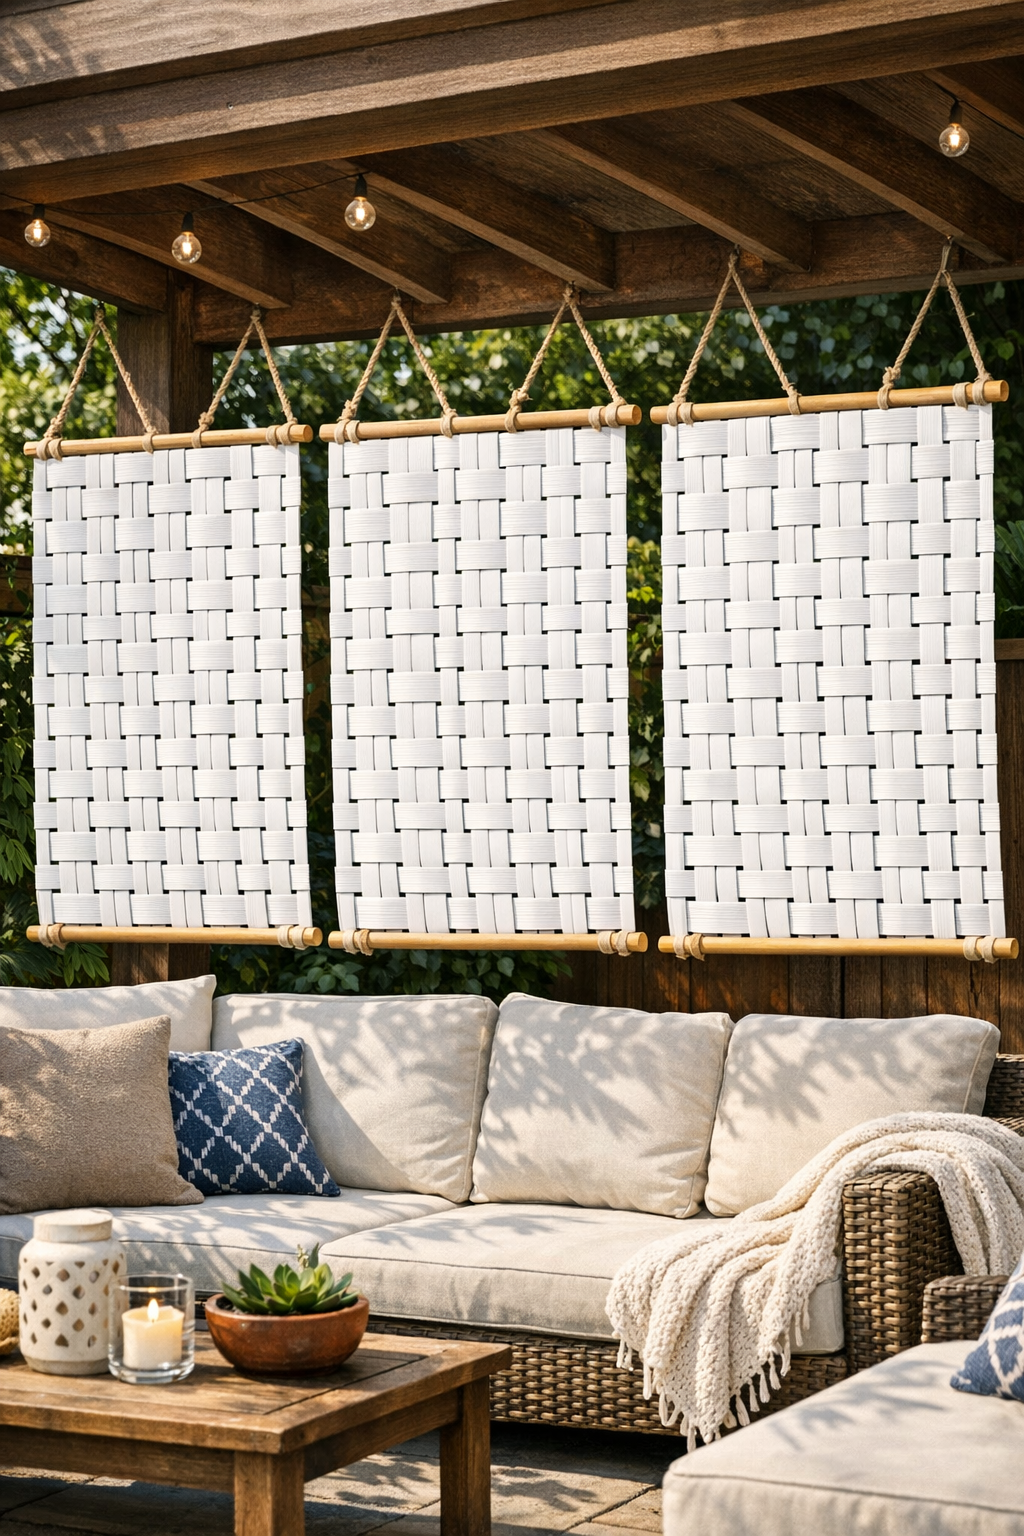
12. Hang the four finished panels side by side on a patio wall, balcony railing, pergola, or fence, adjusting the rope lengths until they line up evenly.
Variations & Tips
Painted finish: If your blinds are mismatched or yellowed, spray-paint the slats and dowels the same color before assembly. Matte black, soft white, and sage green all look especially nice outdoors.
Stronger weather resistance: For a panel that will stay outside longer, swap jute rope for outdoor nylon cord and use UV-resistant zip ties. That one small upgrade makes a big difference in Midwest sun and rain.
Different panel sizes: If your patio needs a narrower or taller screen, adjust the dowel length and slat count to fit the space. I always dry-lay one panel on the floor first so I can see the proportions before fastening anything.
More privacy: Weave the slats closer together or add extra horizontal rows if you want less visibility through the panel. A tighter weave also gives it a more finished, decorative look.
Hanging tip: If you’re attaching these to a railing, thread the rope directly around the rail instead of using hooks. It keeps the panels from swinging as much on breezy days.
Best slat selection: Use the straightest slats for the vertical pieces because they set the shape of the whole panel. I save slightly curved pieces for the horizontal weave where they’re much less noticeable.