
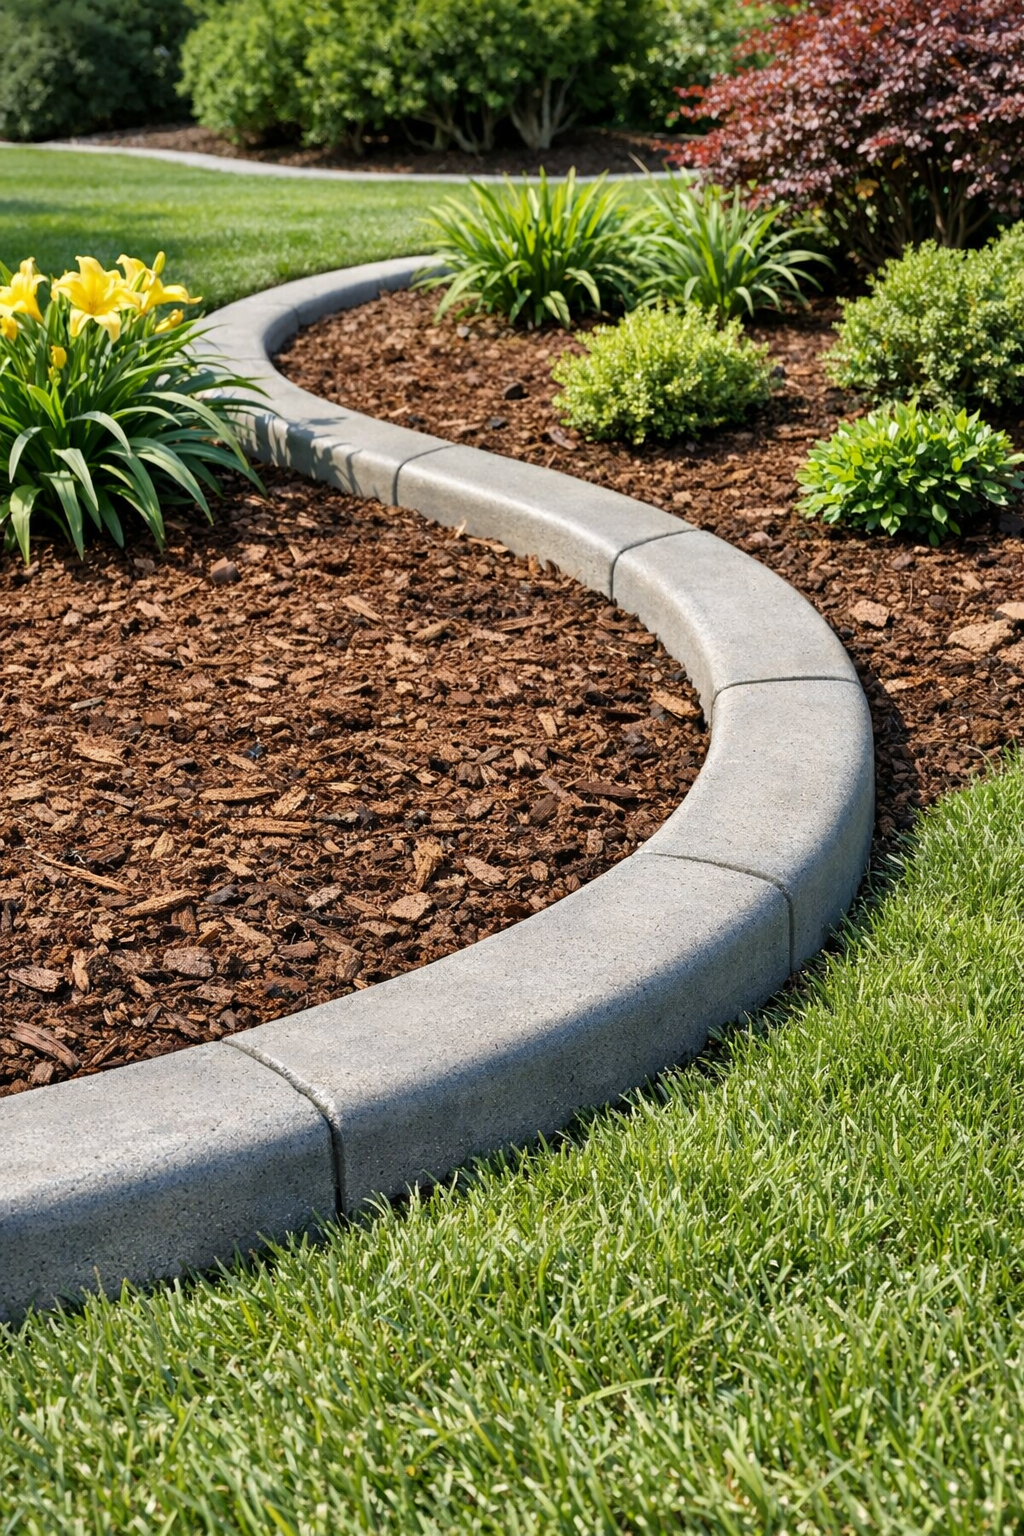
I love a yard project that looks surprisingly polished without eating up an entire weekend, and this curved garden border is exactly that kind of build. By using sliced foam pool noodles as a mold, then filling them with wet cement and reinforcing them, you can make heavy, low-profile edging that bends into soft curves and stays put once it cures. It gives flower beds and walkways a clean outline, but it still feels a little playful because the starting materials are so unexpected.
This is a great project if you want a more custom look than plastic landscape edging but don’t want to deal with cutting stone or setting full concrete blocks. I’m always looking for outdoor projects I can squeeze in between work and dinner prep, and this one is manageable in stages: prep the molds, mix and fill, let them cure, then place them when you have time.
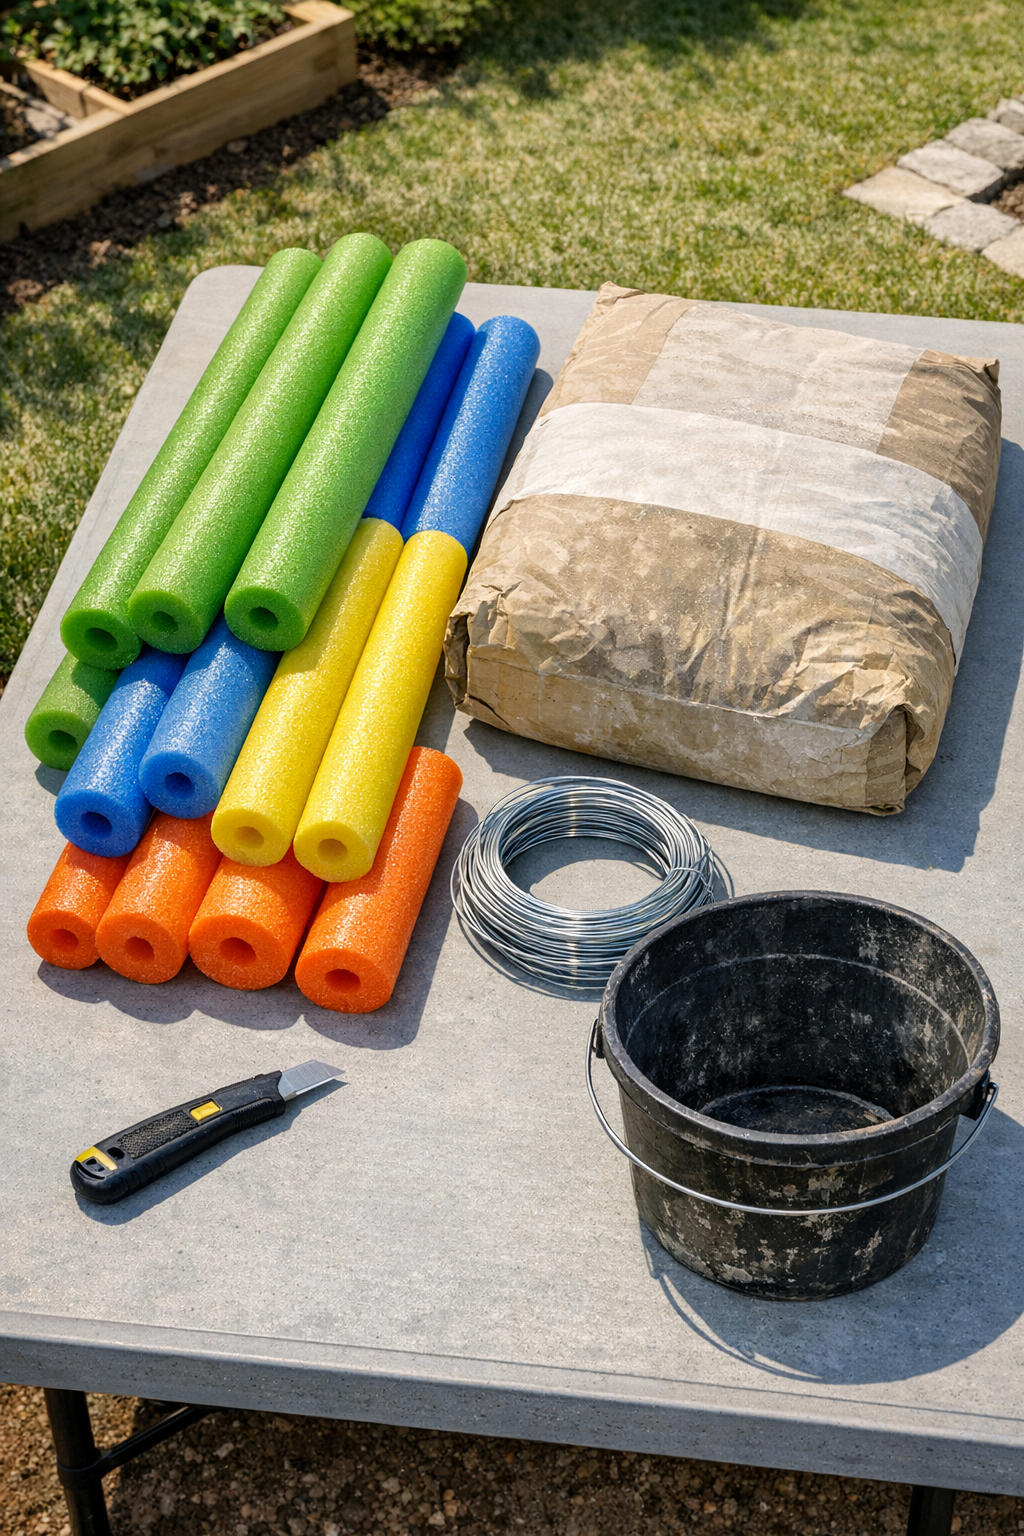
Materials
4 foam pool noodles, 2.5 inches diameter x 52 to 54 inches long
Instructions
1. Choose the border shape you want in the yard and measure the total curved length, then decide how many noodle sections you need. I like to lay out a garden hose first so I can see the curve before I make anything permanent.
2. Cut each pool noodle to your desired border length, then slice one straight slit lengthwise down each noodle so it can open slightly as a mold. Keep the slit narrow and as centered as possible so the finished piece stays rounded.
3. Cut galvanized wire into lengths about 2 inches shorter than each noodle section, and gently bend each piece to match the curve you want. This wire acts like a simple reinforcement so the cured cement border is less likely to crack when moved.
4. Set the noodle molds on a flat surface covered with scrap cardboard, boards, or a level patch of ground so they hold their curved shape. If needed, tuck small rocks or blocks along the outside to keep the noodles from rolling.
5. Mix the cement in a bucket according to the package directions until it reaches a thick, spoonable consistency, similar to stiff oatmeal. Don’t make it too runny or it will be messy to pack into the noodle molds.
6. Open the slit in one noodle section and pack in a 1-inch layer of wet cement, then press a bent wire length into the center. Add more cement until the noodle is filled, tapping the sides lightly to settle the mix and remove air pockets.
7. Continue filling all the noodle sections, smoothing the slit area as best you can and checking that the wire stays buried in the middle. Let the filled molds sit undisturbed until the cement is firm enough to hold its shape, usually a few hours with fast-setting mix.
8. Once the pieces are partially cured and solid, carefully peel or cut away the foam noodles from the cement forms. If any seam line looks rough, smooth it gently with a damp gloved hand before the concrete fully hardens.
9. Let the border pieces cure fully for 24 to 48 hours, keeping them on a flat surface so they don’t twist. If the weather is hot and dry, lightly mist them once or twice during curing to help prevent surface cracking.
10. Dig a shallow trench around your bed or walkway, set the curved concrete pieces into place, and press soil firmly around the base. Stagger the joints slightly if you use multiple sections so the border looks more natural and continuous.
Variations & Tips
Use shorter sections: If you want tighter curves, make more border pieces in shorter lengths of 18 to 24 inches. Shorter pieces are also easier to carry and less likely to crack during placement.
Add texture: Before the cement fully sets, press a stiff brush, sponge, or even a gloved hand lightly over the surface for a less uniform look. I usually prefer a simple smooth finish, but a little texture helps the pieces blend into the garden.
Choose the right mix: Fast-setting concrete is convenient, but a sand-topping or mortar-style mix can give you a smoother surface in a smaller mold like this. If your mix contains large gravel, pick out oversized stones so packing the noodle is easier.
Work in small batches: When I’m fitting a project in after work, I only mix enough cement for one or two sections at a time. It keeps the mix from hardening in the bucket before I’m ready.
Stabilize the finished border: For high-traffic areas, sink the pieces slightly deeper and backfill well with compacted soil. You can also bed them in a thin layer of sand for easier leveling.
Try a tinted finish: If you want a warmer or darker border, use concrete colorant in the mix or seal the cured pieces with an exterior masonry sealer made for tinted finishes. It’s an easy way to make the border coordinate with brick, mulch, or your walkway.