
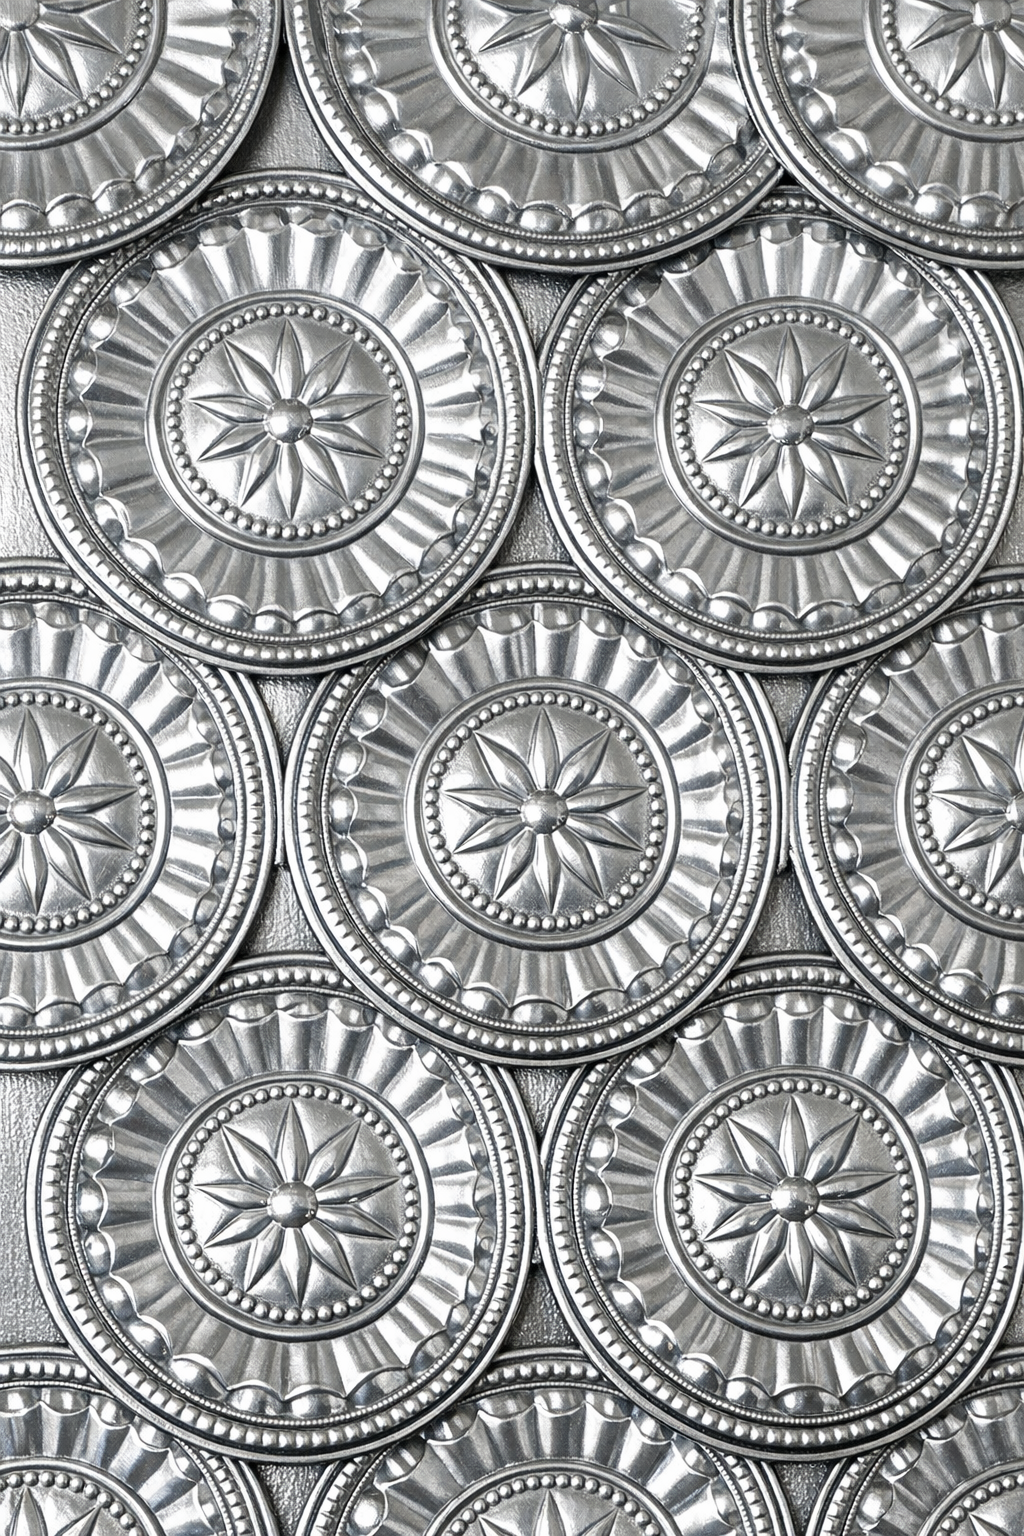
This faux stamped tin wall panel project is one of those budget-friendly makeovers that looks far more expensive than it really is. Using simple aluminum pie pans and two everyday household items, I can create lightweight decorative panels with that vintage pressed-metal feel, and they’re especially lovely in a pantry nook, laundry room, hallway, or above a coffee station.
I’m always drawn to projects that make a space feel finished without requiring fancy tools or a big weekend commitment, and this one fits beautifully. If you like upcycling, renter-friendly decorating, or just want a satisfying craft that gives a big visual payoff, this is a wonderful place to start.
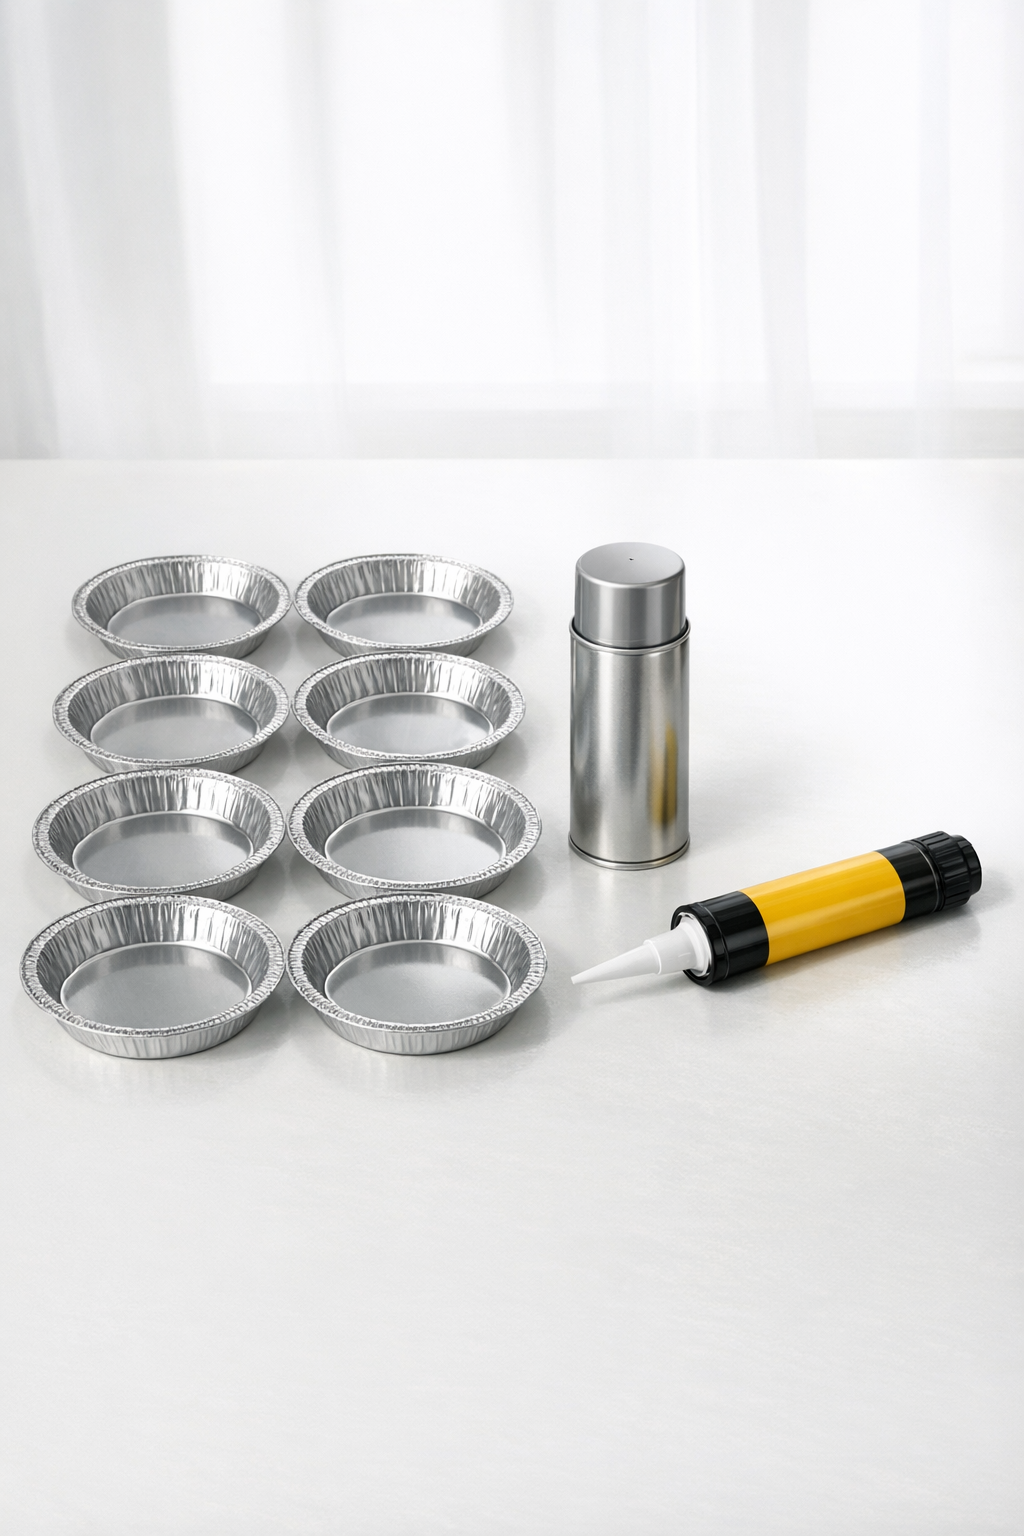
Materials
12 disposable aluminum pie pans, 9-inch size
Instructions
1. Wipe each aluminum pie pan clean and let it dry fully so the paint and adhesive will stick well.
2. Flatten each pie pan by pressing the center and crimped sides downward with your hands until the pan is as smooth and level as possible.
3. Fold each flattened pan gently into quarters to mark even guide lines, then open it back up so you can see the creases.
4. Cut from the outer edge toward the center along one crease on each pan, stopping about 1 inch before the middle.
5. Overlap the cut edges slightly to create a shallow raised dome or petal shape, then press firmly so the pie pan holds that dimensional form.
6. Repeat the folding, cutting, and overlapping on all 12 pans so you have a matching set of textured metal pieces.
7. Arrange the shaped pans in a 3-by-4 layout on the wall or on your work surface first, overlapping the rims slightly until you like the pattern.
8. Apply construction adhesive in thin beads along the overlapping rim sections, then press the pans together one row at a time.
9. Let the joined rows set for several minutes, then glue the rows together to form one larger wall panel section.
10. Once the adhesive is dry enough to handle, spray the entire panel with light, even coats of metallic silver paint until the seams and surface look unified.
11. Let the paint dry completely, then mount or lean the finished panel in your chosen spot for an instant vintage-style wall accent.
Variations & Tips
For a softer vintage look: Use lighter spray coats so a little of the natural aluminum variation still shows through. That tiny bit of inconsistency makes the finish feel charming and aged.
For a bolder wall treatment: Make two or three panel sections and hang them side by side behind a console, buffet, or breakfast nook bench. I love repeating a simple pattern like this because it gives a room presence without making it feel heavy.
For easier placement: Lay everything out on the floor first before gluing. I always do a dry arrangement step with repeating projects, because small adjustments in overlap make the final panel look much more polished.
For picky decorators: If your family members all like different styles the way mine do, keep the panel shape simple and let the finish do the talking. A silver metallic coat feels classic, but the same texture can suit farmhouse, vintage, or even a more modern corner depending on where you place it.
Adhesive tip: Don’t overdo the glue along the seams. A thin bead is usually enough, and using less helps keep the front surface cleaner and flatter.
Safety tip: The cut aluminum edges can be sharp, so press and handle them carefully while shaping. I like to work slowly on this step rather than rush, especially when making a full set.