
I love a backyard project that looks charming in the daytime and feels a little bit magical after sunset, and this patio lantern post does exactly that. For this build, I stack graduated terracotta pots upside down over a tall solar light stake to create a simple post with lots of cottage-style character. It is one of those projects that looks much more expensive than it is, and it comes together without complicated carpentry.
This is a great weekend DIY for anyone who wants to brighten a garden bed, frame a walkway, or make a patio feel warmer for family dinners outside. I especially like this one because it uses easy-to-find materials, and you can adjust the height and pot sizes to fit your space. If you have kids or grandkids who love seeing the yard glow at night, this one is extra fun.
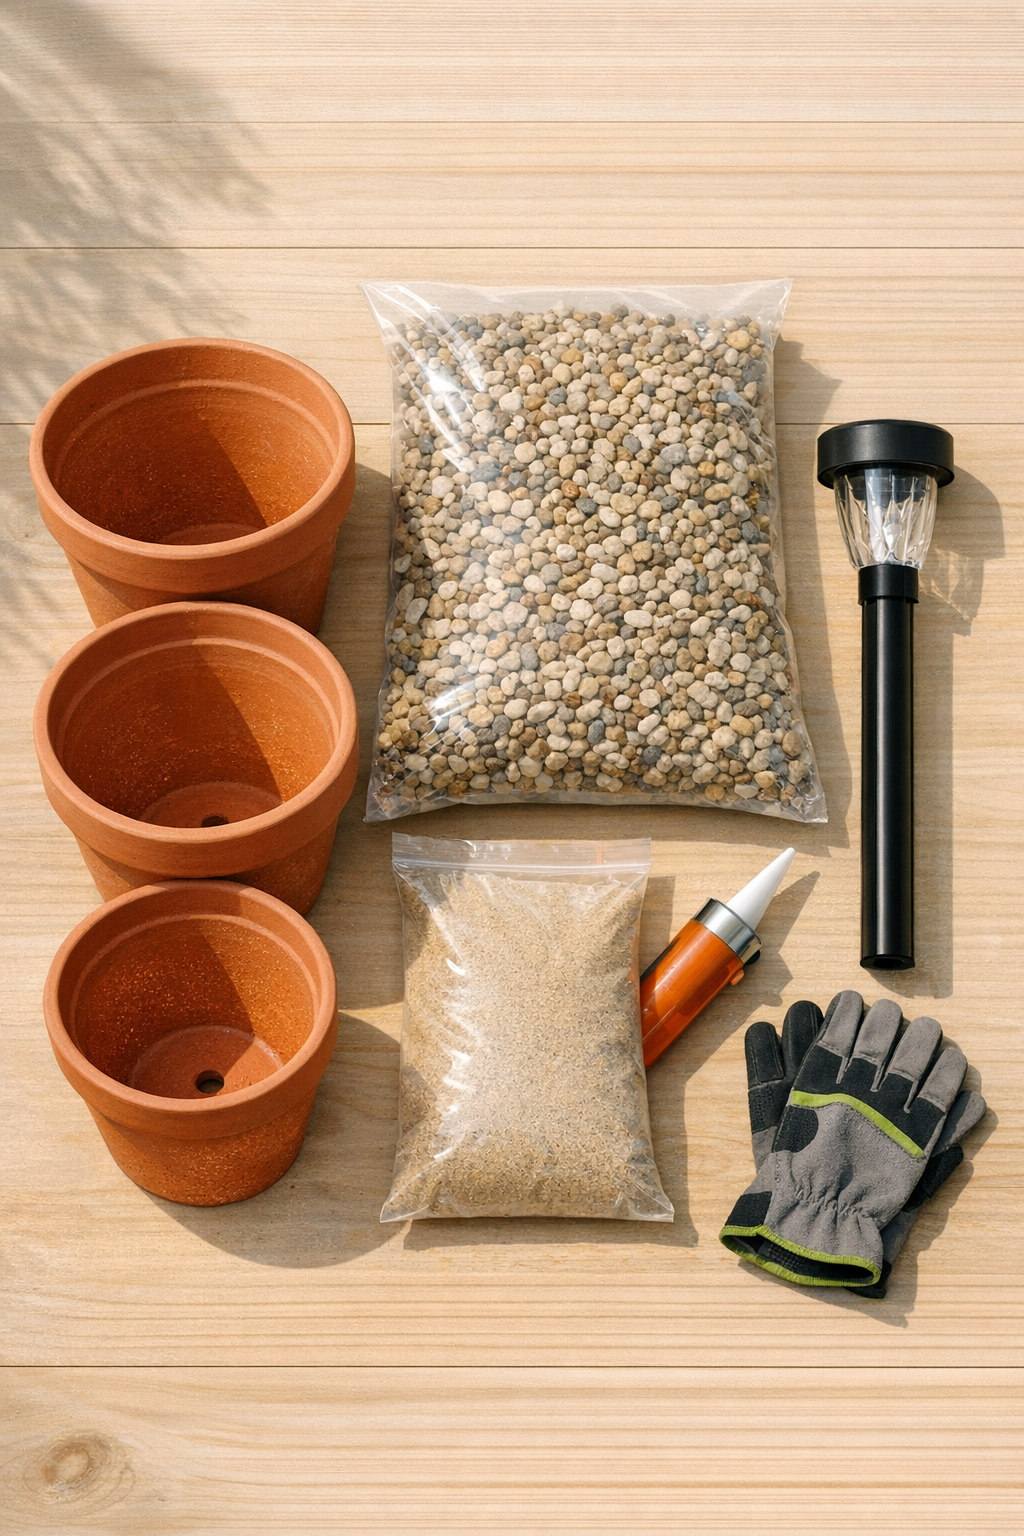
Materials
Instructions
1. Pick the spot for your lantern post in a garden bed or beside the patio, making sure the solar panel will get at least 6 hours of direct sunlight each day.
2. Clear and level a circle about 12 inches wide, then press the solar light stake firmly into the ground so it stands straight and secure.
3. Wipe the terracotta pots clean, especially around the rims and drain holes, so they nest neatly and any adhesive will bond well.
4. Pour 2 to 3 inches of pea gravel around the base of the stake to help with drainage and add weight at ground level.
5. Turn the 10-inch terracotta pot upside down and slide it carefully over the top of the solar stake until it rests evenly on the gravel and soil.
6. Add a thin bead of exterior construction adhesive around the center top area of the 10-inch pot, then place the 8-inch pot upside down on top, centering it over the drain hole opening.
7. Repeat with the 6-inch pot and then the 4-inch pot, keeping each pot centered so the stack looks balanced and the solar light remains straight.
8. If the top pot feels too light or wobbly, add a little play sand inside the larger lower pots before final centering to improve stability.
9. Adjust the solar light head so it sits neatly above the top pot and remains unobstructed, allowing the lantern post shape to frame the light without blocking the panel.
10. Let any adhesive cure according to the package directions, then test the light at dusk and make any final straightening adjustments before enjoying it at night.
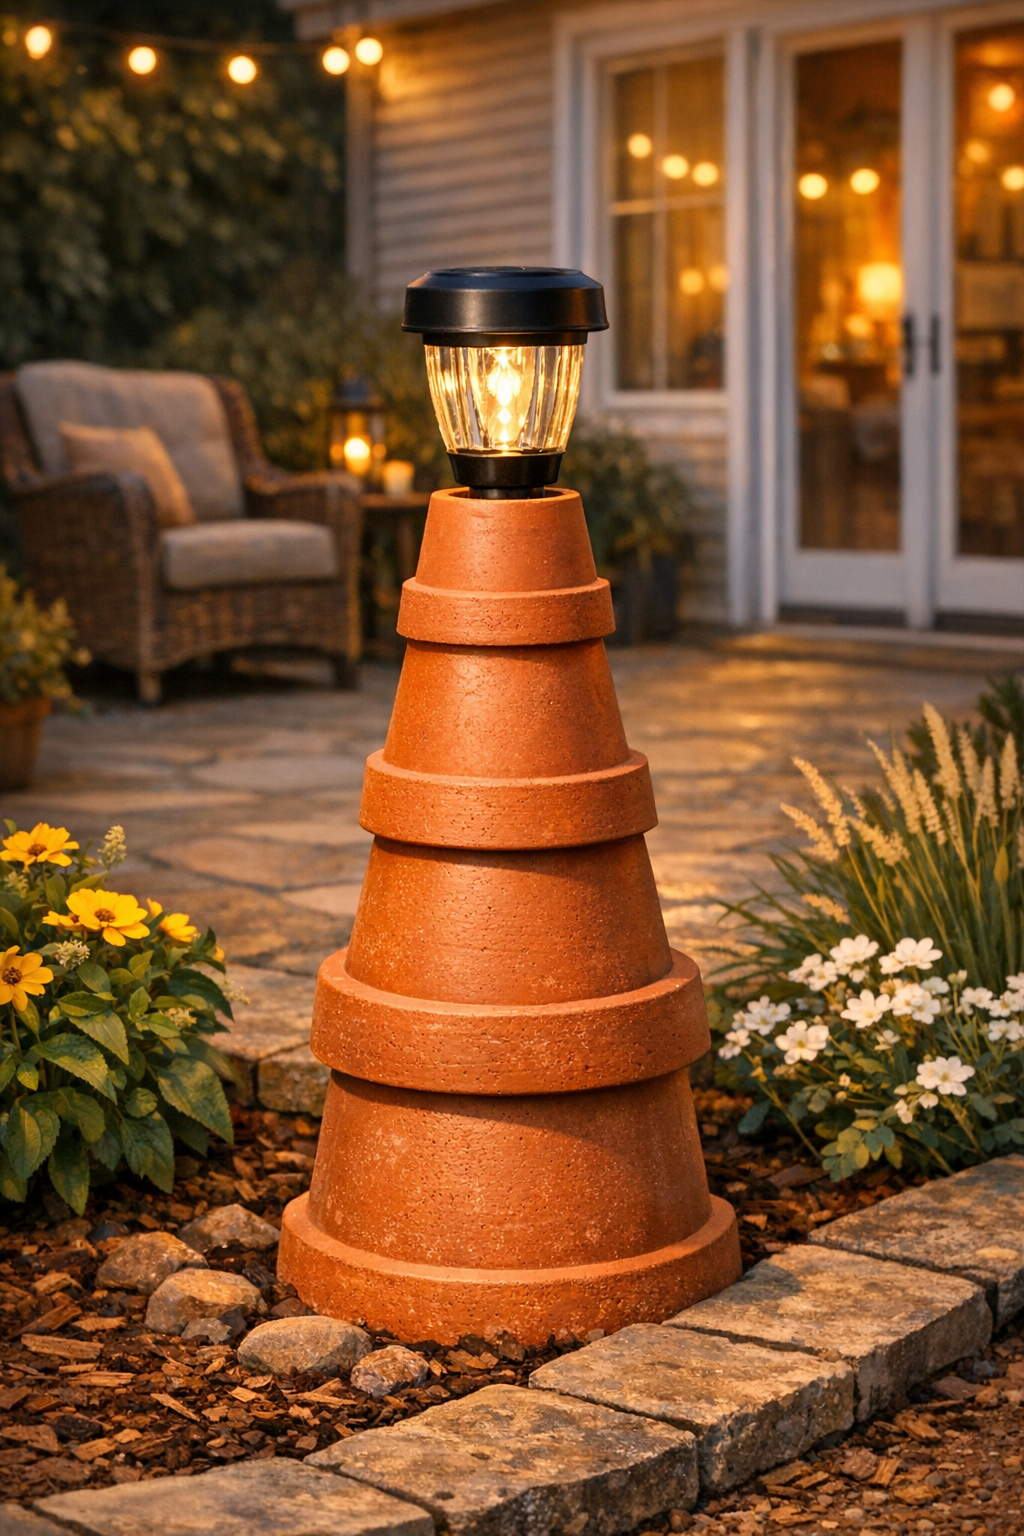
Variations & Tips
Painted finish: If you want a more polished look, paint the pots with outdoor mineral or masonry paint before stacking. I still have a soft spot for the natural terracotta color, but white, sage, or charcoal can look lovely on a patio.
Extra stability: In a windy yard, use a heavier-duty solar stake and add more gravel or sand inside the bottom pot area. I always say outdoor projects should be pretty, but they also need to survive a stormy week.
Picky-style decorating: Just like serving toppings on the side for picky eaters, you can keep this project simple or dress it up. Tuck in low flowers, creeping thyme, or small decorative stones around the base so everyone in the family can enjoy a look they like.
Size changes: If your solar light is shorter, reduce the pot sizes to 3-inch, 5-inch, 7-inch, and 9-inch pots so the proportions stay nice and balanced.
Drainage tip: Keep the drain holes open and do not seal the stack completely. That little bit of airflow and drainage helps the pots hold up better outdoors through changing weather.
Nighttime placement: These look especially pretty in pairs flanking a path or at the corners of a seating area. When I am setting up the yard for dinner outside, soft little pools of light make everything feel more welcoming.