
I love a project that turns castoffs into something sturdy and genuinely useful, and this one does exactly that. By filling old rubber garden boots with a thick concrete mix and adding one simple hidden support piece, you can make a pair of heavy patio stands that hold their ground in wind and weather while adding a playful, unexpected touch to an outdoor space.
These are especially good for anyone who wants decorative weight for a porch, patio, balcony, or garden corner without buying expensive bases. I’m always looking for practical projects that still have personality, and these boot stands fit that sweet spot: inexpensive, easy to make, and durable enough to stay outside through the season.
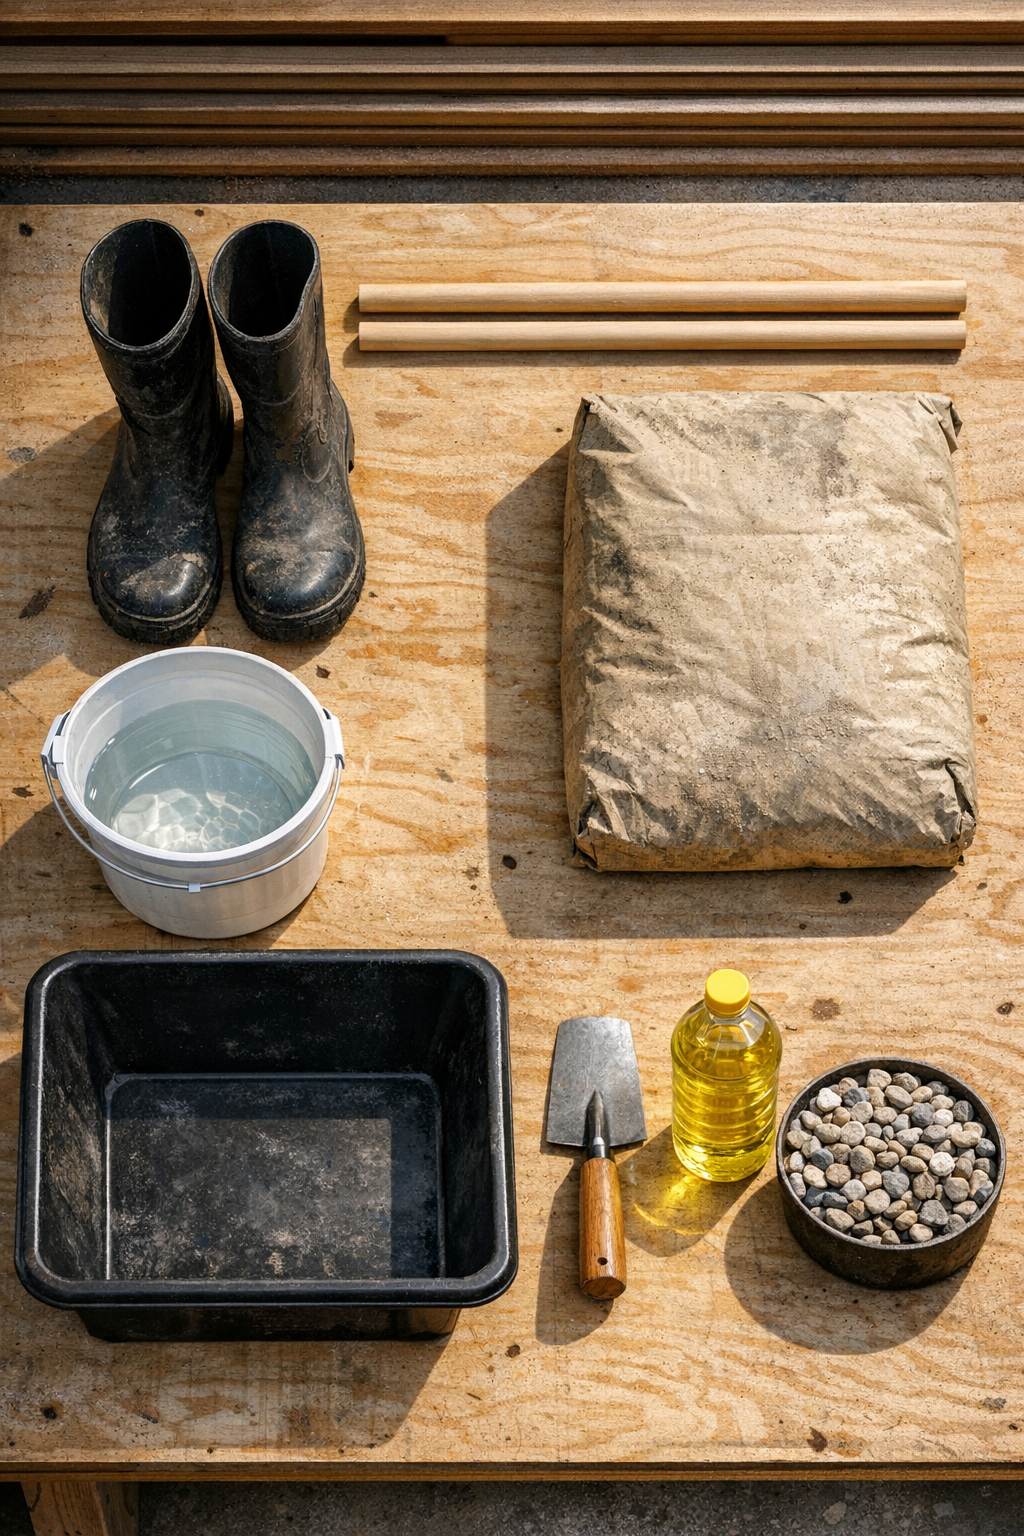
Materials
Instructions
1. Clean the rubber boots thoroughly and let them dry completely so the concrete can settle evenly inside without dirt or moisture pockets.
2. Coat the inside of each boot lightly with cooking oil, using just enough to create a thin film; this helps if you ever want to cut the boot away later or loosen the surface slightly.
3. Set the boots upright on a drop cloth and brace them with bricks, clamps, or other heavy objects so they cannot tip while you fill them.
4. Pour about 1 cup of small gravel into the bottom of each boot to add low weight and help the stands stay balanced.
5. Mix the concrete in a tub with water a little at a time until it reaches a thick, spoonable consistency like stiff oatmeal; it should hold shape and not pour like soup.
6. Scoop concrete into each boot in layers, tapping the sides every few scoops to release trapped air and settle the mix into the toe and heel.
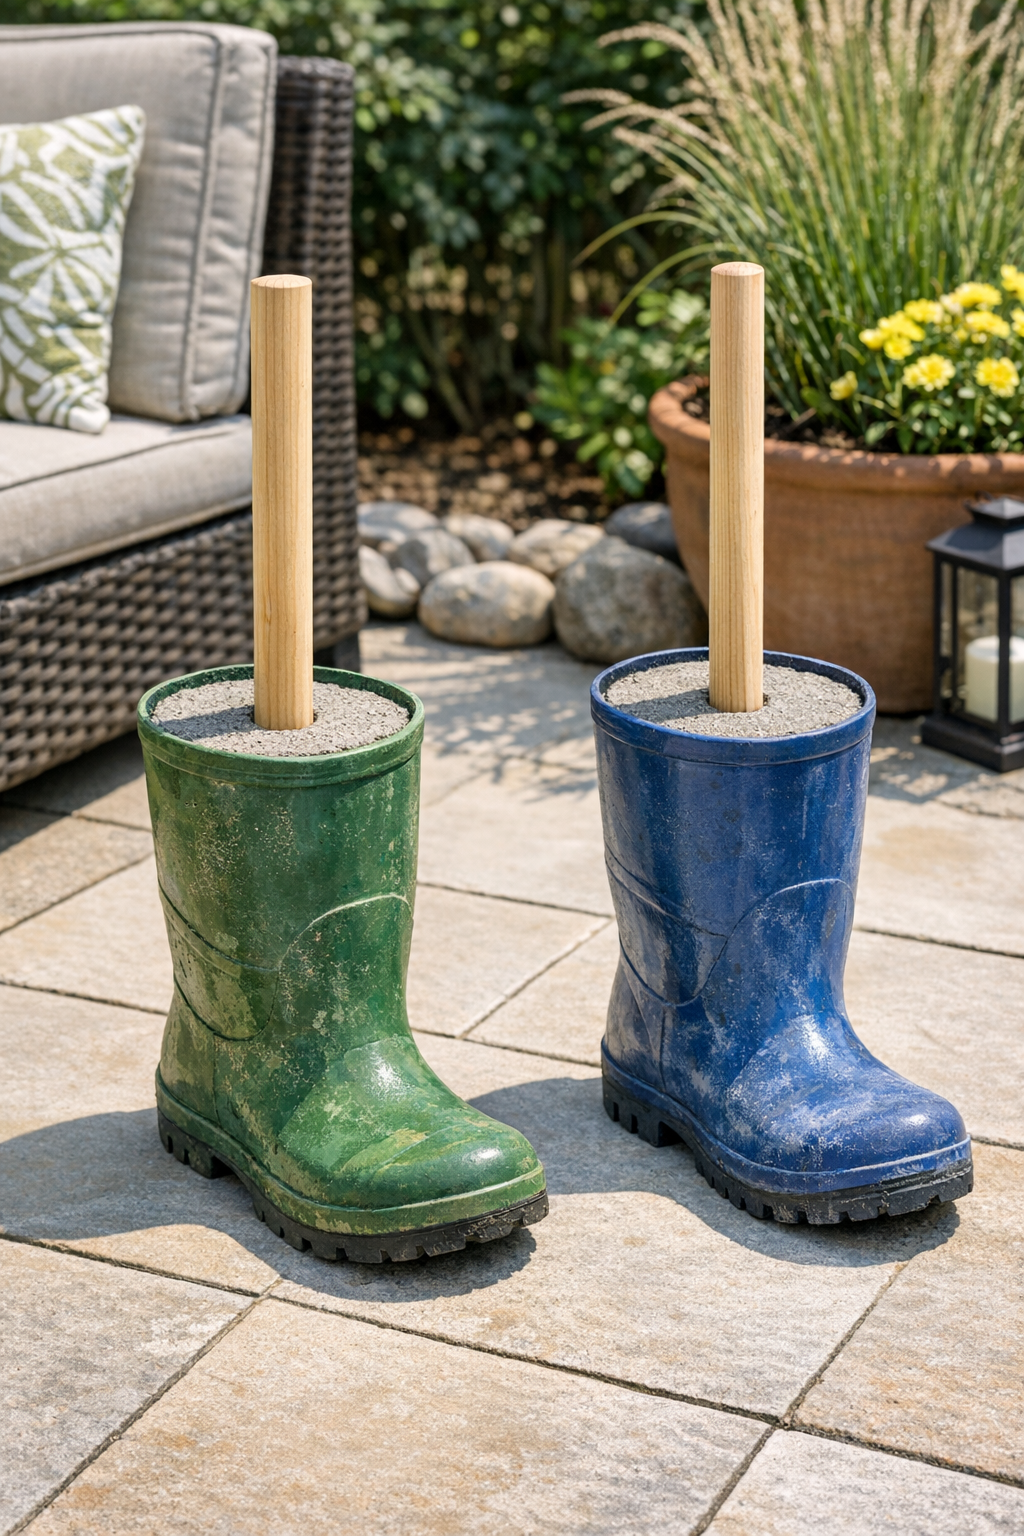
7. Insert one wooden dowel into the center of each boot while the concrete is still wet, pushing it down until it sits firmly and stands straight; this hidden dowel is the secret item that turns the boot into a patio stand base.
8. Add more concrete around each dowel until the boots are filled to about 1 inch below the top edge, then smooth the surface with a trowel.
9. Check that each dowel is vertical from all sides, adjusting now before the mix starts to set.
10. Let the boots cure undisturbed for at least 24 to 48 hours, or according to the concrete package directions, until fully hardened.
11. Once cured, wipe the outside clean and use the dowels as support posts for lightweight lanterns, small seasonal signs, string-light poles, or other patio accents.
12. If you want a more sculptural look, trim or peel away the upper rubber edge of the boots with a utility knife after curing, but leave the full boot intact if you prefer the whimsical garden style.
Variations & Tips
Use different boot heights: Taller boots create a more dramatic stand, while ankle-height rain boots make a shorter, chunkier base that works well on small patios.
Add color after curing: If the boots are faded, clean the exterior and use paint made for rubber or outdoor plastic surfaces to freshen them up.
Choose the right support: A wooden dowel is simple and easy to cut, but a metal pipe of similar diameter can work if you need a more weather-resistant upright.
Keep the mix thick: Concrete that is too wet separates more easily and can make the dowel lean, so add water slowly and stop as soon as the mix is heavily scoopable.
Match the weight to the job: These stands are best for lightweight to moderate patio décor; for anything taller or heavier, use larger boots and more concrete for added stability.
Protect your work area: I always spread a drop cloth wider than I think I need, because concrete splatter has a way of traveling farther than expected.