
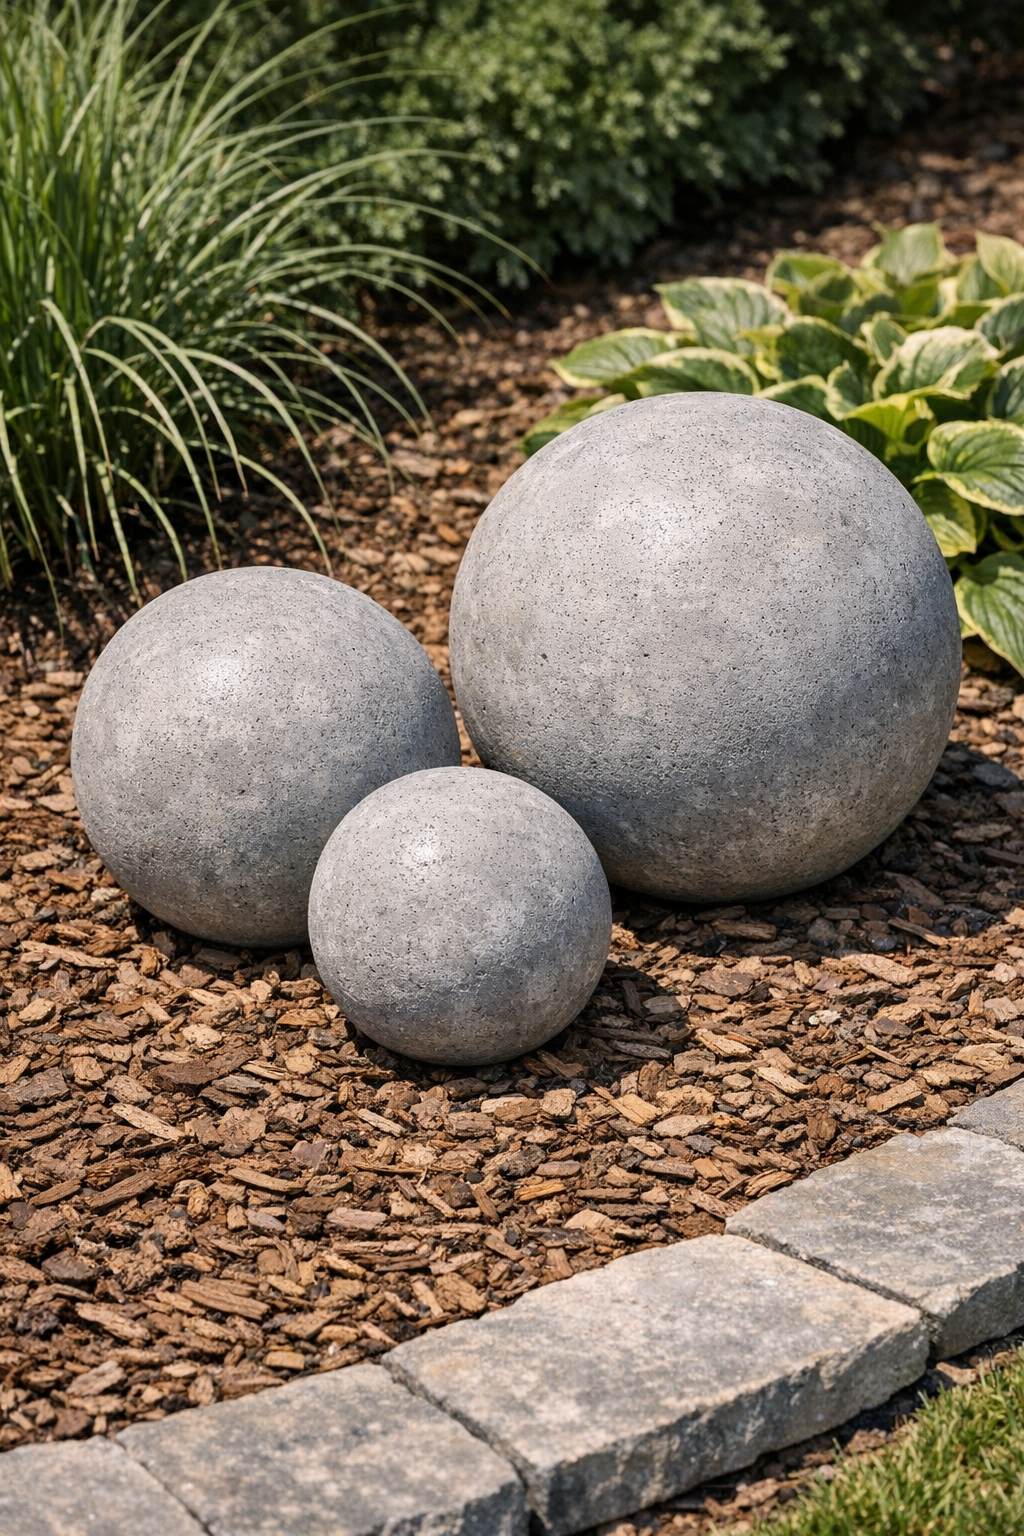
If you want a garden accent that looks far more expensive than it is, these heavy hollow yard spheres are one of my favorite weekend projects. You use inflated plastic beach balls as the form, then coat them with cement to create sculptural outdoor orbs that read like stone once they’re finished. The result is sturdy, weather-friendly, and dramatic in a flower bed, beside front steps, or tucked into a container arrangement.
I like this project because it delivers a big visual payoff with very basic supplies, and the hollow center keeps the spheres manageable compared with solid concrete balls. If you’re comfortable mixing a bagged cement product and don’t mind a little mess, this is very doable for beginners.
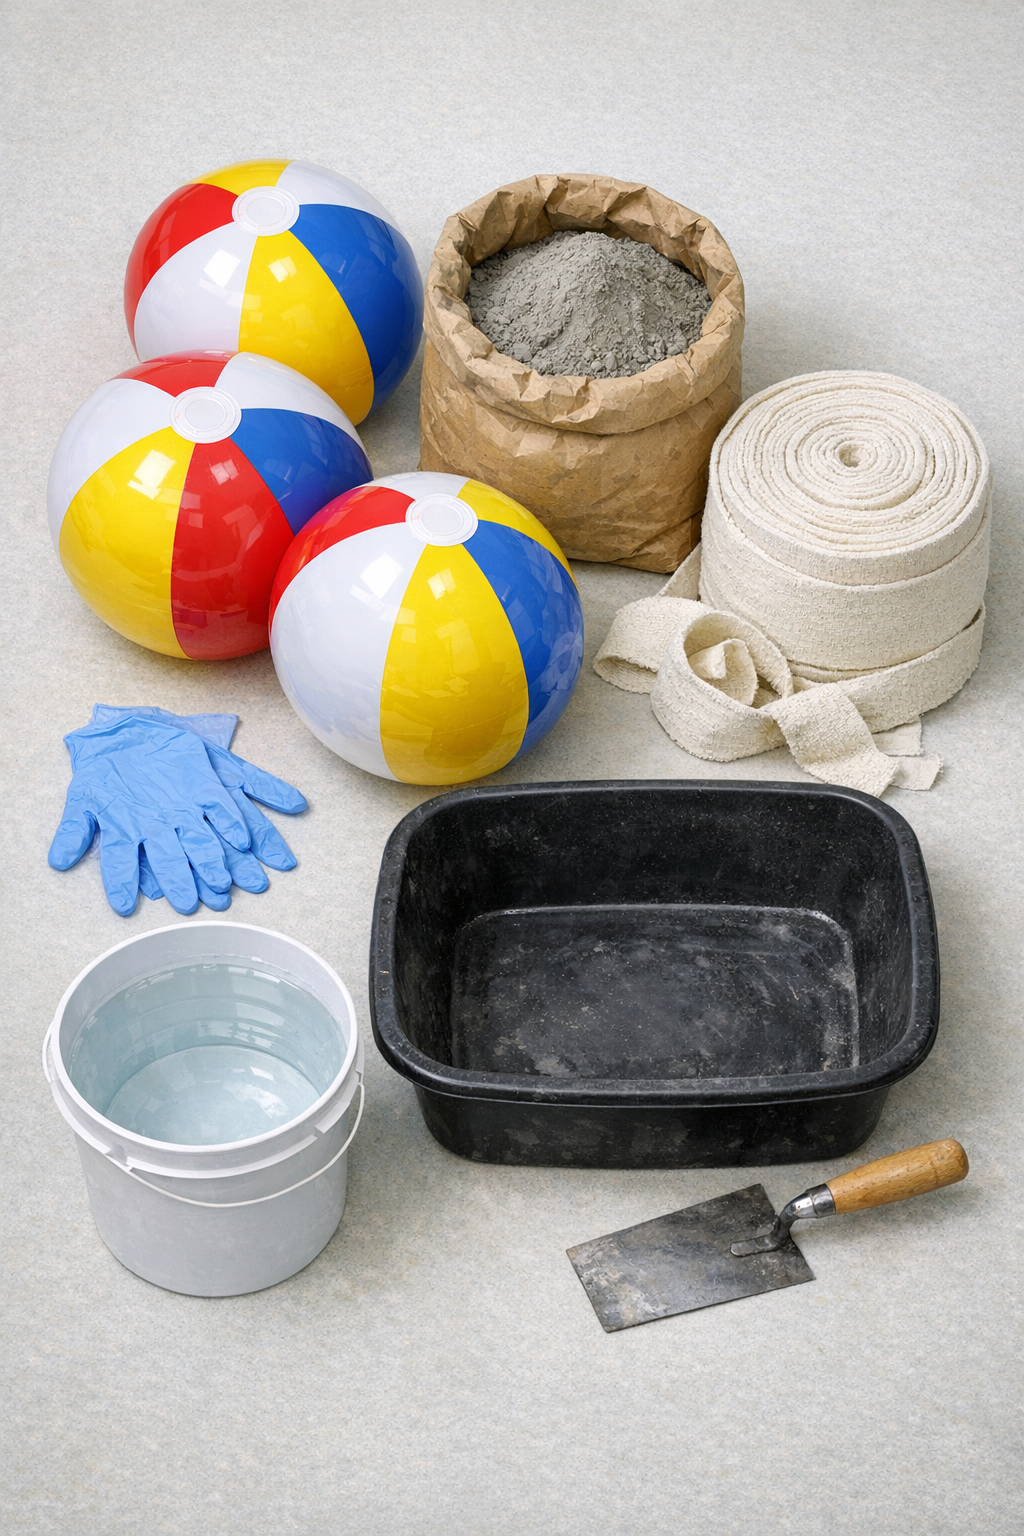
Materials
Instructions
1. Cover your work area with a tarp and inflate the three beach balls to full size, then close the valves tightly. Wipe them clean and rub on a very thin coat of petroleum jelly or cooking oil so the shell will release more easily later.
2. Cut your cotton sheet or drop cloth into 2-inch strips if it is not already prepared. Aim for strips roughly 18 to 24 inches long so they drape smoothly over the curved surface.
3. Mix a small batch of cement according to the package directions until it reaches a thick yogurt-like consistency. I always mix only what I can use in about 15 minutes, because cement starts setting faster than most people expect.
4. Dip one cloth strip into the cement, pull off the excess with gloved fingers, and lay it over the beach ball. Repeat, overlapping the strips in different directions until the ball is mostly covered except for a 4- to 5-inch opening around the valve area.
5. Smooth the strips gently with your hands or trowel as you go, pressing out air pockets and adding a little extra cement anywhere the cloth looks dry. The first layer should be continuous enough to hold its shape without heavy sagging.
6. Add a second layer of cement-covered strips over the first, again leaving the same opening exposed. Build the shell to about 3/8 to 1/2 inch thick for a sphere that feels substantial outdoors.
7. Set the coated ball on a stable ring made from a rolled towel covered with plastic or a taped loop of cloth so it does not flatten in one spot. Let it firm up for 12 to 24 hours, depending on temperature and humidity.
8. Once the shell is firm, deflate the beach ball through the opening and carefully pull the plastic out. If needed, cut the ball to remove it, then patch over the opening with more cement-soaked strips.
9. Blend the patch into the rest of the sphere with a thin skim of cement, feathering the edges with your trowel or gloved hand. Let the sphere cure for another 24 to 48 hours.
10. Lightly sand any sharp ridges or drips after the cement has hardened. Repeat the same process for the remaining two spheres, then place all three where they can finish curing for up to 7 days before heavy handling or severe weather exposure.
Variations & Tips
Smoother finish: If you prefer a cleaner stone look, apply a final thin skim coat of cement after the structural layers have set, then smooth it with a damp gloved hand.
More texture: For a rustic garden style, leave the cloth-strip pattern visible and dab the surface lightly as it firms up. That layered texture catches light beautifully in the yard.
Size mix: I like making spheres in two or three sizes rather than matching all of them exactly. Grouped together, they look more natural, almost like oversized found objects in the landscape.
Weather placement: Set the finished spheres on gravel, mulch, pavers, or soil rather than directly on delicate decking. They are hollow, but they still carry enough weight to dent softer surfaces.
Cement choice: Mortar mix usually gives a slightly smoother finish, while standard concrete or cement mix can look more rugged. Either works, but finer mixes are easier to spread over fabric.
Curing tip: In hot, dry weather, mist the spheres lightly during the first day or two so they cure more evenly. In my Midwestern summers, that small step helps prevent surface cracking.
Color option: Once fully cured, you can leave them natural or dry-brush on outdoor masonry stain for an aged limestone or darker slate effect. Keep the finish subtle so the spheres still read as stone.