
I love a project that looks architectural and expensive but starts with something as ordinary as a cardboard mailing tube. In this build, I turn sliced cardboard tubes into lightweight faux wood ceiling beams using plaster and two easy household add-ins. The result has that rustic, aged-timber look without the weight, cost, or carpentry skills that real beams usually demand.
This is a particularly good project for renters who can use removable mounting methods, homeowners wanting to dress up a plain ceiling, or anyone who enjoys a dramatic room upgrade on a modest budget. As someone who spends plenty of time thinking about texture and finish in the kitchen as much as on a plate, I find this project satisfying for the same reason a good crust on bread is satisfying: the surface detail is what makes it convincing.
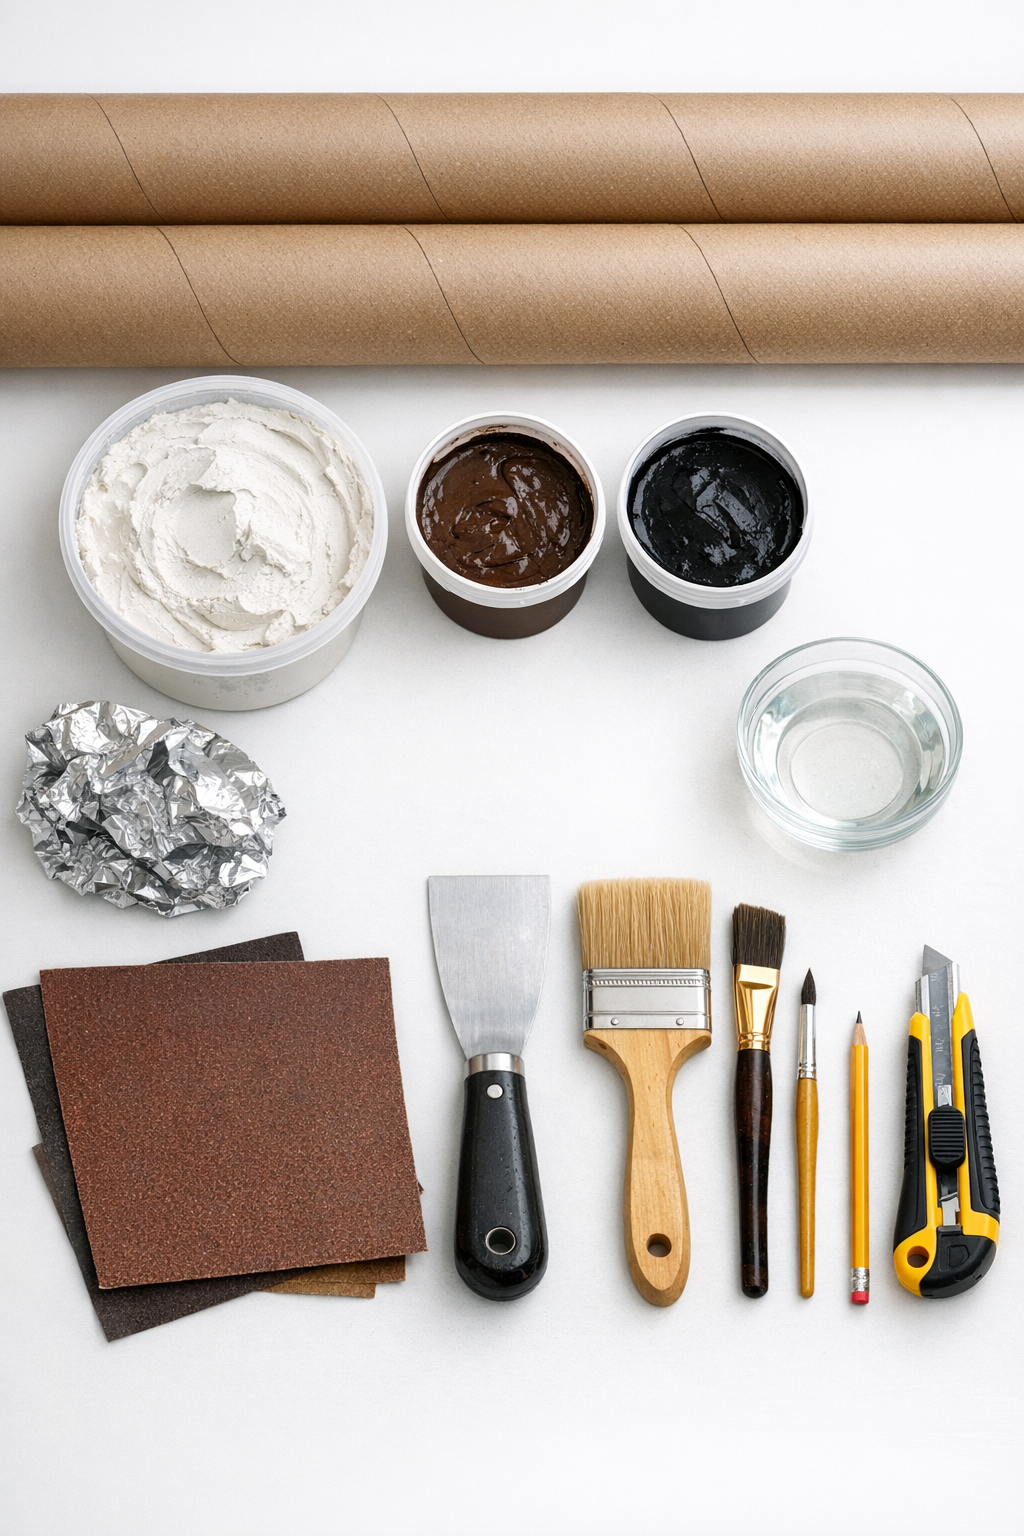
Materials
Instructions
1. Measure the ceiling and decide where each faux beam will go, then cut the mailing tubes to the exact finished length you need. Mark a straight line down the full length of each tube with a ruler so the cut stays clean.
2. Slice each tube lengthwise with a utility knife to create a C-shaped beam shell that can open slightly and fit against the ceiling. Make several light passes instead of one deep cut to avoid crushing the cardboard.
3. Lightly sand any fuzzy cut edges and wipe away dust so the plaster will grip better. If the tube wants to spring closed, flex it gently by hand until it holds a wider U-shape.
4. Mix a small amount of plaster with 2 tablespoons of white vinegar to make it a bit smoother and slower to set, then spread a thin coat over the outside of one tube with the putty knife. Keep the layer about 1/8 inch thick so it stays lightweight.
5. While the plaster is still wet, press crumpled aluminum foil lightly across the surface to stamp in irregular wood grain texture. Vary the pressure and direction so it looks like natural timber rather than a repeated pattern.
6. Add a few longer grooves, knots, and shallow cracks with the edge of the putty knife or the handle of a brush. Stand back after every few marks; realistic wood texture is irregular and a little restraint makes it more believable.
7. Let the plaster dry completely according to the product directions, then sand very lightly to knock down any sharp peaks without flattening the texture. Wipe the beams clean with a dry cloth.
8. Paint each beam with a full coat of brown paint, pushing color into all the grooves and creases. I like to use a medium warm brown here because it gives the final faux grain more depth.
9. Before the brown coat fully cures, dry-brush a small amount of black paint into the deeper lines and around knot marks, then soften it with the brush so there are no harsh blobs. This step is much like balancing a dark sauce in cooking; a little goes a long way.
10. Hold each finished beam in place on the ceiling and mark its position with pencil so installation is quick and straight. Apply construction adhesive or removable mounting strips along the inside edges, then press the beam to the ceiling until secure.
11. Use painter’s tape to hold the beam in place temporarily if needed while the adhesive sets. Repeat with the remaining beams, spacing them evenly for a clean, intentional look.
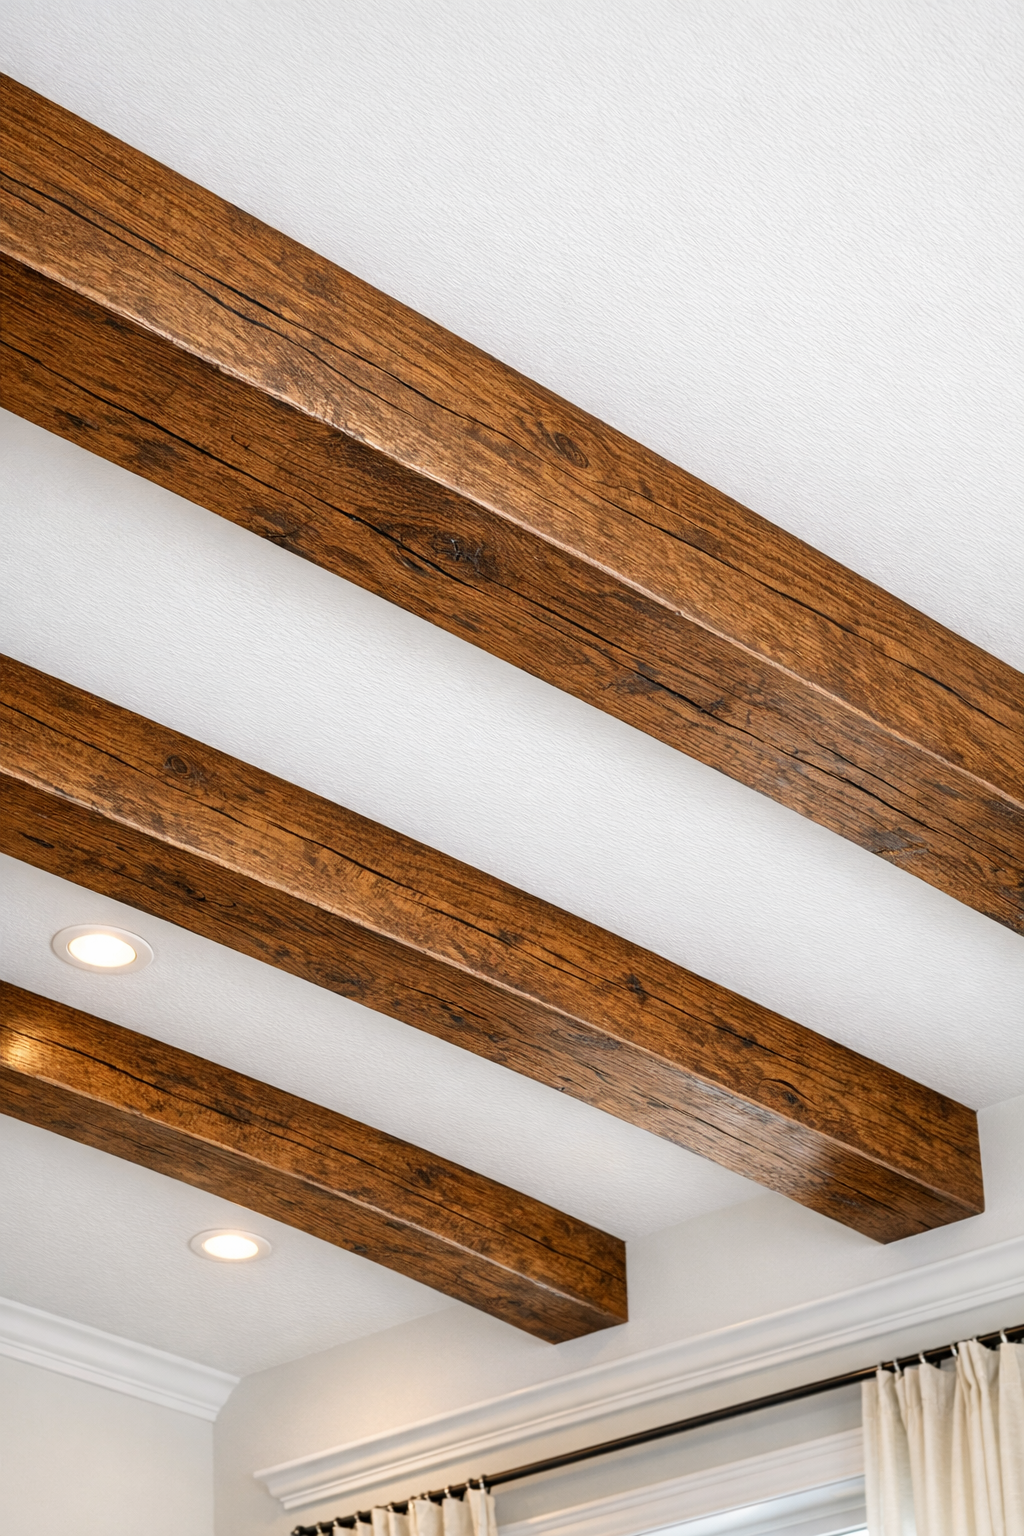
12. Touch up any seams, edges, or paint scuffs after installation and let everything cure fully before styling the room. Once up, these read far more like old hand-hewn beams than cardboard, which is exactly the kind of transformation I never get tired of.
Variations & Tips
For a deeper beam look: Use wider-diameter mailing tubes or cut and join two tube sections together before plastering to create a chunkier architectural profile.
For more rustic texture: Add extra knot marks, saw-like scoring, and a slightly uneven plaster application. Perfect symmetry is the enemy of a convincing faux wood finish.
For a lighter wood tone: Start with tan or taupe paint instead of medium brown, then glaze in only a whisper of dark paint for grain. This works especially well in modern farmhouse or Scandinavian-style rooms.
For renter-friendly installation: Use removable mounting strips and keep the beams shorter and lighter. Always test one piece first on your ceiling surface before committing to the full layout.
To avoid cracking: Keep the plaster coat thin and allow full drying time before painting. Thick plaster is more likely to split when the cardboard flexes.
To make the finish more believable: Study a real wood board or even a wooden cutting board before texturing. I do this often with food presentation and home projects alike; observing the real thing gives your hand a much better instinct for natural variation.