
A wooden cable spool already has the bones of a great patio table, and with one big cut through the center, it can become an outdoor drink cooler that earns its keep at every barbecue, birthday, and lazy summer evening. I love projects like this because they’re practical, sturdy, and just rustic enough to feel charming without trying too hard.
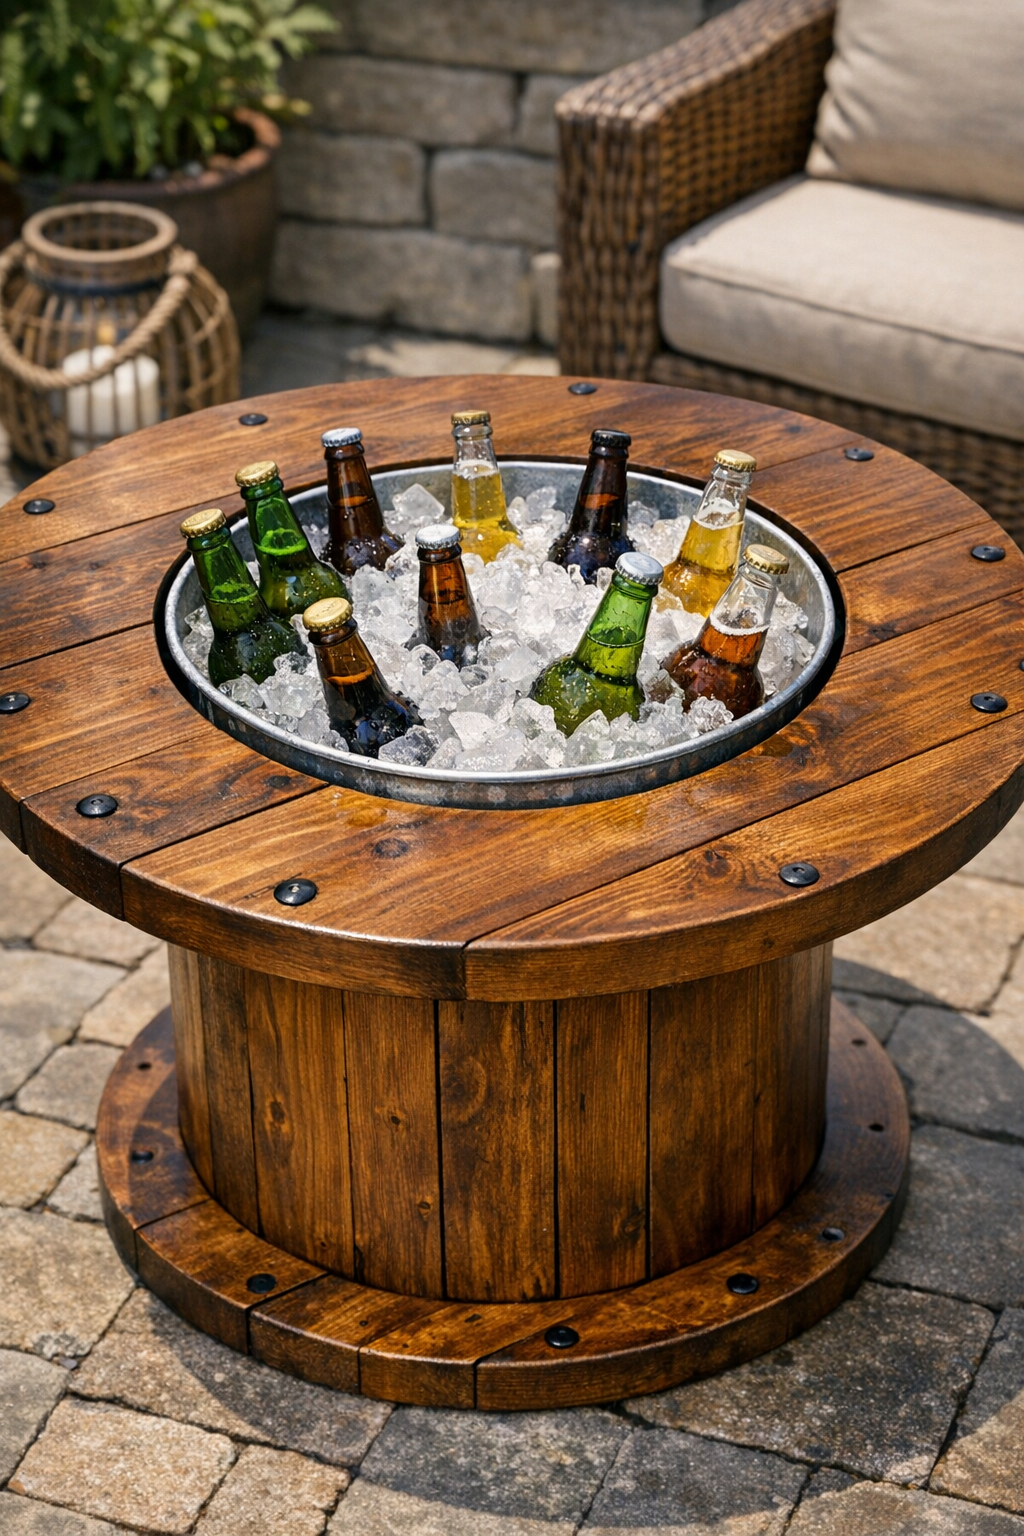
If you enjoy easy builds with a big payoff, this one is especially satisfying. The basic idea is simple: turn the spool into a table, cut a centered opening in the top, and drop in a galvanized bucket so ice and drinks stay right where everyone gathers. It’s a smart weekend project for anyone who entertains outdoors and wants a conversation piece that’s actually useful.
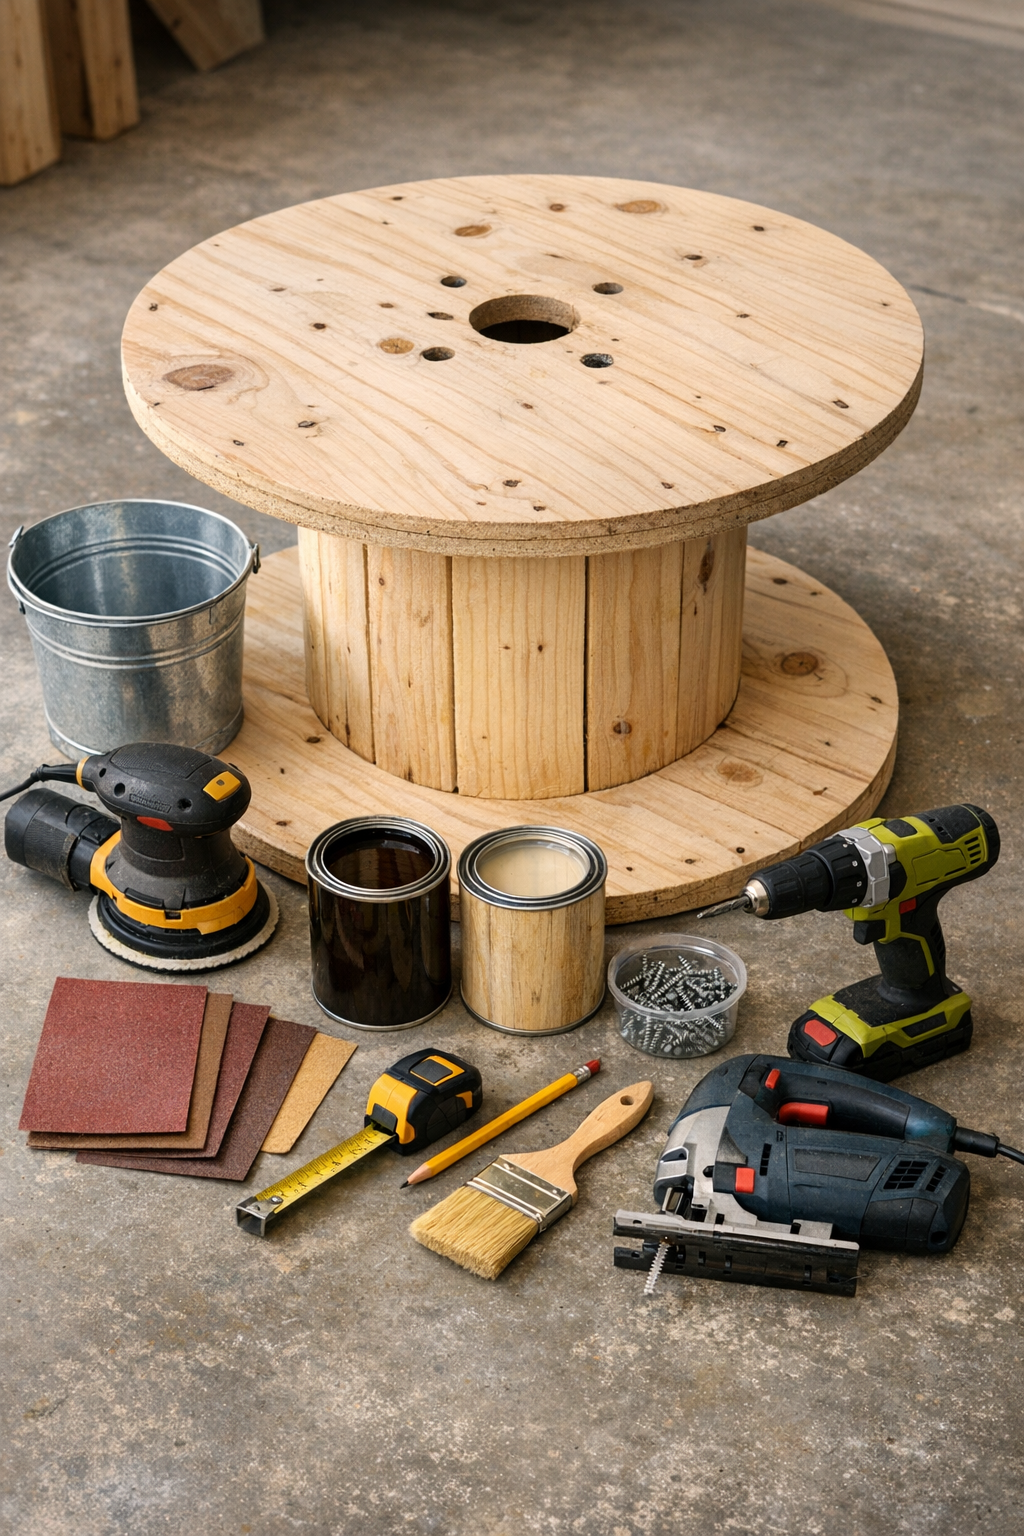
Materials
1 large wooden cable spool, about 30 to 36 inches in diameter and 18 to 24 inches tall
Instructions
1. Inspect the spool for loose boards, protruding staples, or cracked wood, and remove or repair anything unsafe before you begin. Give the spool a good scrub or dry brushing so dirt does not get ground into the surface during sanding.
2. Reinforce the spool if needed by driving 2 1/2-inch exterior screws into any loose top boards and side slats. Old spools are sturdy, but I always take a few minutes here because outdoor furniture gets dragged, bumped, and leaned on.
3. Find the exact center of the spool top by measuring across in two directions and marking the midpoint. Set the galvanized bucket upside down on the center mark and trace around it, then draw a second circle about 1/2 inch smaller so the bucket lip will rest on the tabletop instead of falling through.
4. Drill a starter hole just inside the inner cut line large enough for your jigsaw blade. Cut out the circle slowly with a jigsaw, keeping the saw steady so the opening stays as round and clean as possible.
5. Test-fit the bucket in the opening and trim the edge if necessary so the bucket drops in easily but the rim stays supported. If the fit is a little uneven, sand the opening rather than forcing the bucket.
6. Sand the entire spool with 80-grit paper first, then 120-grit, and finish with 220-grit on the tabletop and rim. Round over any sharp edges around the opening because hands, glasses, and serving bowls all end up there.
7. Fill deep cracks or old hardware holes with exterior wood filler if you want a cleaner finish, then let it dry and sand those spots smooth. This step is optional, but it makes the finished table feel more intentional.
8. Wipe away all dust with a dry cloth, then apply your exterior stain or paint evenly over the top, sides, and base. Let it dry fully and add a second coat if you want richer color or better coverage.
9. Brush on two to three coats of clear outdoor sealer, following the drying time on the can between coats. Pay extra attention to the cut edge around the opening and the tabletop since those areas see the most moisture.
10. Attach swivel casters to the bottom if you want the table to roll easily on a patio. Space them evenly, predrill the holes, and fasten them securely with the hardware that matches your caster plates.
11. If you want drainage, drill a hole in the bottom of the galvanized bucket and install a drain plug set according to its directions. If not, leave the bucket intact and simply dump the melted ice after use.
12. Drop the bucket into the center opening, making sure the rim sits flat and stable on the tabletop. Add a bead of exterior construction adhesive under the rim only if you want the bucket to stay permanently in place.
13. Fill the bucket with ice and drinks, then set the table on your patio and give it a trial run before guests arrive. I like to check for wobble on uneven concrete and add felt pads or adjust placement before the first gathering.
Variations & Tips
Painted Finish: For a more polished patio look, use exterior paint instead of stain. Black, white, deep green, or navy all work especially well if your outdoor space leans classic rather than rustic.
Built-In Drainage: If you entertain often, a drain plug is worth adding. It saves you from lifting a heavy bucket full of melted ice at the end of the night.
Rustic Preservation: Keep the original stamp marks, nail holes, and weathering if your spool has character. I often leave a few imperfections because they tell the story of the wood and keep the piece from looking too manufactured.
Bucket Fit: Measure the bucket lip, not just the bucket body, before cutting. That small detail is what makes the insert look neat and prevents the heart-sinking moment of a hole cut too large.
Mobility Upgrade: Casters are helpful on large patios or decks, but choose locking casters if children or pets will be around. A cooler table full of ice has enough weight that you want it staying put once parked.
Use Beyond Drinks: When it is not party season, the center bucket can hold potted herbs, citronella candles in glass holders, or wrapped snacks for outdoor movie nights. I’m always partial to projects that earn space by doing more than one job.