
I’ve always had a soft spot for projects that make something practical look downright pretty, and this garden hose wreath does exactly that. By coiling a green rubber hose into a neat spiral and finishing it with a brass nozzle accent, you get a piece of porch or garden décor that feels clever, sturdy, and right at home in the backyard. It’s the kind of project that makes folks stop and say, “Now why didn’t I think of that?”
Out here, we learn to use what we have, and I think that’s part of the charm of this wreath. If you’ve got an old but still decent hose, or even a new one you’re willing to turn into décor, you can make this in an afternoon. It’s a good project for anyone who likes farmhouse style, cottage garden touches, or simply wants a front door decoration that feels a little more personal than something bought off a shelf.
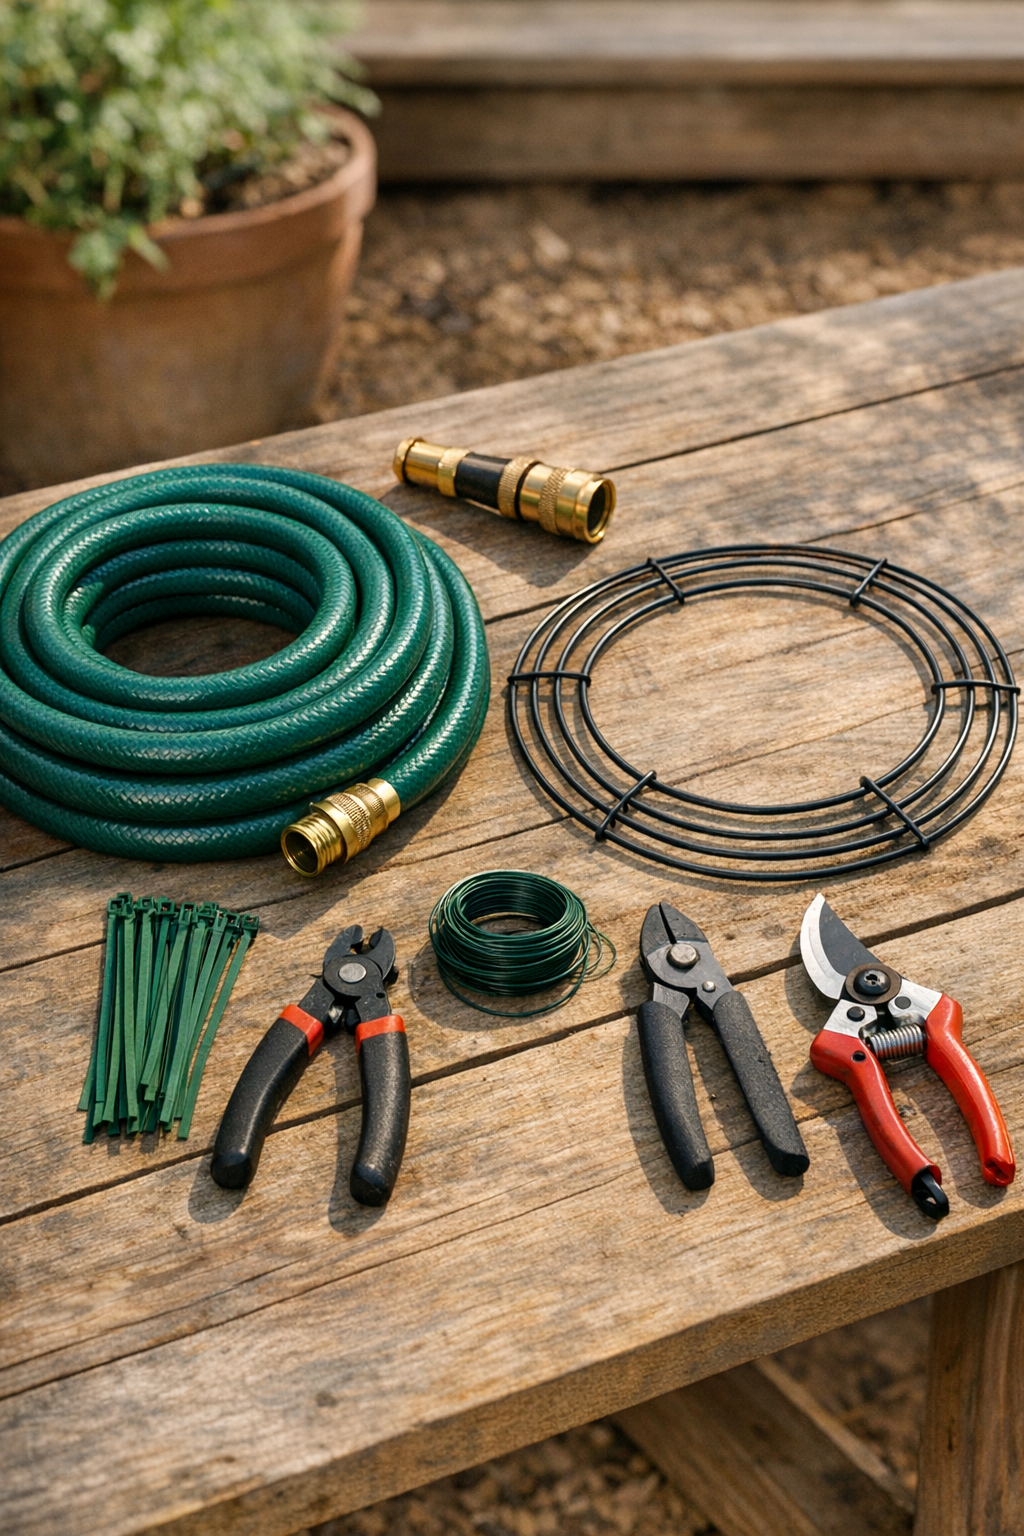
Materials
1 green rubber garden hose, 25 feet long, 5/8-inch diameter
Instructions
1. Lay the garden hose out flat in the sun for 20 to 30 minutes so it softens and coils more easily. If it’s already warm and flexible, you can move right on to shaping.
2. Place the metal wreath form on your work surface and begin wrapping the hose into a tight spiral, starting from the center and working outward. Keep the coils snug and even so the wreath looks tidy from the start.
3. Thread a zip tie around the hose and wreath form every 4 to 5 inches as you build the spiral. Pull each tie tight enough to hold the shape without pinching or flattening the hose.
4. Continue coiling until the wreath reaches the outer edge of the form, then tuck the hose end neatly along the bottom or side. Trim excess length with pruning shears only if needed and if the hose material allows a clean cut.
5. Use the floral wire to fasten the brass nozzle to the lower right side of the wreath or wherever it looks balanced to your eye. Wrap the wire tightly through the wreath form and around the nozzle so it stays put when hung.
6. Snip the tails off all zip ties and turn the cut ends toward the back of the wreath. This little cleanup step makes the front look polished and keeps the whole piece from snagging.
7. If you’d like a softer look, tie on a bow or tuck in a few artificial greenery sprigs with floral wire near the nozzle. I like to keep it simple so the hose spiral remains the real star.
8. Hang the wreath on a door, fence, potting shed, or garden gate using a sturdy hanger. Step back and adjust the spiral and nozzle position until everything sits evenly.
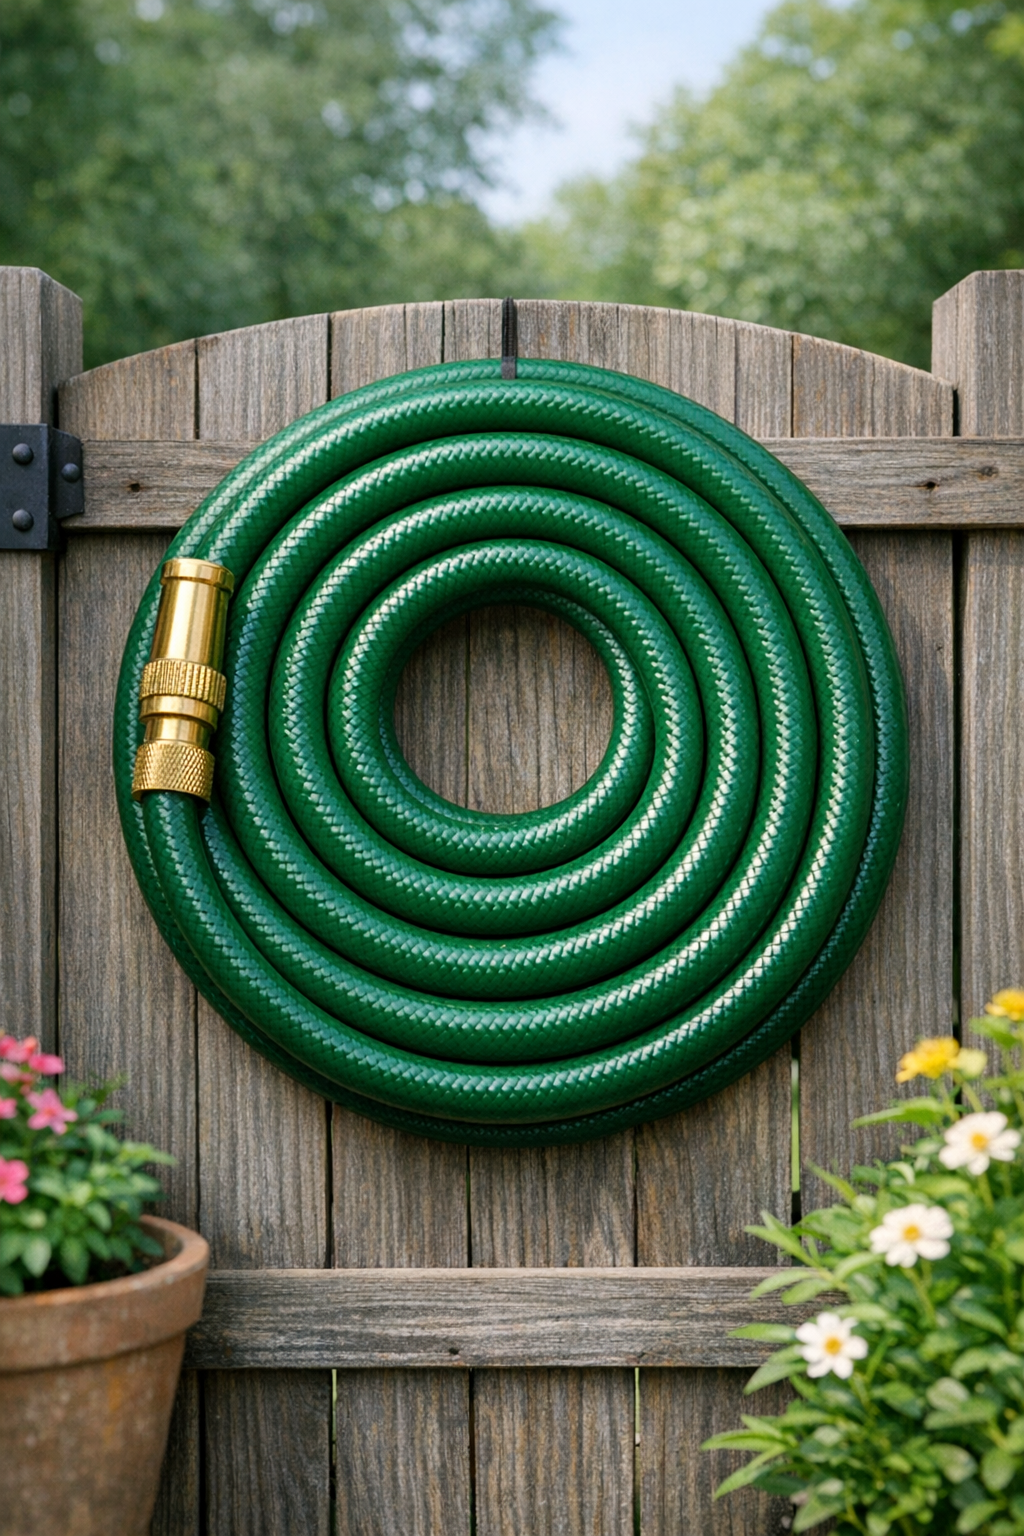
Variations & Tips
Use a shorter hose: A 15- to 25-foot hose is easiest for a wreath like this. If your hose is too long, the wreath gets bulky in a hurry.
Choose the right base: A metal wreath form gives the spiral structure and keeps it from sagging over time. If you don’t have one, a sturdy circle made from heavy wire can work in a pinch.
Pick a display spot carefully: This wreath is best on a covered porch, shed door, or fence rather than a front door that gets slammed often. The hose is durable, but the shape stays prettier when it isn’t jostled too much.
Try a seasonal accent: In summer, add faux daisies or a gingham bow; in fall, tuck in a bit of raffia or muted leaves. I’d keep embellishments light so that lovely green spiral still shows off.
Make it with a used hose: If you’re repurposing an older hose, wash it well with warm soapy water and let it dry before starting. A clean hose always looks more intentional and decorative.
Secure the nozzle firmly: Brass is heavier than it looks, so use both floral wire and a zip tie if needed. I’ve learned over the years that a pretty detail is only as good as the way it’s attached.