
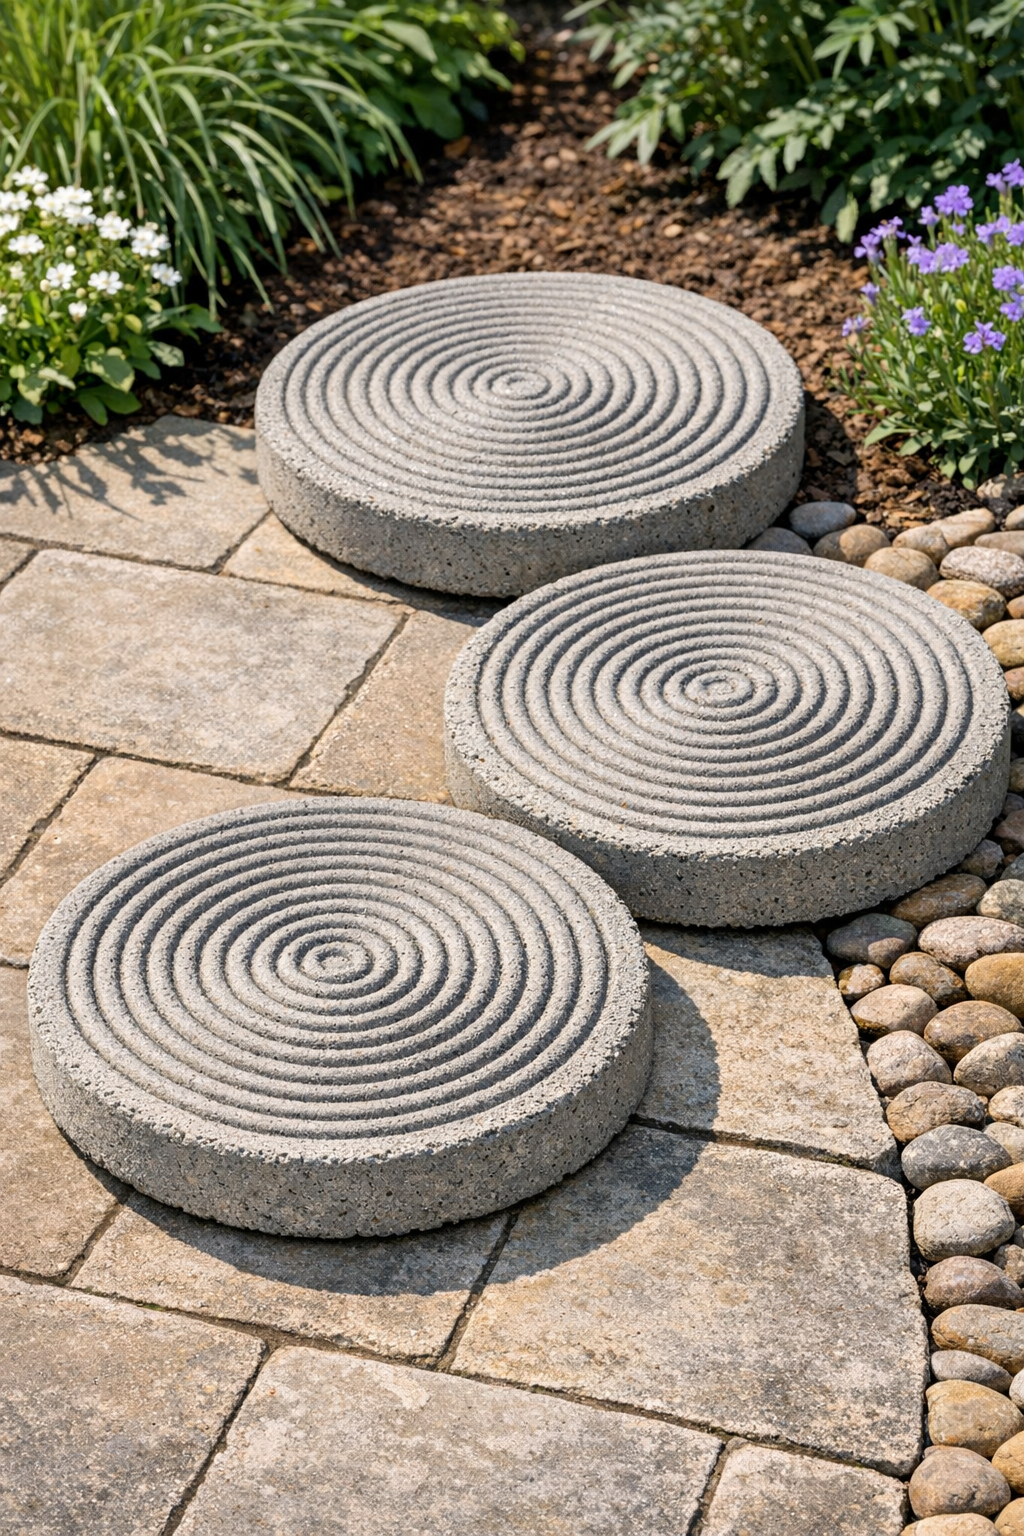
If you want a budget-friendly way to make patio pavers with a lot more character than the plain store-bought kind, this project is such a fun one to try. These heavy ribbed patio slabs are made by pouring cement over rolled corrugated cardboard, plus two simple add-ins that help shape and contain the mix, and the finished texture looks surprisingly polished once everything cures.
I love projects like this because they feel a little scrappy at the start and then somehow turn into something that looks intentional and designer-inspired. As someone who is usually squeezing DIY time in between work and figuring out dinner, I appreciate that this one uses basic materials, doesn’t require fancy forms, and can be repeated in batches for a walkway, garden corner, or small patio refresh.
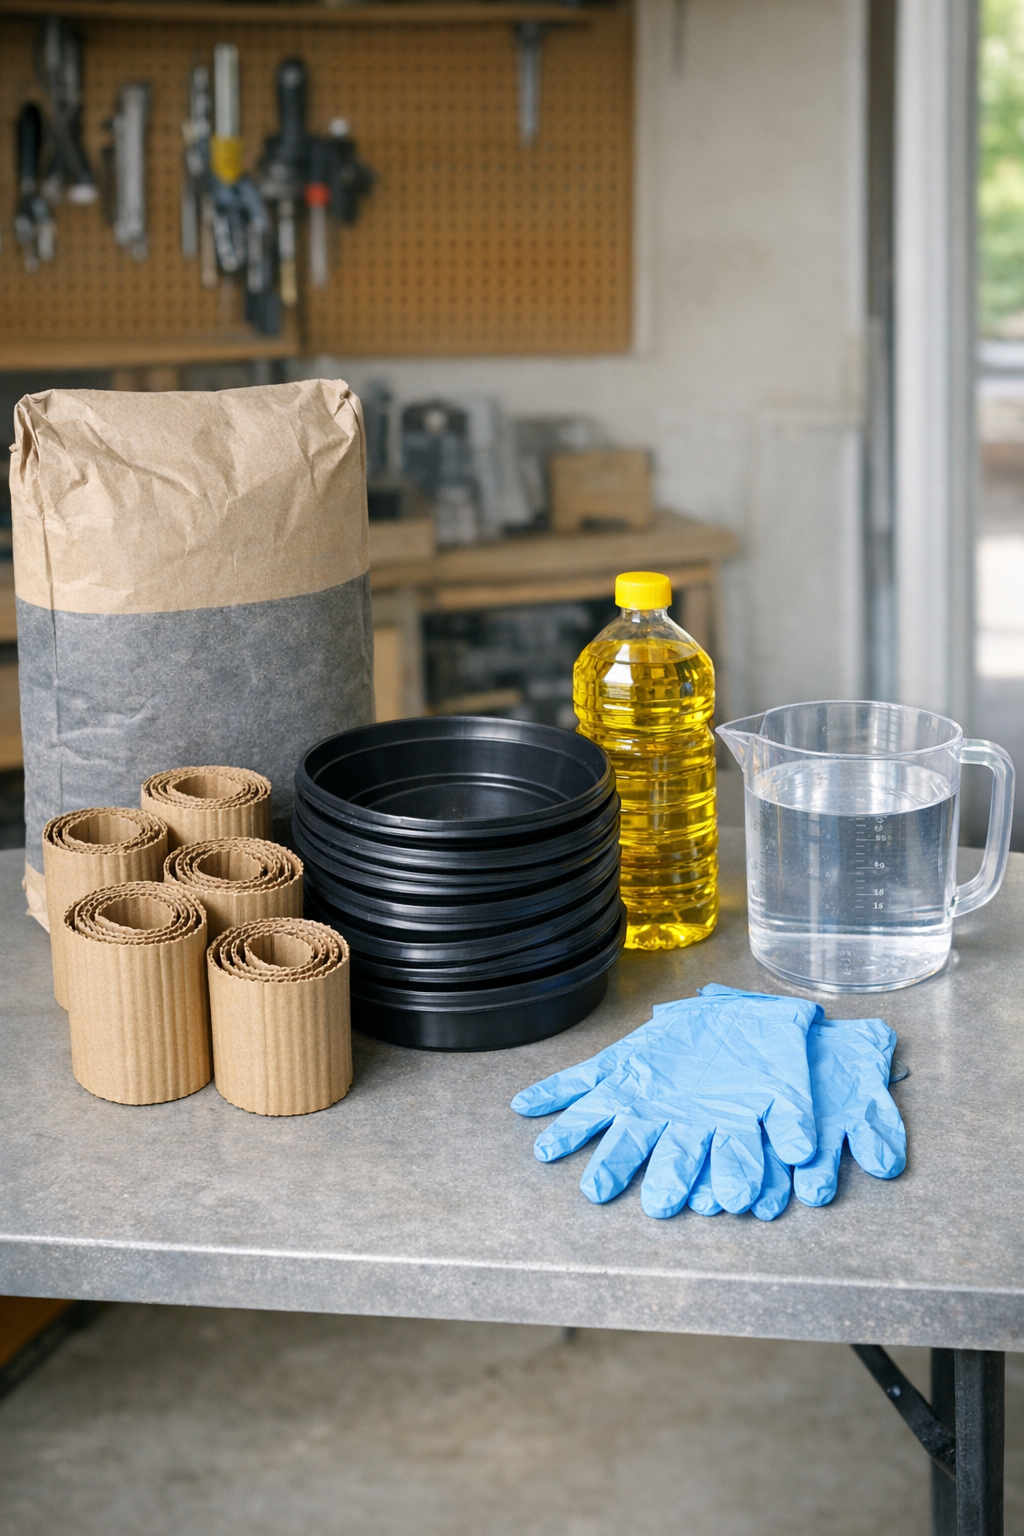
Materials
Instructions
1. Cut the corrugated cardboard into strips that are 3 inches wide and about 24 inches long, then roll each strip into a tight spiral with the corrugation exposed along the edge. Make enough rolls to cover the base of all three plant saucers.
2. Lightly coat the inside of each plastic saucer with cooking oil so the cured slab releases more easily. Keep the layer thin so it does not pool in the bottom.
3. Place the cardboard rolls flat inside the saucers, packing them snugly so they create a continuous ribbed pattern across the mold. Use one large spiral in the center and fit smaller rolls around it, or line the saucer with side-by-side coils for a more organic look.
4. Mix the concrete in a bucket or mixing tub according to the package directions, adding water gradually until it reaches a thick pancake-batter consistency. Stir thoroughly so there are no dry pockets.
5. Pour the wet concrete slowly into each saucer, covering the cardboard rolls by about 1/2 to 3/4 inch. Tap the saucers firmly on the work surface a few times to help release trapped air.
6. Smooth the top lightly with a scrap of wood or trowel, but do not overwork it if you want the underside texture to stay crisp. Check that all the cardboard is fully embedded and the slab thickness looks even.
7. Let the slabs sit undisturbed until they are firm enough to handle, usually 24 to 48 hours depending on the mix and weather. If the air is hot or dry, cover them loosely with plastic so they cure more slowly and resist cracking.
8. Flex the plastic saucers gently to release each slab, then peel away and discard the cardboard from the textured face. Set the slabs aside to continue curing for another 5 to 7 days before placing them in the yard or using them for regular foot traffic.
Variations & Tips
Shape swap: If you do not have round plant saucers, use square or rectangular plastic trays with a similar depth. The same cardboard-roll method works beautifully and gives you a more modern paver shape.
More uniform ribs: For a cleaner pattern, cut every cardboard strip to the same width and roll them tightly to similar diameters. That little extra prep makes the finished slabs look much more intentional.
Rustic finish: If you like an aged garden look, brush the cured slabs clean and let them weather naturally outdoors. Over time, the texture stands out even more once a little dust and rain settle into the grooves.
Placement tip: Set the finished slabs on a level bed of sand or compacted soil so they do not rock underfoot. I’ve learned the hard way that even a great-looking paver feels off if the ground underneath is uneven.
Batch prep: If you are making several at once, pre-roll all the cardboard the night before and stack your molds on a protected table. That makes the cement-mixing part go much faster, which is especially helpful on a busy weeknight.
Safety note: Wear gloves when mixing and handling wet cement, and work in a ventilated area. Cement can be irritating to skin, so I always keep a rinse bucket nearby just in case.