
I love a clever kitchen-and-home fix that turns an everyday throwaway into something genuinely useful, and this drawer-glide hack is exactly that kind of project. By reshaping plastic contact lens cases with heat and pairing them with two simple hardware items, you can make tough, low-friction glide points that help sticky drawers slide more smoothly without installing full metal runners.
This is a practical project for older cabinets, workshop drawers, utility furniture, or any drawer that drags because the original wood-on-wood contact has worn down. As someone who spends plenty of time making busy kitchen spaces work better, I appreciate repairs like this: inexpensive, fast, and surprisingly durable when done carefully.
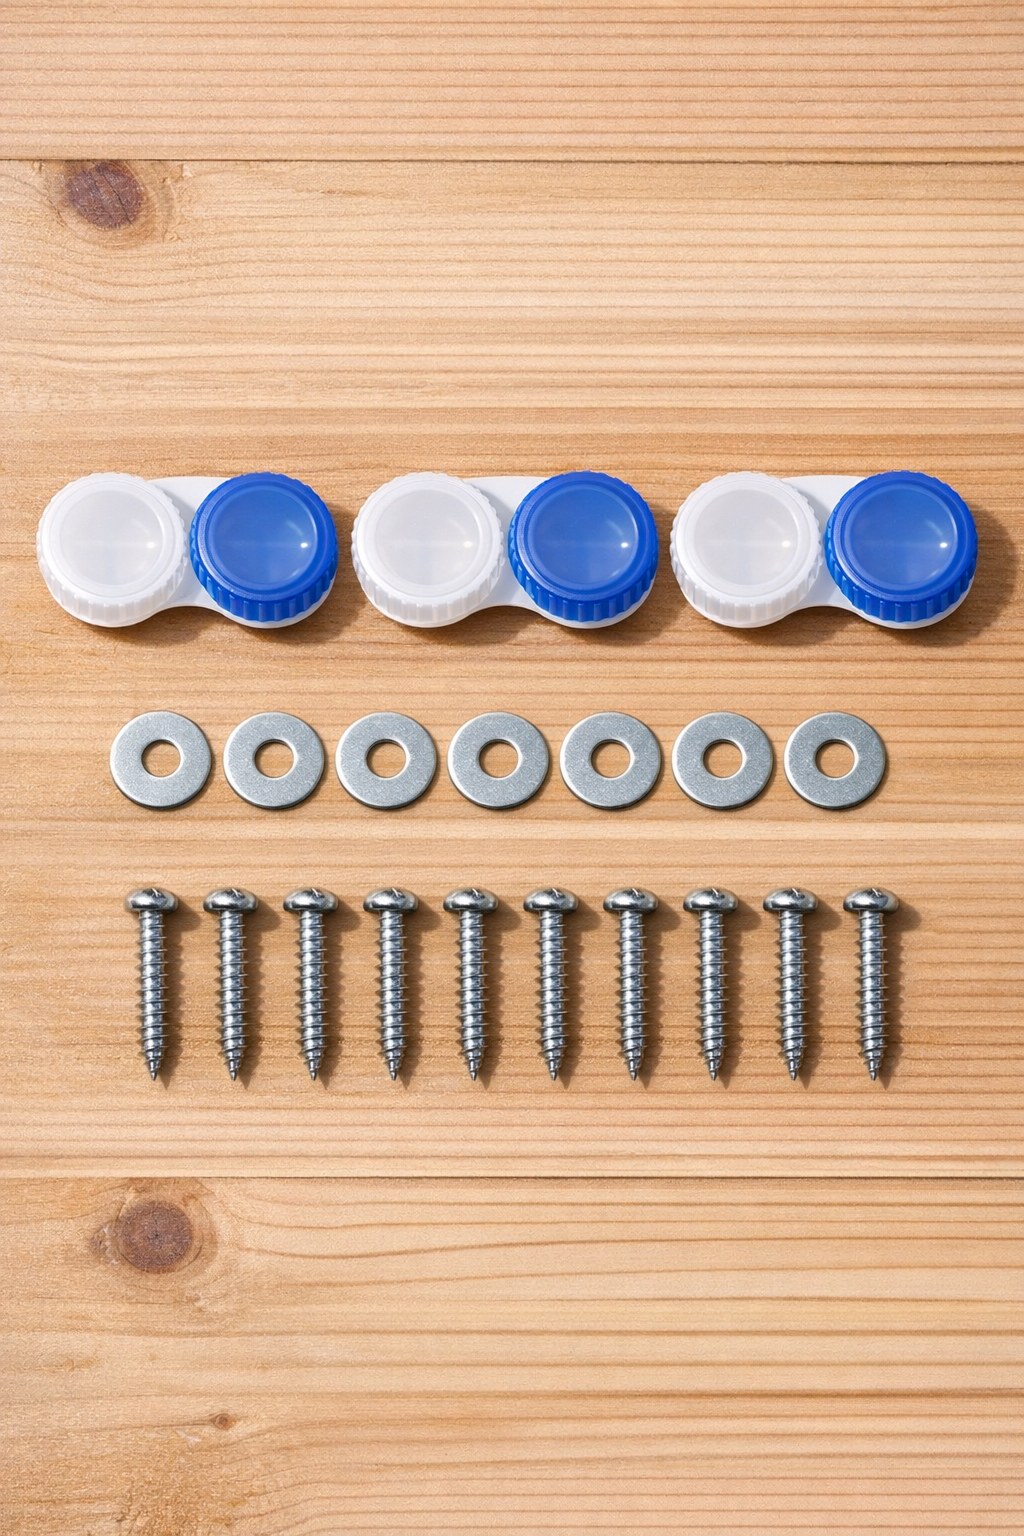
Materials
Instructions
1. Remove any caps from the contact lens cases, wash the cases thoroughly with dish soap, and let them dry completely. You only want the smooth plastic body pieces for this project.
2. Preheat your oven to 300°F and line a small baking tray with parchment paper. Set the contact lens case bodies upright and spaced apart so they can soften evenly without touching.
3. Bake the plastic for 4 to 7 minutes, watching closely until the pieces soften and slump slightly. Remove the tray as soon as the plastic becomes pliable but not scorched.
4. While the plastic is still warm, flatten each case carefully by pressing it with the bottom of a metal measuring cup or another flat heat-safe object. Aim for compact, rounded pads that are thick enough to hold a screw securely.
5. Let the flattened pieces cool fully for 10 to 15 minutes until hard again. Check that each pad feels firm, smooth, and slightly rounded on the sliding face.
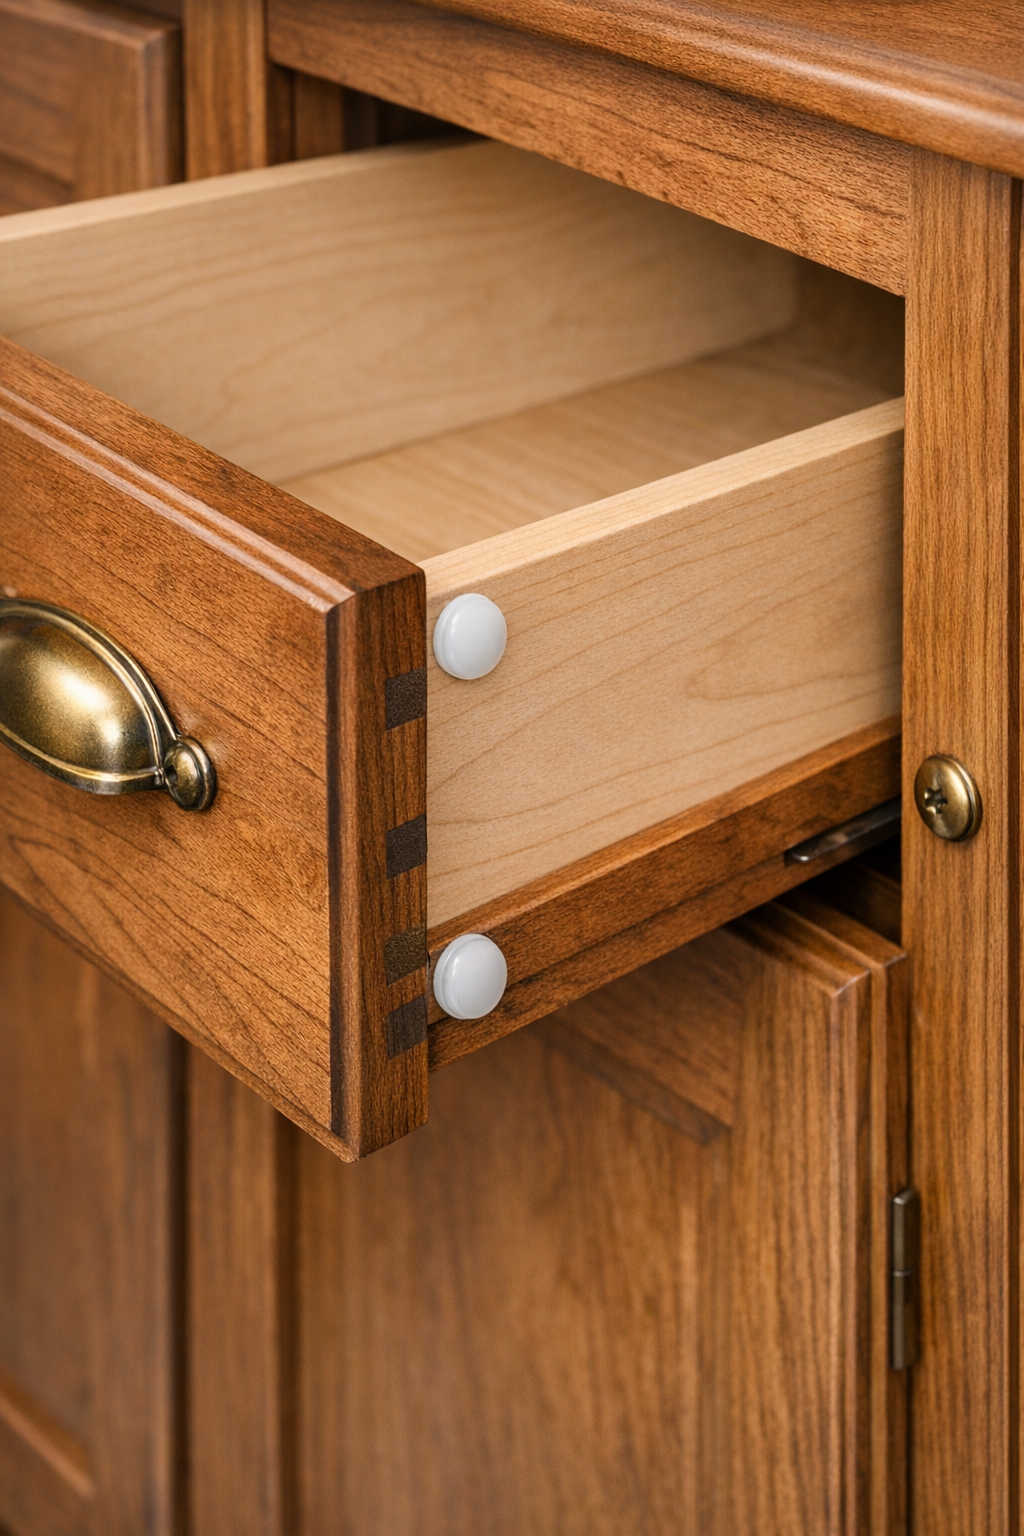
6. Pull the drawer out and identify the points where it rubs most, usually near the lower side edges or along the bottom runners. Mark two spots near the front and two near the back where the new glide pads will support the drawer evenly.
7. Place one washer over each plastic pad and fasten the pad to the drawer or cabinet frame with a pan-head screw. Tighten just enough to secure it firmly without cracking the plastic.
8. Reinstall the drawer and test the movement slowly, opening and closing it several times. If needed, loosen and reposition a pad slightly so the drawer tracks straight and glides on the plastic instead of dragging on the wood.
Variations & Tips
For heavier drawers: Use 6 to 8 glide pads instead of 4 so the weight is distributed better. I especially like this on pantry pull-outs or utility drawers that carry cast-iron pans, canned goods, or tools.
Placement tip: Install the pads on the stationary cabinet frame if you want easier future adjustments, or on the drawer itself if the frame is hard to reach. Either method works as long as both sides contact evenly.
Smoother slide: After testing, you can lightly sand any rough plastic edge with fine sandpaper. A smooth rounded face helps the drawer move quietly and prevents snagging.
Heat-control tip: Ovens vary, and small plastics can go from soft to scorched quickly. I always stay nearby and check at the 4-minute mark because gentle softening is all you need.
Best use case: This is ideal as a low-cost friction reducer, not a full replacement for precision ball-bearing slides. It shines on older wood drawers where a simple, sturdy glide point solves most of the sticking.
Material note: Use only hard plastic contact lens cases, not soft silicone travel containers or anything with rubber parts. The firmer plastic holds shape better after cooling and stands up to repeated use.