
I love a project that looks a little mysterious at first and then turns out to be incredibly practical, and these angled yard slabs are exactly that. By using plastic clipboards as simple molds, you can make smooth, heavy concrete pavers with a clean sloped shape that looks surprisingly polished once they’re set in the yard. It’s one of those weekend projects that feels a lot fancier than the supply list would suggest.
This is a great DIY if you want a small walkway, a stepping-stone feature, or a tidy transition near a garden bed without buying expensive premade pavers. As someone who is always trying to squeeze a satisfying project into a busy week, I really appreciate that this one uses basic materials, doesn’t need complicated carpentry, and gives you something sturdy enough to handle real outdoor use.
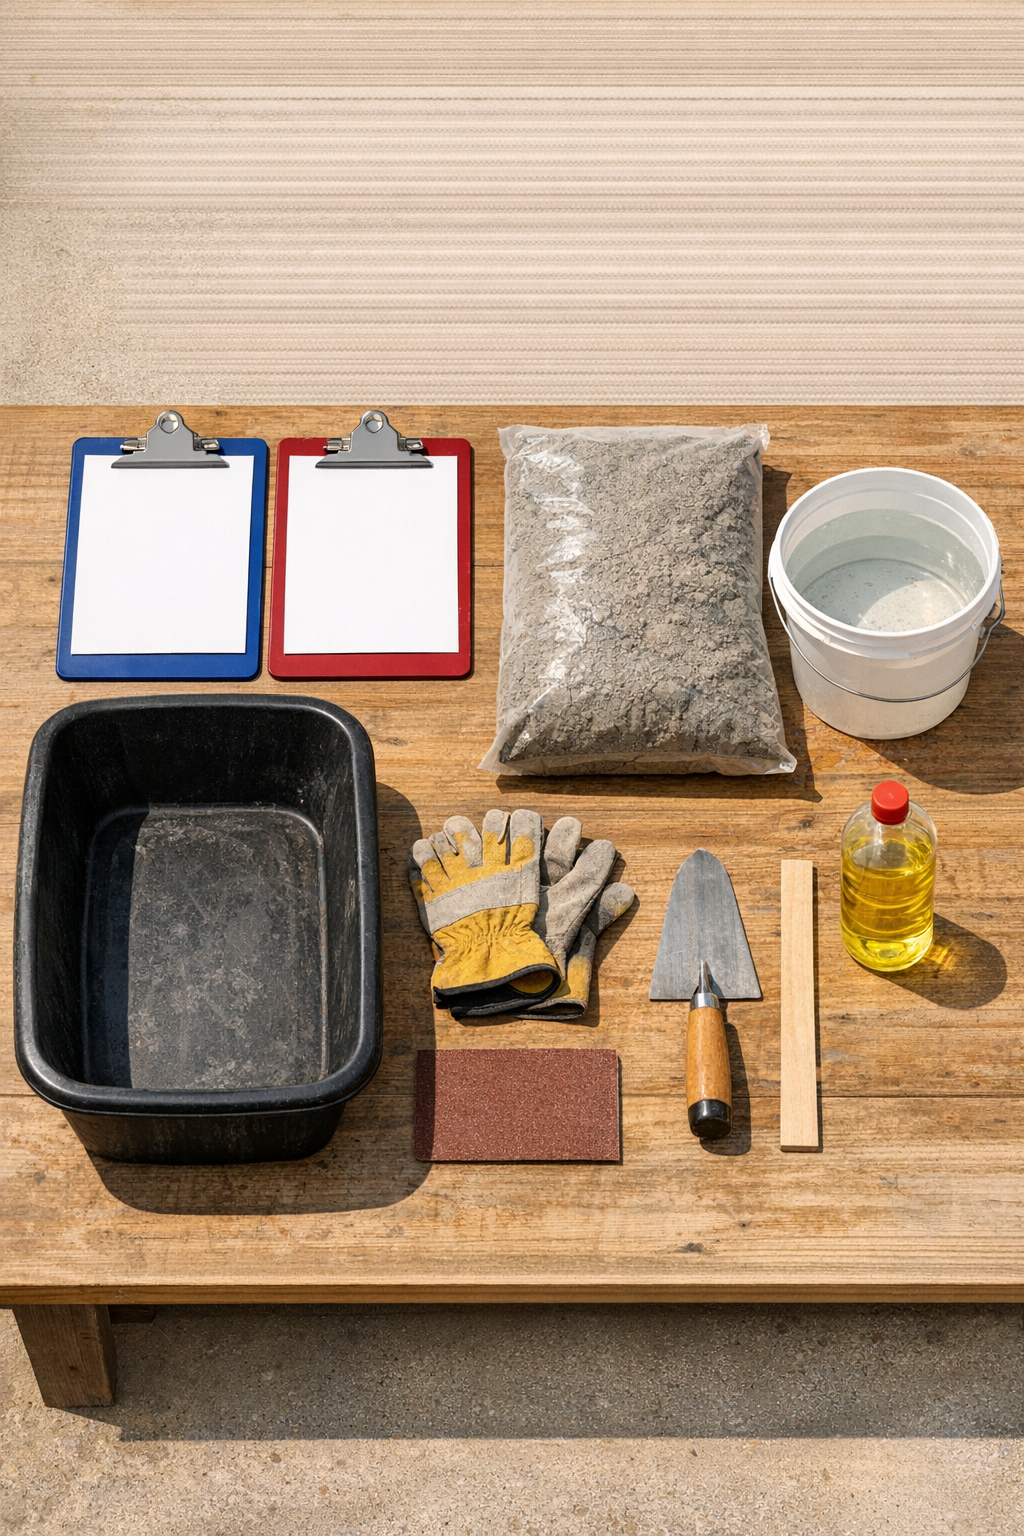
Materials
Instructions
1. Set up your work area on a flat outdoor surface and place the three plastic clipboards where they can stay undisturbed for at least 24 hours. Put on gloves before handling the cement mix.
2. Remove any paper inserts or metal hardware that sticks up too far inside the clipboards so the molding surface is as smooth as possible. Wipe each clipboard clean and dry.
3. Rub a thin coat of cooking oil over the inside face of each clipboard to help the cement release later. Keep the coating light so it does not pool.
4. In a mixing tub, combine the cement mix with water a little at a time until it reaches a thick, scoopable consistency like stiff mashed potatoes. Mix thoroughly so there are no dry pockets.
5. Scoop cement onto each clipboard and spread it into an even slab about 1 1/2 to 2 inches thick. Build one long side slightly thicker than the other to create a gentle angle across the finished slab.
6. Smooth the top with a trowel, pressing out air pockets and squaring the edges as much as possible. Tap the clipboard lightly against the ground a few times to help settle the mix.
7. Check the shape visually and use a small level if you want the angle to be consistent from slab to slab. Let the slabs cure in the clipboards for 24 to 48 hours, depending on temperature and humidity.
8. Once firm, flex the plastic clipboards gently to release the concrete slabs. If needed, slide your hand under an edge and ease them out slowly rather than forcing them.
9. Let the slabs continue curing for another 3 to 5 days on a flat surface before installing them in the yard. Lightly sand any rough edges once they are fully hardened.
10. To place them, level the ground first and add a thin layer of paver base or sand if needed. Set the slabs with the angled face oriented however you like, then press them firmly into place so they sit solidly without rocking.
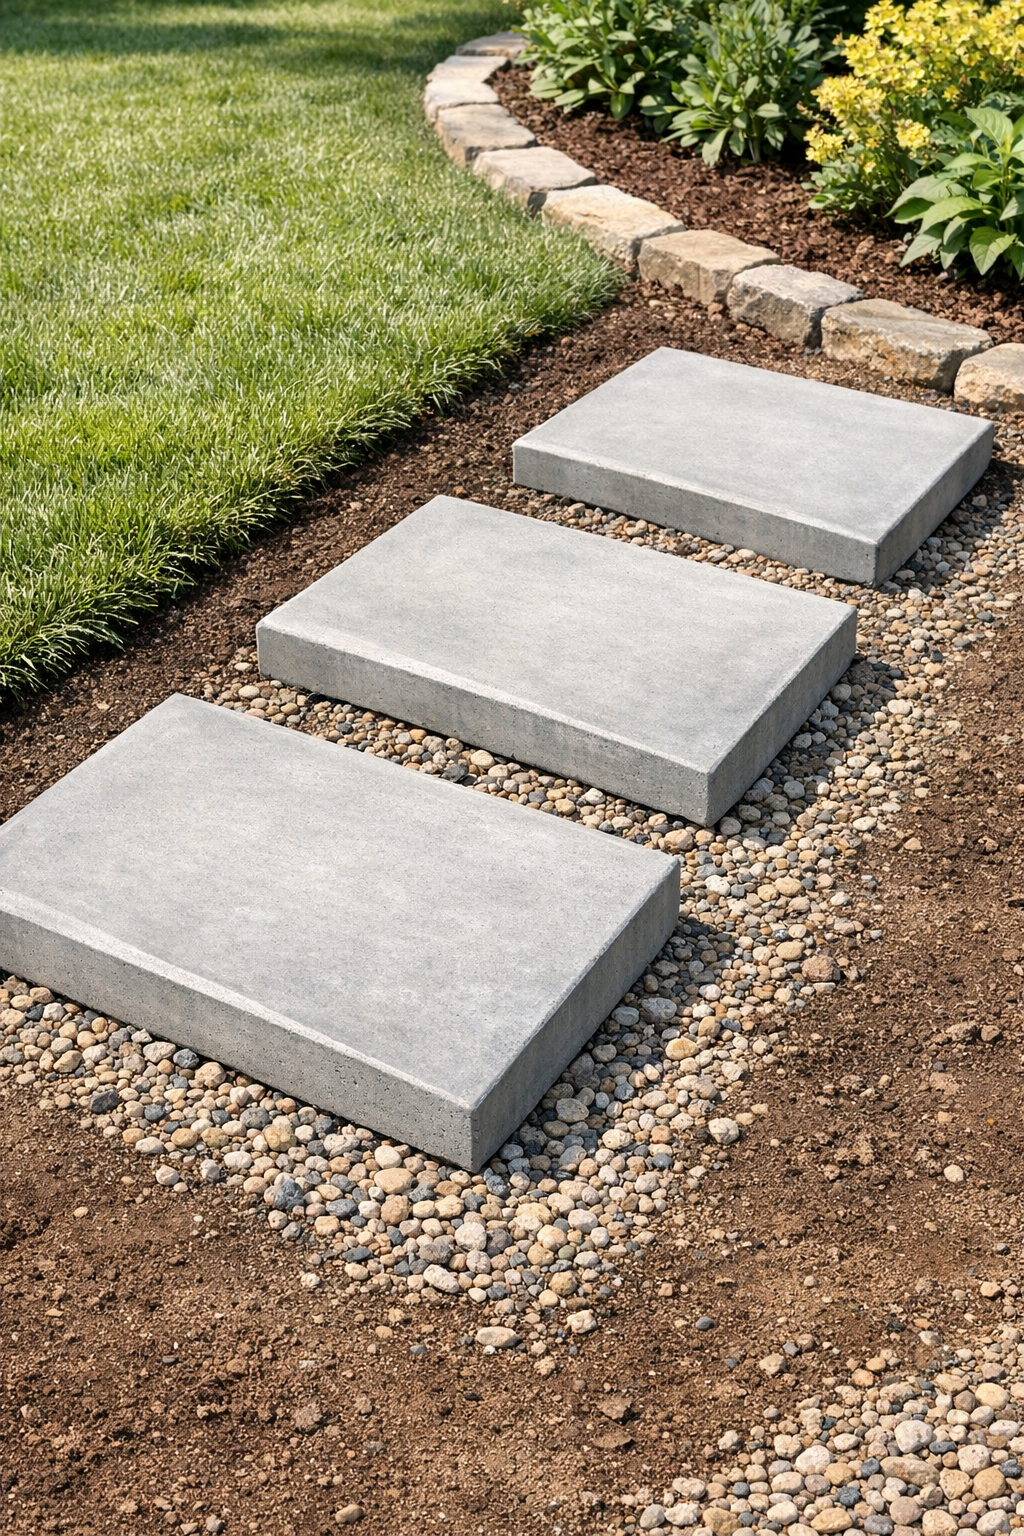
Variations & Tips
For a cleaner finish: Run the trowel over the surface a second time about 15 to 20 minutes after pouring, once the mix starts to firm up a bit. I do this whenever I want that extra-smooth look without much extra effort.
To make more slabs at once: Use additional clipboards of the same size so the set looks consistent when installed. Matching molds really helps the finished path feel intentional.
Add color: Mix in a concrete colorant made for outdoor use if you want a warmer stone tone or a darker modern look. Keep the dosage consistent across all batches so the slabs match.
Prevent cracking: Don’t make the mix too wet, and let the slabs cure slowly out of harsh direct sun on very hot days. In my Midwest summers, throwing a light sheet of plastic over curing concrete can make a big difference.
Use them beyond walkways: These also work nicely as a base under planters, a small landing near a hose spigot, or a simple garden border accent. I love projects that can pull double duty around the yard.