
Turning used coffee grounds into patio floor tiles is one of those projects that feels a little magical the first time you try it. You start with something that usually gets tossed out, add one simple binding liquid, and end up with sturdy, rustic-looking tiles that have a rich dark color and a surprisingly solid feel. I love projects like this because they stretch a household budget, reuse kitchen leftovers, and create something that looks thoughtful and handmade.
This is a good weekend project for anyone who enjoys practical DIYs, especially if you like natural-looking outdoor décor. I’d use these as decorative patio accents, stepping-style inserts between pavers, or little platforms for planters rather than as a structural surface for heavy traffic. When I’m making outdoor pieces for my own home, I always want something simple, affordable, and a bit conversation-worthy, and these definitely fit the bill.
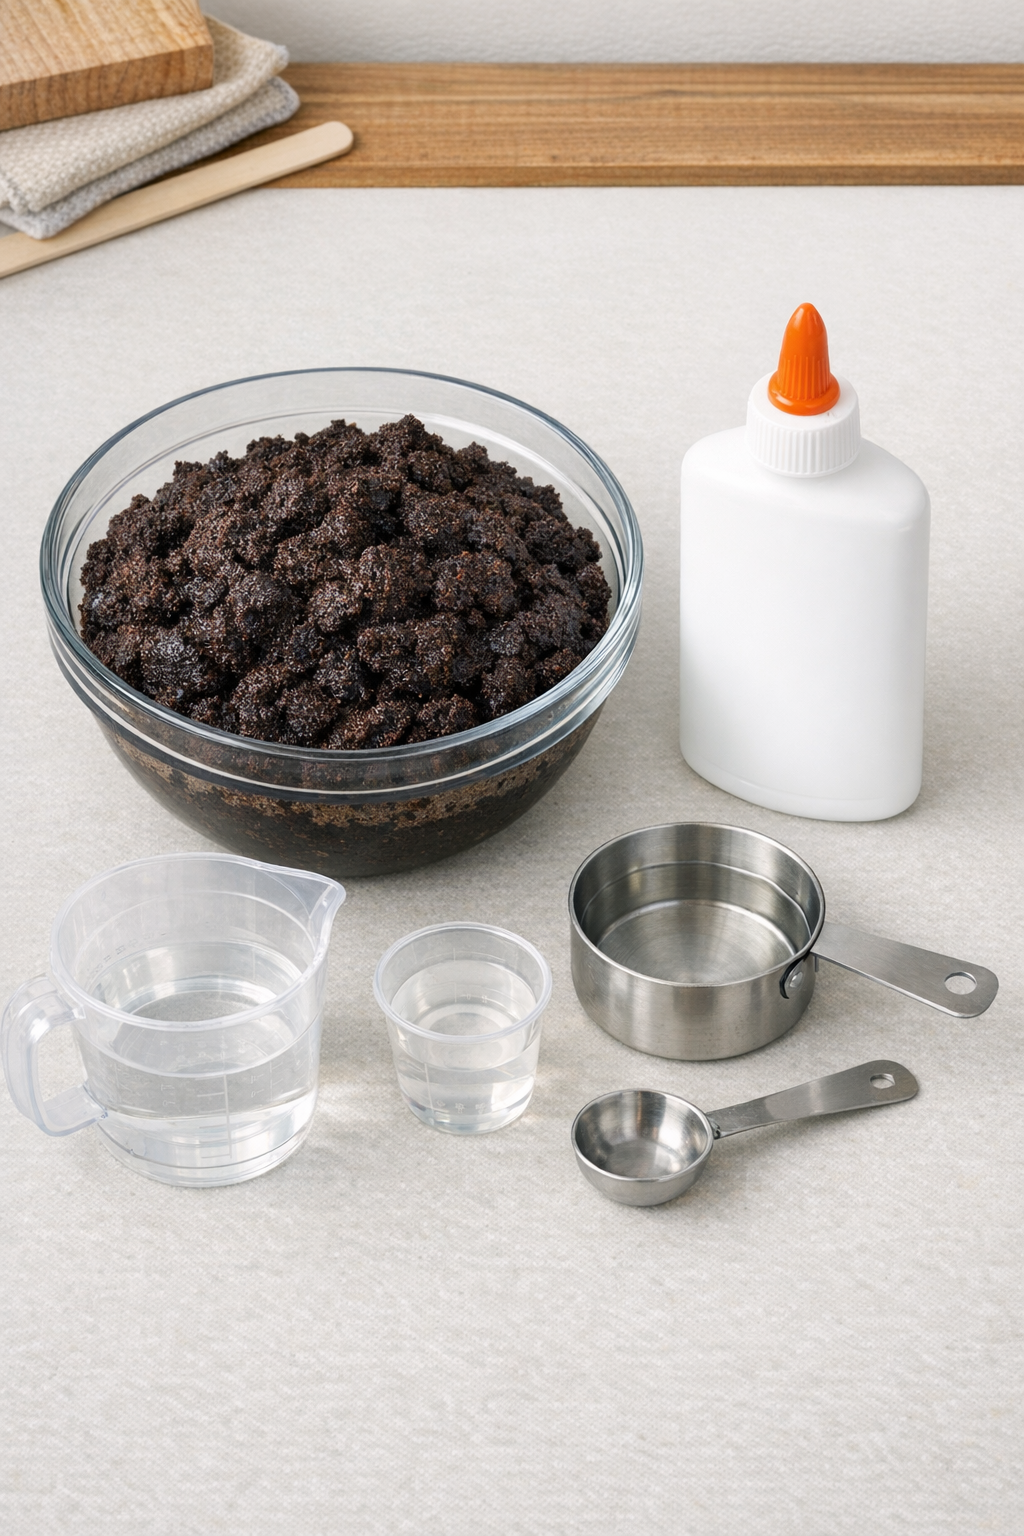
Materials
Instructions
1. Collect used coffee grounds and squeeze or press out any dripping water so they stay very damp but not soupy. If the grounds are overly wet, spread them on a tray for 30 to 60 minutes until they hold their shape when pressed.
2. Add 8 packed cups of wet coffee grounds to a large mixing bowl and pour in 2 cups of white PVA glue. Stir thoroughly until every bit of the grounds is coated and the mixture looks evenly dark and clumpy, like thick brownie batter.
3. Test the mixture by squeezing a handful firmly in your palm; it should compress into a solid lump without crumbling apart. If it falls apart, mix in a little more glue 1 tablespoon at a time; if it feels runny, let it sit for 10 minutes so the grounds absorb the liquid.
4. Press the mixture into tile molds, silicone baking cups, or a square pan lined with parchment, packing it down very firmly with the back of a spoon or the bottom of a glass. Aim for tiles about 1/2 inch thick so they dry more evenly and hold together well.
5. Smooth the tops and press especially hard into the corners and edges to remove hidden air pockets. If you want a cleaner tile shape, run a spoon around the perimeter and level the surface before drying.
6. Let the packed tiles dry in their molds for 24 hours in a warm, well-ventilated spot. Set them on a tray or rack so air can move around them and keep them out of rain or heavy humidity.
7. Gently unmold the tiles and transfer them to a flat drying surface lined with parchment or cardboard. Turn them once a day and allow them to dry for 3 to 7 more days, until they feel hard all the way through.
8. Once fully dry, check each tile by tapping and pressing on the surface; it should feel firm and not shed loose grounds. If a tile still feels soft in the center, give it another day or two of drying before using it outdoors.
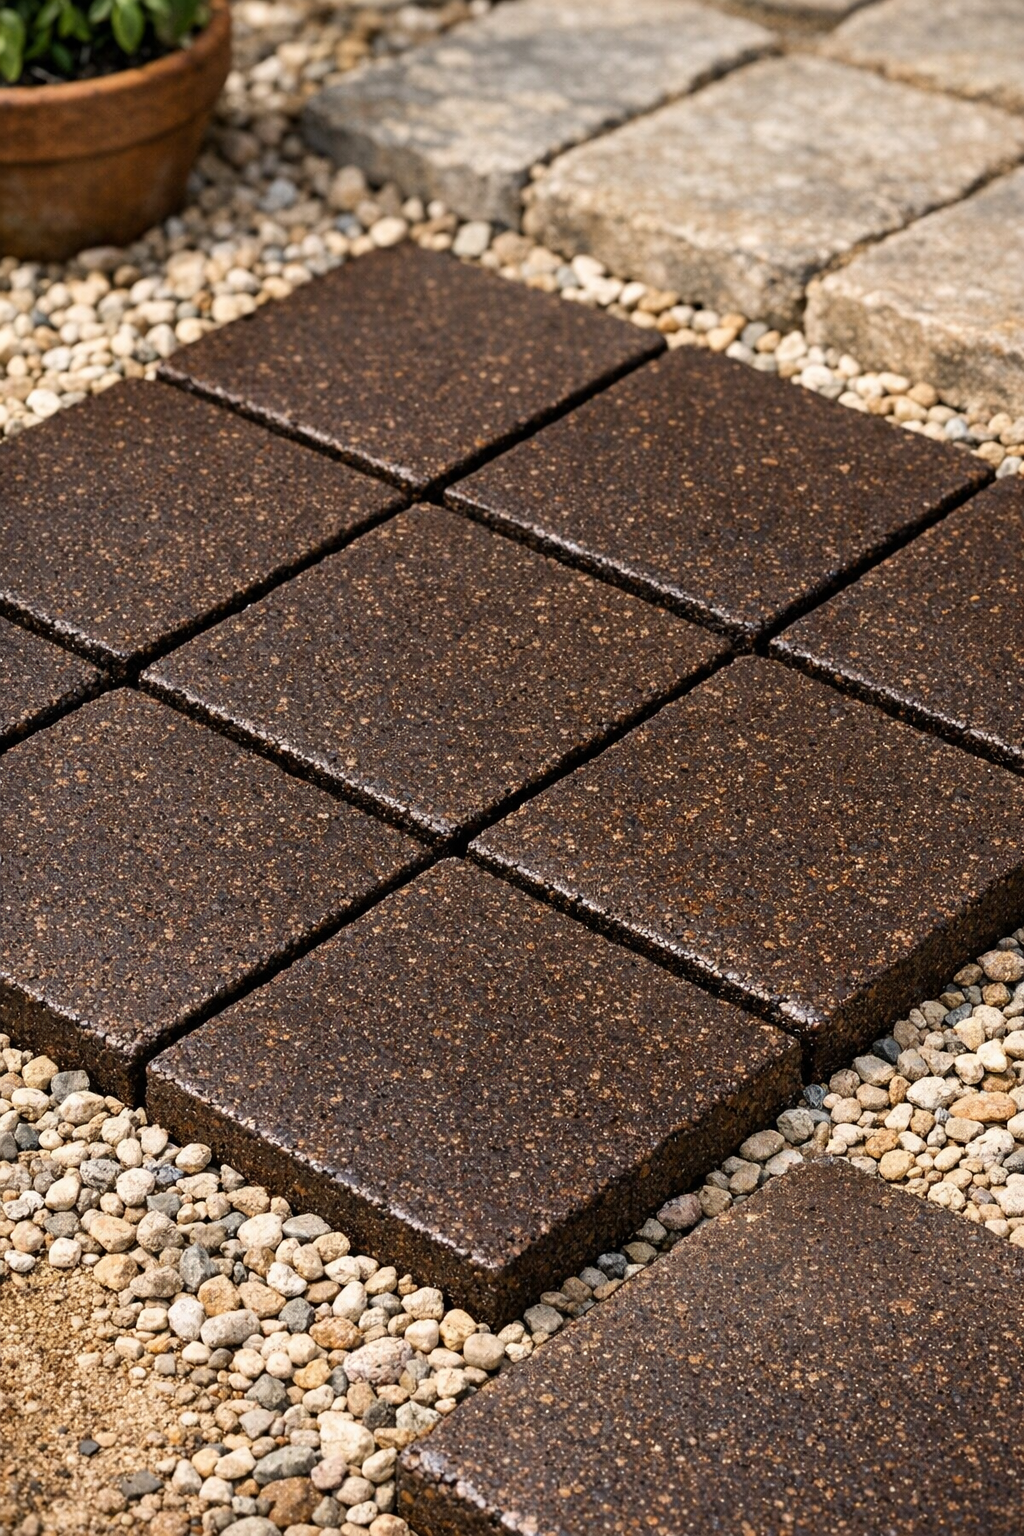
9. Place the finished tiles as decorative patio accents on a level surface, nestling them into sand, gravel, or between existing pavers so they stay supported underneath. For the longest life, use them in covered or partly sheltered outdoor areas rather than spots that stay soaked.
Variations & Tips
For smoother tiles: Press the mixture through a quick hand mix before molding so any large clumps break down. A smoother mix gives you cleaner edges and a more even surface.
For coasters or plant risers: Use the same method in smaller molds and make pieces about 3/8 inch thick. I love doing this when I have just a bowlful of grounds left after a busy week of coffee-making.
For picky-style décor preferences: If your family doesn’t love a rough rustic look, press the top very smooth with the bottom of a glass and use simple square or round molds. That gives the finished tile a cleaner, more polished appearance.
For best durability: These hold up best when they are fully supported from underneath and used as decorative surface tiles rather than load-bearing pavers. I always remind myself that handmade recycled projects last longer when I ask them to do a gentle job.
To avoid cracking: Keep the tile thickness consistent and don’t rush the drying time. Fast drying in strong sun or near high heat can cause the outer layer to harden before the center is ready.
To make larger tiles: Increase the batch using the same ratio of 4 parts wet coffee grounds to 1 part white glue. For anything over 6 inches wide, pack especially firmly and extend the drying time.
Placement tip: These look especially pretty tucked around container plants, along a sheltered porch edge, or between larger store-bought pavers. The deep coffee color pairs beautifully with terracotta pots, black planters, and greenery.