
There’s something about a little fire on the patio that makes folks linger longer. Around here, once the sun starts dropping and the evening air turns soft, everybody naturally gathers where there’s warmth, a snack, and a place to set their elbows. This outdoor s’mores station turns a plain ceramic planter into a tidy tabletop fire feature with room all around for graham crackers, chocolate, and marshmallows, and it’s one of those projects that looks far fancier than it is to make.
I’m especially fond of projects like this because they take simple, sturdy materials and turn them into something that invites people together. If you like easy patio entertaining, want a compact fire feature without building a full fire pit, or just enjoy a practical upcycling-style weekend project, this one is well worth an afternoon of work.
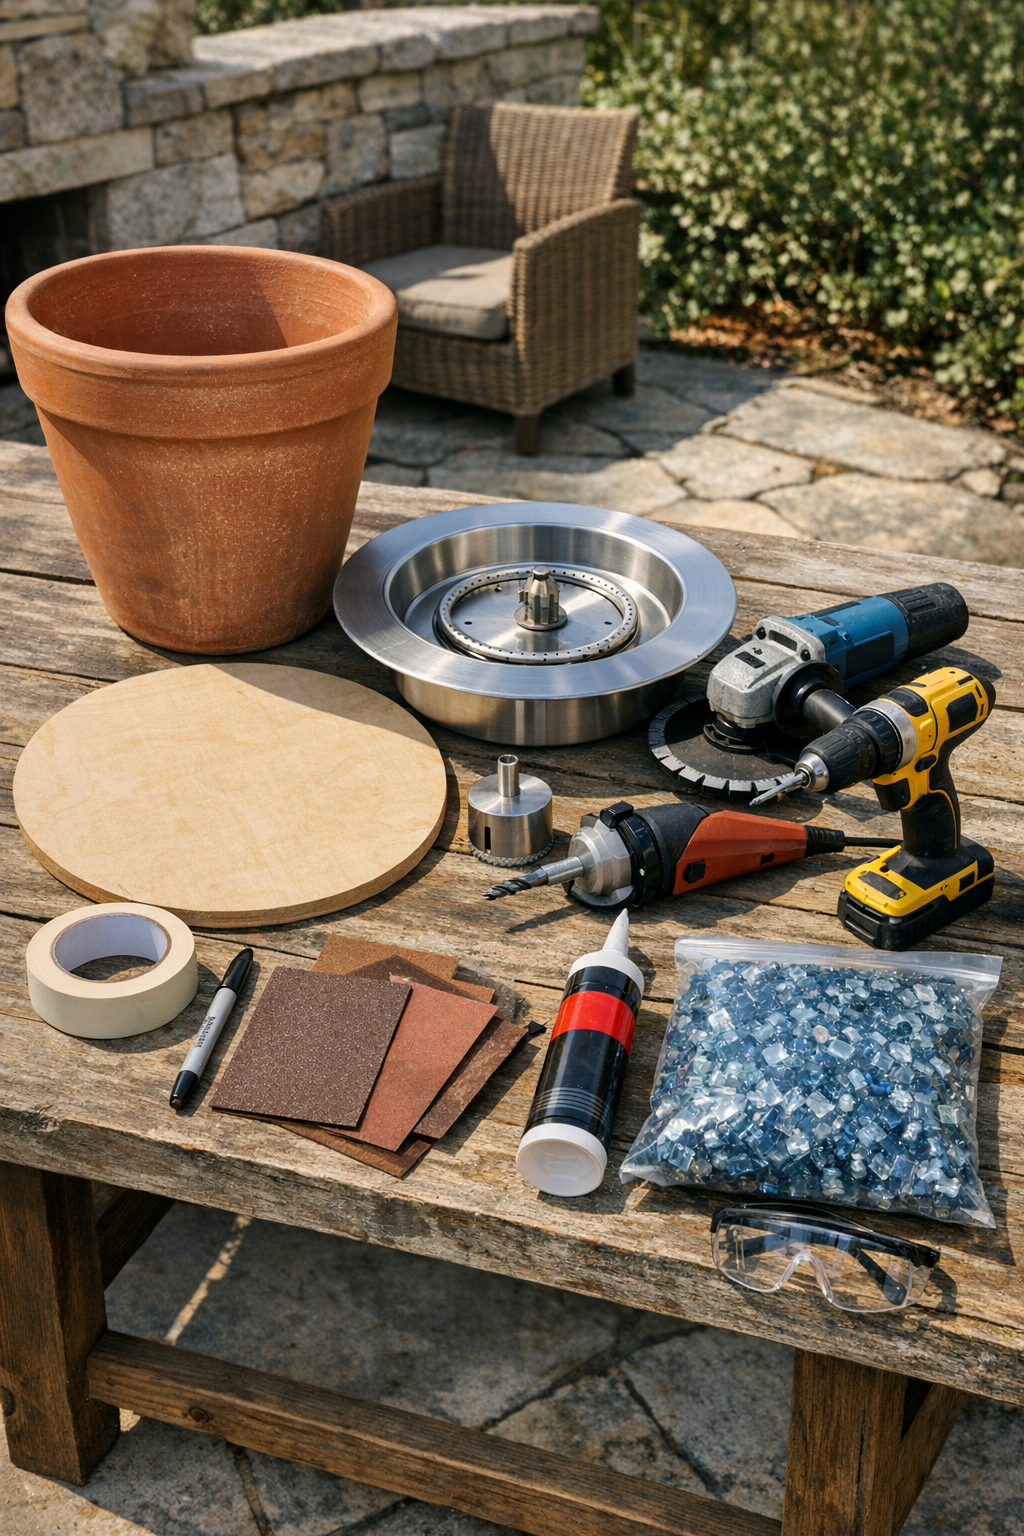
Materials
Instructions
1. Set the terracotta planter upside down on a padded work surface and decide where the fire bowl insert will sit, usually centered on the planter’s base so the rim can rest evenly.
2. Measure the inside opening needed for the insert and trace that circle onto the planter using a marker; add painter’s tape over the cut area first to help reduce chipping and make the line easier to see.
3. Make a simple plywood template with a matching circle or starter opening if you want extra control, then clamp or hold it firmly over the marked spot on the planter.
4. Put on goggles, gloves, and a dust mask, then drill a starter hole just inside the marked circle using the diamond bit at low speed, keeping the surface and bit lightly damp if the bit manufacturer recommends wet cutting.
5. Enlarge the opening gradually with the angle grinder, following the marked circle in short passes instead of trying to cut through all at once.
6. Stop often to test-fit the fire bowl insert; the opening should be just large enough for the insert body to pass through while the rim lip rests securely on the planter.
7. Smooth the cut edge with 80-grit sandpaper first and then 120-grit until the rim sits flat and there are no sharp ceramic flakes.
8. Turn the planter right side up and attach the four rubber pads evenly on the bottom so the station sits more steadily and stays slightly raised off the table or paver.
9. Set the planter on the metal or stone paver, then lower the stainless steel fire bowl insert into the opening and check that it sits level from every angle.
10. If needed, apply a thin bead of heat-resistant adhesive under the insert rim or around the contact points, then let it cure fully according to the product directions before using.
11. Fill the insert with fire glass if your model uses it, keeping the burner area properly covered but not overfilled.
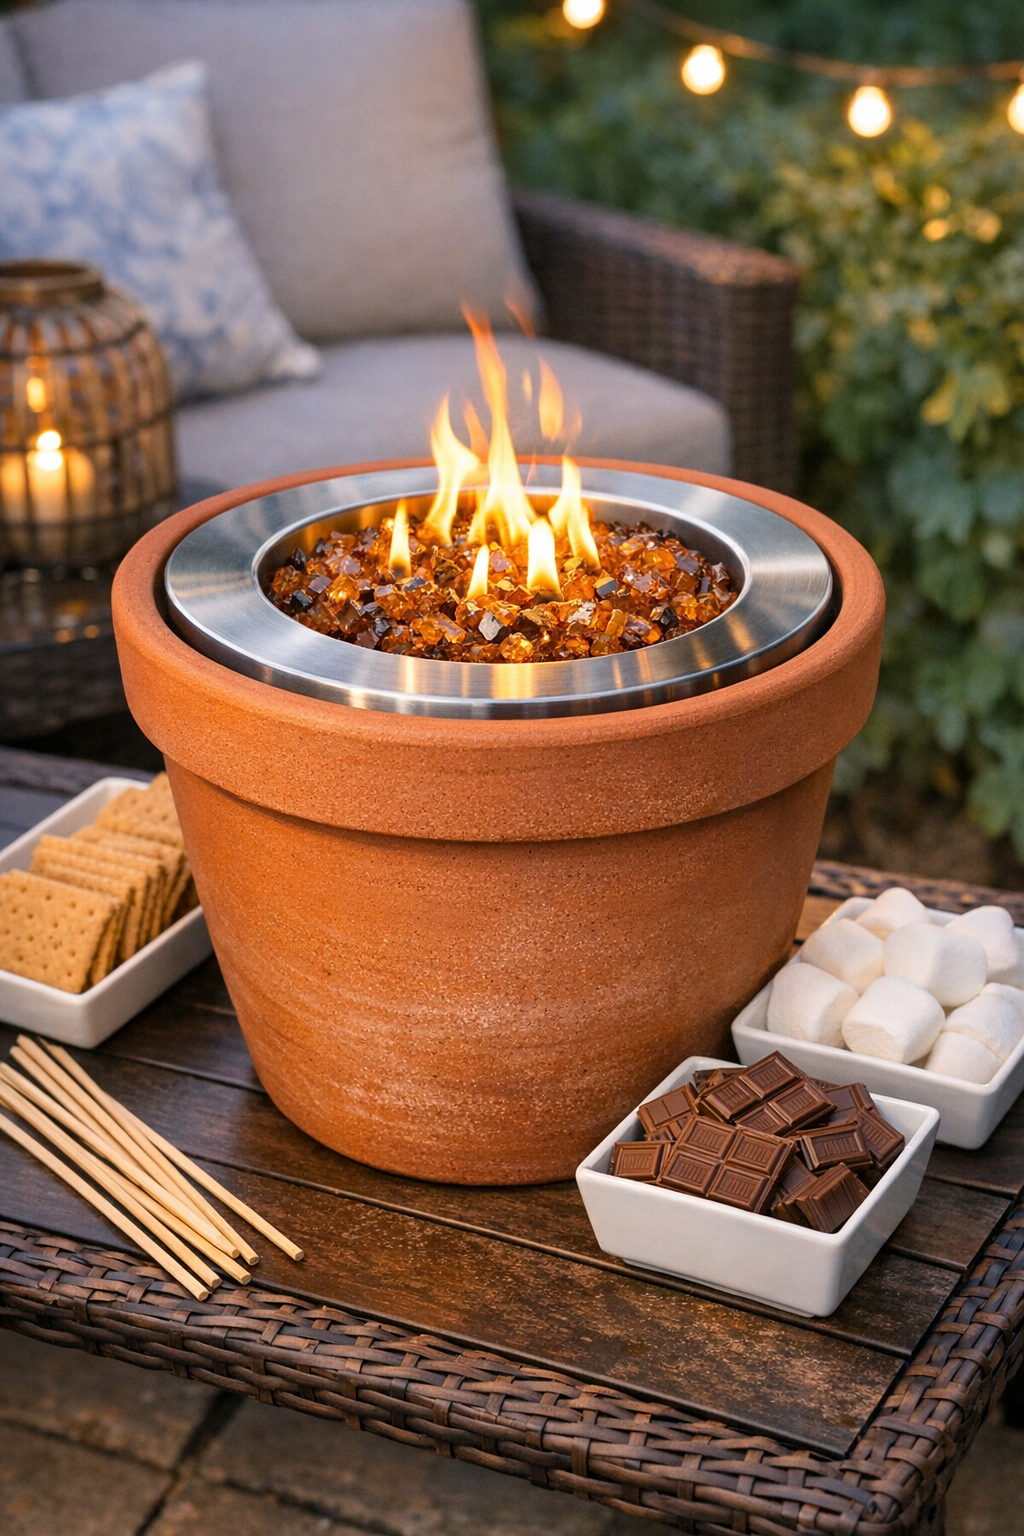
12. Arrange your finished station in the center of an outdoor table or on a patio side table, leaving space around it for trays of s’mores ingredients and making sure all use follows the fire bowl manufacturer’s safety instructions.
Variations & Tips
Choose the right planter: I prefer a thicker terracotta or ceramic planter with a broad, stable shape; very thin or heavily curved planters are more likely to crack or make the insert sit unevenly.
Measure twice before cutting: The old saying holds true here. Trace from the insert body, not the outer rim, because the rim is what should catch and support the bowl.
Keep cuts slow and patient: Ceramic rewards a gentle hand. Short cutting passes and frequent test-fits are far better than forcing the blade and losing a chunk from the edge.
Add a serving ring: If you want more of a true s’mores station, set the finished planter in the center of a larger tray or outdoor side table and ring it with small bowls for marshmallows, chocolate squares, and graham crackers.
Try a different finish: You can leave the terracotta natural for a farmhouse patio look, or use an exterior masonry-safe paint on the outside only once the cutting is done and all dust is cleaned away.
Prioritize fire safety: Always use the station outdoors on a nonflammable surface, keep it away from cushions and overhangs, and follow the fuel, filling, lighting, and cooling instructions that came with your specific fire bowl insert.