
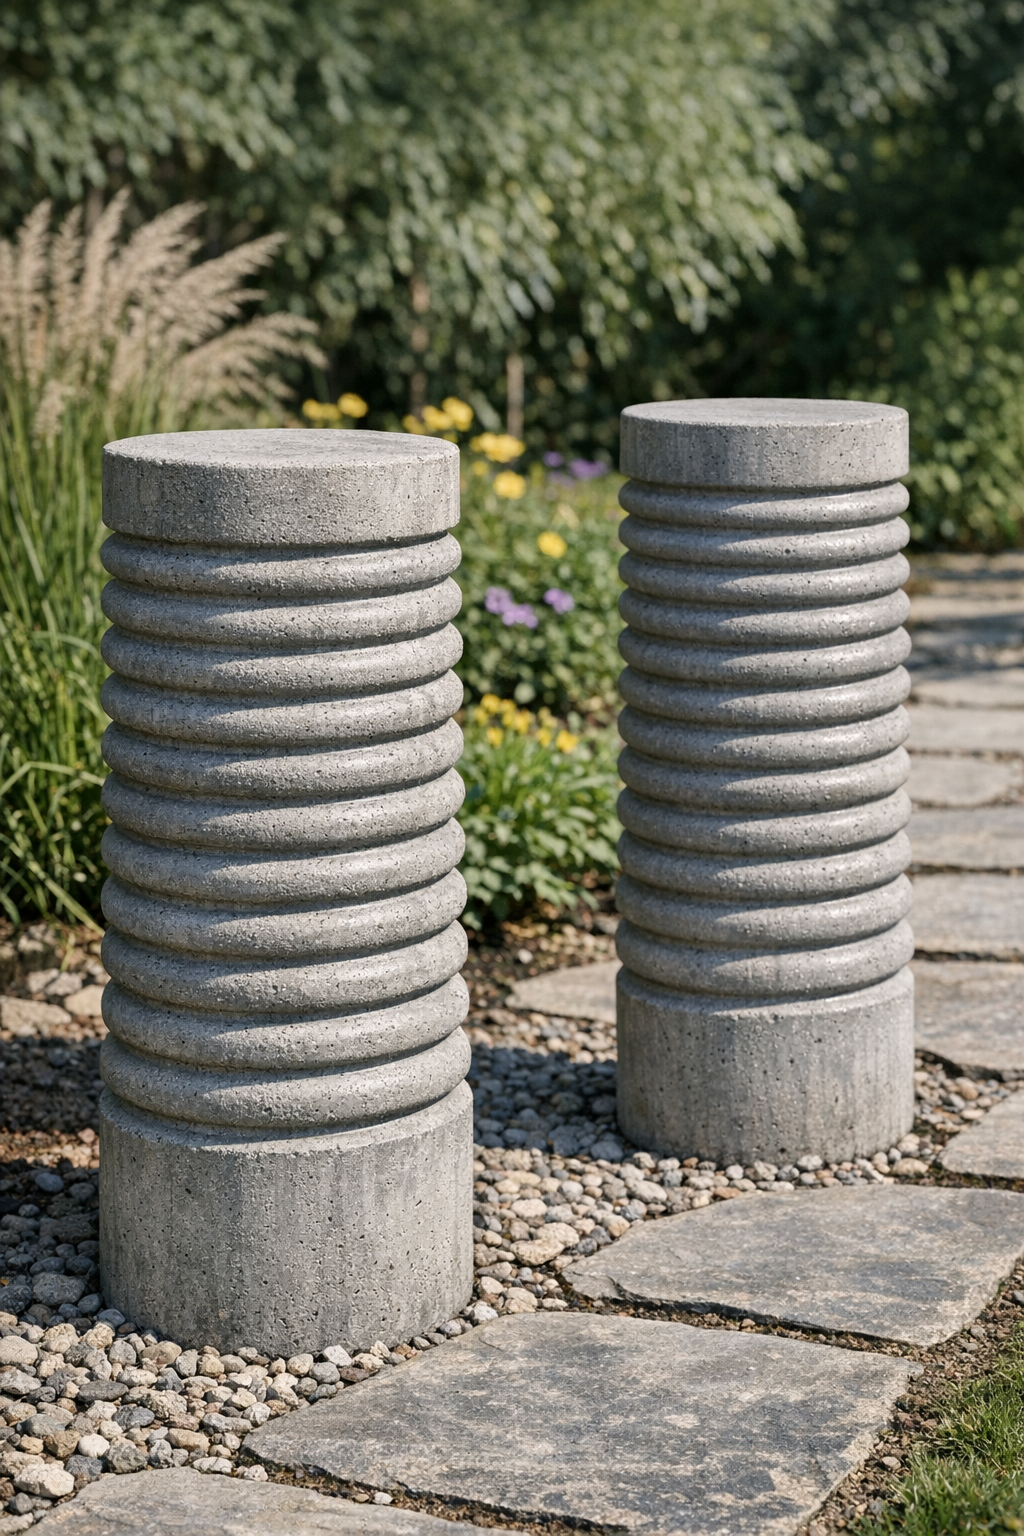
I love a yard project that looks expensive but starts with the most ordinary supplies, and these heavy ribbed garden pillars absolutely fit that category. By using flexible aluminum dryer vents as molds and filling them with cement, you get tall, textured columns that look surprisingly architectural once they’re finished. The ribbed surface is what makes them special—it catches light beautifully and gives the pillars that “where did you buy those?” look.
This is a great weekend project if you want to dress up a front walkway, frame a flower bed, or add height to a porch or patio display without spending a fortune on premade concrete décor. I’m always trying to squeeze in projects like this between work and real life, so I appreciate that the setup is simple, the supplies are easy to find at a home improvement store, and the finished pieces are sturdy enough to stay put outdoors.
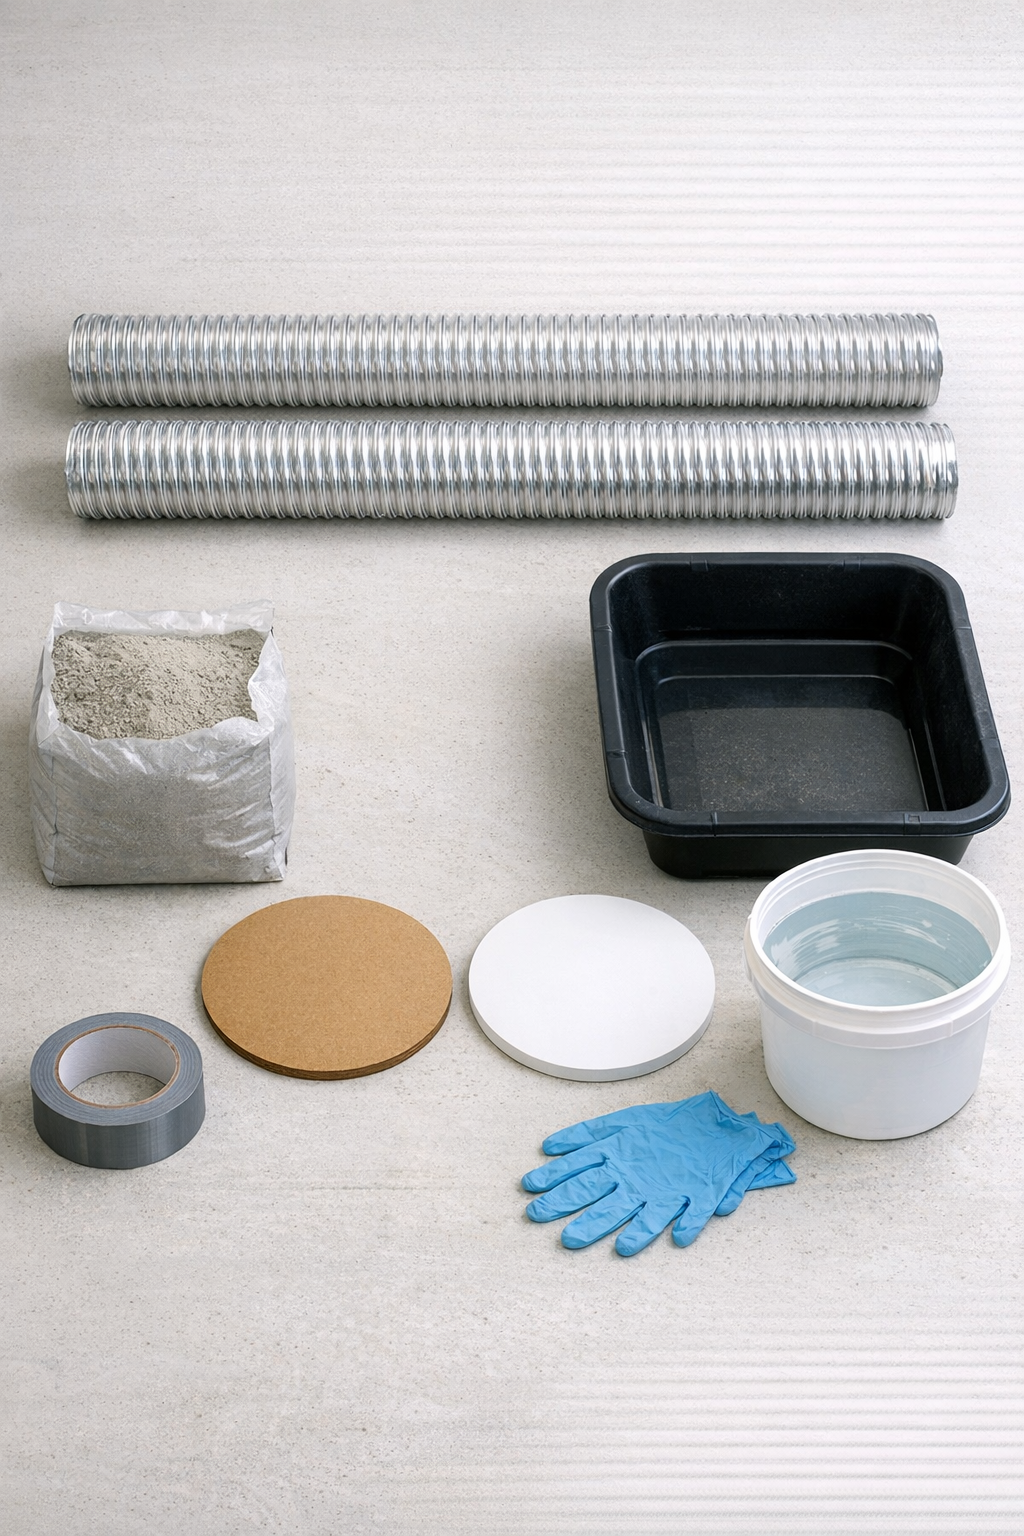
Materials
Instructions
1. Cover your work area with trash bags and set the two base discs on a flat, level surface where the pillars can stay undisturbed while they cure.
2. Expand each aluminum dryer vent to about 36 to 42 inches tall, depending on how tall you want the finished pillars, and gently shape them so the ribs stay even from top to bottom.
3. Tape one end of each vent securely to a base disc with duct tape, wrapping the tape tightly all the way around so wet cement cannot leak out from the bottom.
4. Place a few short strips of duct tape around the outside if needed to help the vent hold a straight cylindrical shape, and lightly coat the inside with a thin film of cooking oil if you want easier mold removal later.
5. Mix the quick-setting concrete in a tub according to the package directions, adding water a little at a time until it reaches a thick but pourable consistency similar to oatmeal.
6. Scoop or carefully pour the wet cement into each vent mold in small batches, pausing every few inches to tap the sides and base so trapped air bubbles rise out.
7. Fill each mold to the top, then tap the sides several more times and gently shake the base just enough to help the mix settle evenly into the ribbed shape.
8. Let the pillars cure upright for at least 24 hours, or longer if temperatures are cool, until the concrete feels firm and fully set before you try to remove the molds.
9. Peel away the duct tape at the base and carefully cut or unwind the aluminum vent from top to bottom, working slowly so you don’t chip the concrete surface.
10. Stand the finished pillars in place and allow them to continue hardening for another 2 to 3 days before exposing them to heavy rain, moving them repeatedly, or decorating them with planters or lanterns.
Variations & Tips
Change the height: Shorter pillars around 24 inches tall work beautifully in flower beds, while taller ones closer to 42 inches make more of a statement near an entry or fence line.
Make the base wider: If you want extra stability, especially for taller pillars, use 8-inch base discs instead of 6-inch discs so the bottom has a broader footprint.
Smooth the top edge: Right after pouring, level the top with a scrap of wood or a putty knife so the pillar has a cleaner finished edge once cured.
Use the duct tape well: The “household staple” doing a lot of work here is duct tape, and it really matters—seal the bottom thoroughly and don’t skimp, or you may end up with slow leaks during the pour.
Add a weathered finish: Once the concrete is fully cured, you can dry-brush on a little exterior masonry paint in charcoal, whitewash, or taupe to give the pillars an aged stone look.
Work in batches: If you’re fitting this into a busy day like I usually do, mix half the concrete first, fill one mold partway, then mix the rest; it’s much easier than rushing through one giant batch before it starts setting.
Place them carefully: These are heavy once cured, so I like to decide on the final location before pouring whenever possible, or at least move them with help to avoid cracking the base.