
There is something deeply satisfying about turning what most folks toss in the trash into a piece of practical household hardware. These heavy-duty roof flashing strips made from empty toothpaste tubes are the kind of humble fix I appreciate more and more these days—simple, thrifty, and genuinely useful when you need a small waterproof patch around a shed roof, vent, flashing edge, or tiny trouble spot before it grows into a bigger mess.
Out here, I was raised to save what still had life left in it, and soft metal tubes have always reminded me of the kind of clever reuse our parents and grandparents never thought twice about. This little project is best for small repairs, patches, and custom strips rather than whole-roof work, and if you are comfortable working carefully with cut metal and a hot iron, it is a handy trick to keep in your back pocket.
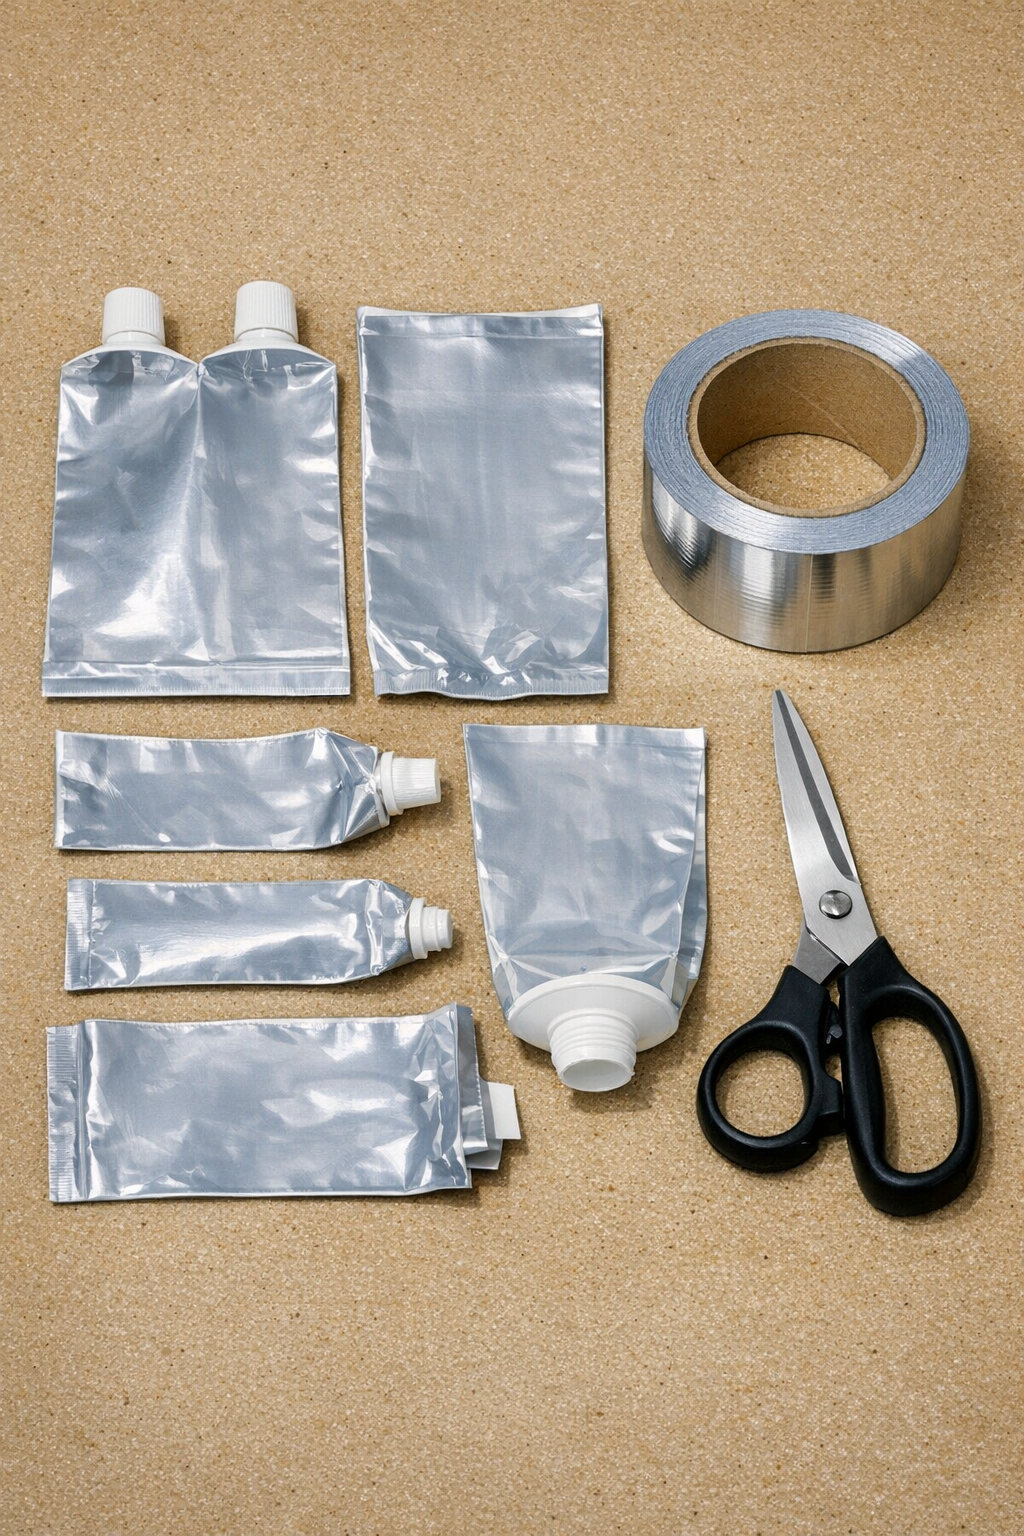
Materials
6 empty aluminum toothpaste tubes, fully squeezed out and cleaned
Instructions
1. Rinse each empty toothpaste tube with warm water and a little dish soap, then let them dry completely so no paste or moisture gets trapped inside.
2. Cut off the crimped end and the threaded nozzle end from each tube, then slit each tube straight down one side to open it into a flat sheet.
3. Press each opened tube flat with your hands, then smooth it further by rubbing the rounded side of a spoon or a small block of wood across the surface until the metal lies as flat as possible.
4. Trim away any jagged edges and square the sheets into usable rectangles, aiming for strips about 1 1/2 to 2 inches wide if you are making narrow flashing pieces.
5. Cut a piece of aluminum foil tape slightly longer than one flattened tube sheet, peel the backing, and press the tape firmly over one side of the metal to strengthen it and help seal pinholes.
6. Flip the piece over and burnish it smooth with the back of a spoon, pressing from the center outward so the tape bonds tightly and the strip stays flat.
7. For a wider or longer flashing strip, overlap the edges of two prepared pieces by 1/2 inch and join them with another strip of aluminum foil tape across the seam.
8. If needed, shape the finished strip by hand around a board edge or pipe so it matches the roof corner, vent base, or seam you plan to patch.
9. Test-fit the strip over the area you want to cover and trim it with scissors until it sits neatly with at least 1 inch of overlap beyond the damaged spot.
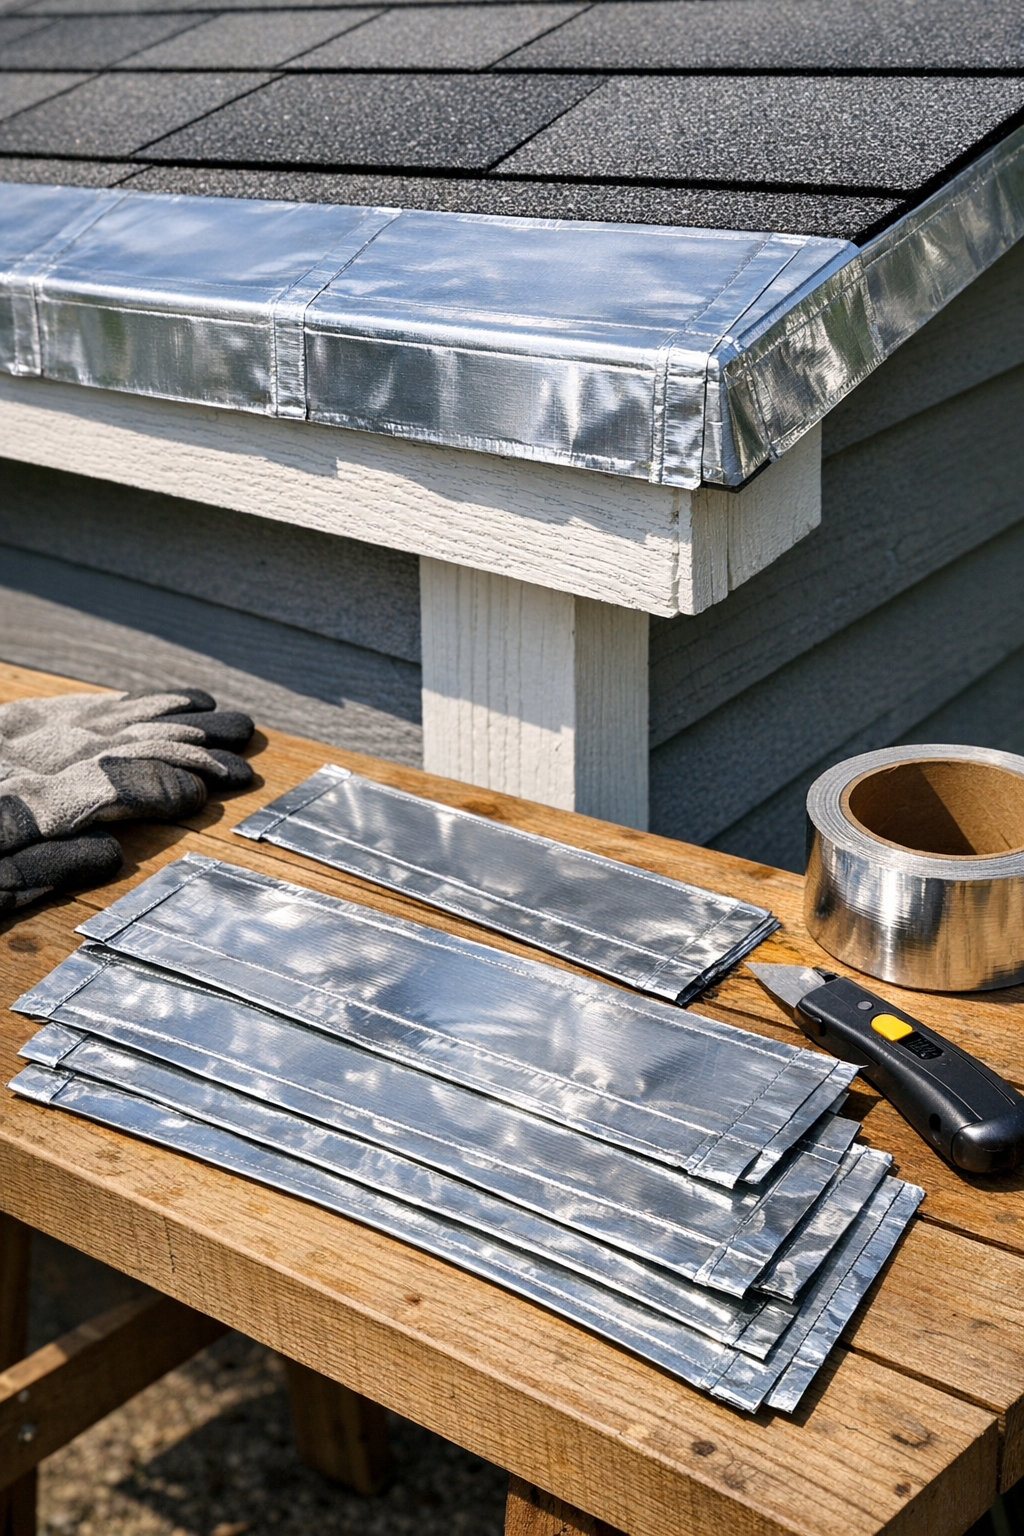
10. Install the strip using the roofing fastener or sealant appropriate for your repair, pressing it into place so water will shed over it rather than underneath it.
Variations & Tips
For small patch jobs: These strips are especially useful for tiny roof repairs on sheds, chicken coops, dog houses, and outbuildings where a custom-sized patch is more helpful than a big sheet of flashing.
Best tube type: Old-fashioned aluminum toothpaste tubes work best. If your tube is plastic-laminate instead of metal, it will not hold its shape nearly as well for flashing.
Smoother finish: If the metal wants to curl, warm it slightly in the sun first and then flatten it again under a heavy book or a scrap board for an hour.
Overlap matters: When joining pieces, always overlap in the direction water flows downhill. That little bit of old common sense can save a lot of dripping later on.
Edge safety: Fresh-cut tube metal can be sharp, so I like to fold over a very narrow edge where possible or cover the edge with a thin line of foil tape.
Good to know: This is a thrifty repair material for small jobs, but I would still use store-bought flashing for major roof work or any place where building code, long-term structural performance, or full weatherproofing is critical.