
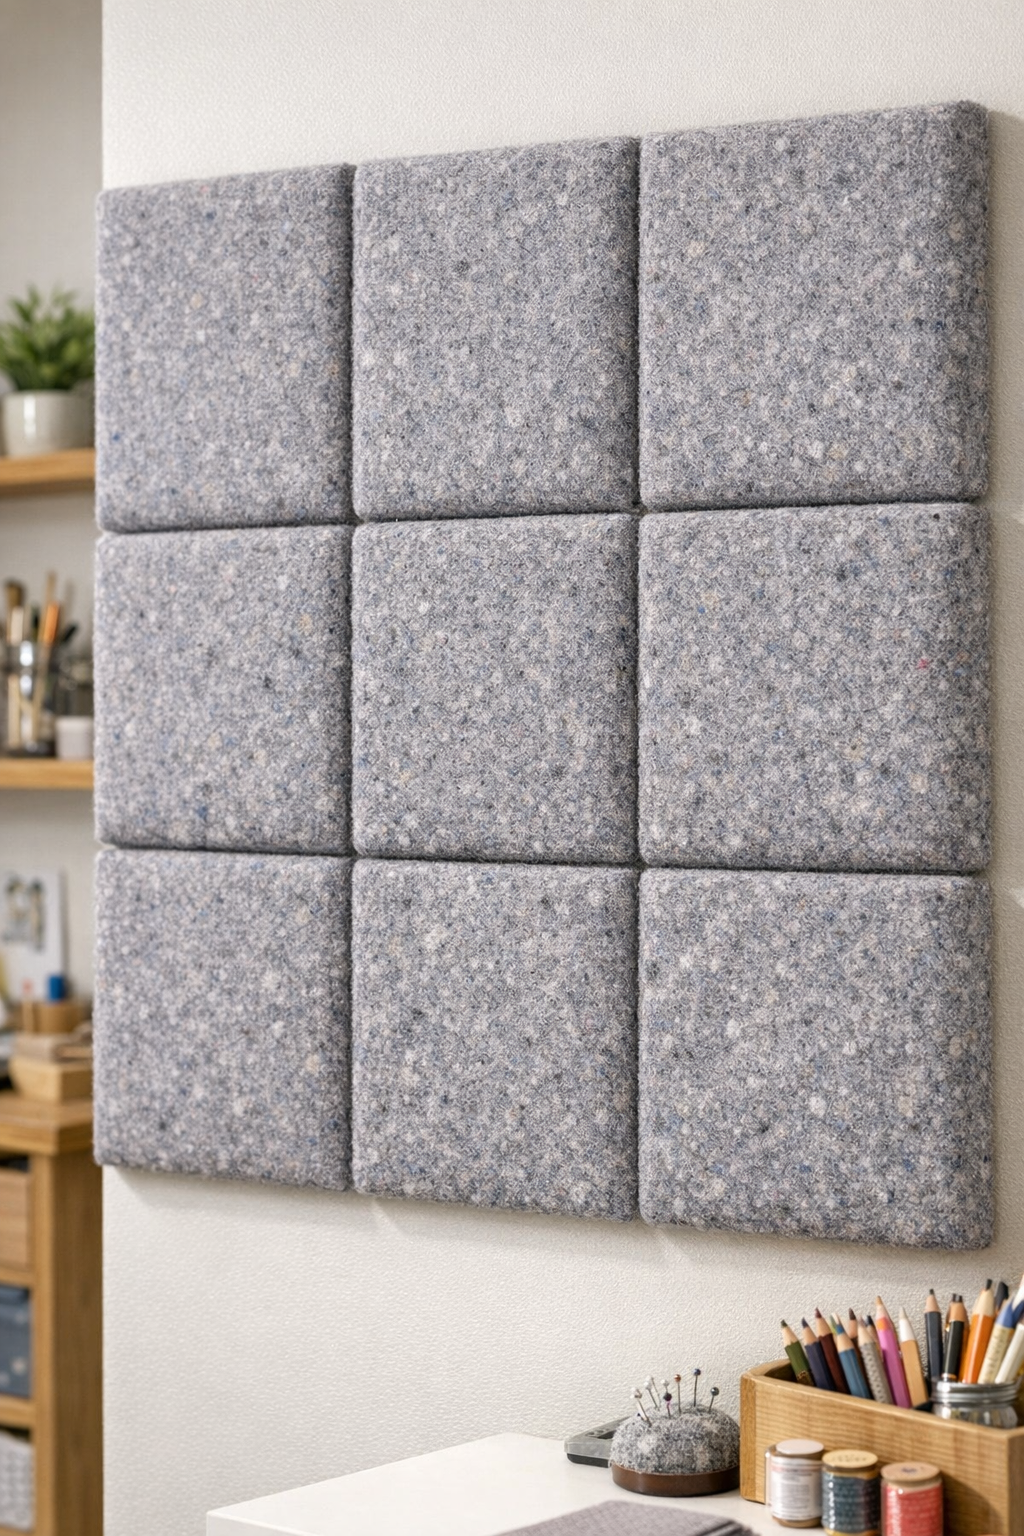
If you like practical projects that turn everyday household leftovers into something genuinely useful, this one is such a satisfying make. These simple acoustic wall panels use compressed grey dryer lint with two pantry staples to create lightweight sound-softening boards that can help tame echo in a craft room, laundry room, home office, or basement corner.
As a parent, I’m always drawn to projects that stretch what we already have on hand, and this is the kind of experiment that feels both thrifty and clever. It’s best for decorative sound-dampening in low-moisture indoor spaces, not for structural insulation, but if you want an easy upcycling project with a surprisingly neat result, this is a fun one to try.
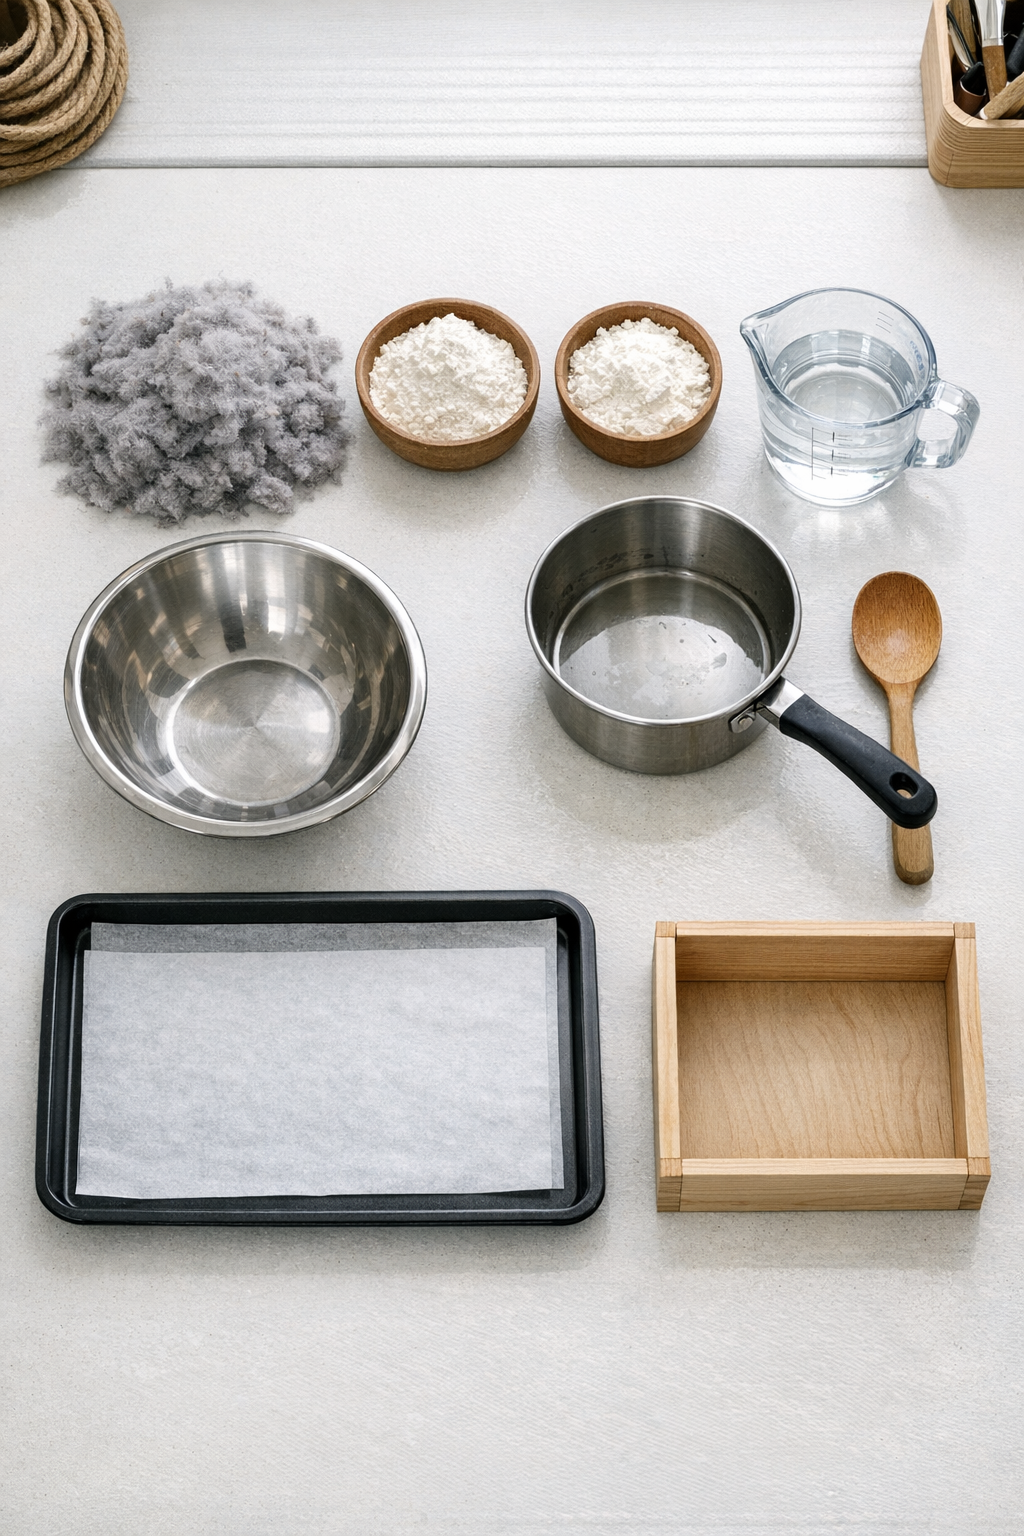
Materials
8 cups packed grey dryer lint
Instructions
1. Spread the dryer lint out on a tray and pull out any obvious hair clumps, threads, or debris so the finished panel has a more even texture.
2. In a saucepan, whisk together the flour, cornstarch, and water until smooth, then cook over medium heat for 3 to 5 minutes until it thickens into a paste about like pudding.
3. Let the paste cool for 5 to 10 minutes, then transfer it to a large bowl and add the dryer lint a handful at a time, mixing until every bit is evenly coated.
4. Line the mold with parchment paper and lightly oil the sides or paper so the panel releases more easily after drying.
5. Pack the lint mixture firmly into the mold, pressing it into the corners and leveling the top to an even 1-inch thickness.
6. Lay a towel over the top, place the second board on it, and clamp or weight the panel for 8 to 12 hours to squeeze out extra moisture and compress the fibers.
7. Remove the weights or clamps, lift the panel out carefully, and set it on a dry towel or wire rack to air-dry for 24 to 48 hours, flipping once halfway through.
8. If you want a cleaner look, wrap the dry panel in breathable fabric and secure the fabric neatly on the back with glue or stitches, keeping the front smooth.
9. Mount the finished panel on the wall with strong double-sided mounting tape for lightweight display, or attach sawtooth hangers if you prefer a more secure installation.
Variations & Tips
For a smoother panel: Break up the lint with your hands before mixing so there are fewer clumps. I’ve found this makes the edges much tidier and helps the panel press more evenly.
For smaller spaces: Make two or three 8 x 8-inch panels instead of one larger one. They’re easier to dry, easier to hang, and nice for arranging in a little grid.
For picky decorators: Cover the panel with a favorite cotton fabric that matches the room. In my house, anything that blends in nicely gets a much warmer welcome from the family.
To reduce drying time: Set the panel near a fan in a warm, dry room. Just avoid damp basements or humid bathrooms, because moisture can soften the binder again.
Important use note: These are best used as decorative sound-dampening panels for indoor walls, not as fire-rated building insulation. Keep them away from heaters, stoves, fireplaces, and other high-heat areas.
Batch tip: If you’re making several panels, prepare all your molds before you mix the paste with the lint. Once the mixture is combined, it’s easiest to work while still slightly warm and pliable.