
Old rubber garden hoses are one of those things I hate throwing away, especially when the rubber itself still has plenty of toughness left in it. This project turns cracked or leaking hoses into a heavy-duty shop floor mat with just one additional everyday liquid: clear silicone caulk. The result is grippy, weather-tolerant, and sturdy enough for a workbench area, potting station, mudroom entry, or garage sink.
I like this kind of project because it solves two problems at once: it keeps bulky hose out of the trash, and it gives you a practical mat that can handle dirt, drips, and hard use. If you are comfortable cutting materials carefully and working a bit patiently in rows, this is a very approachable upcycling build.
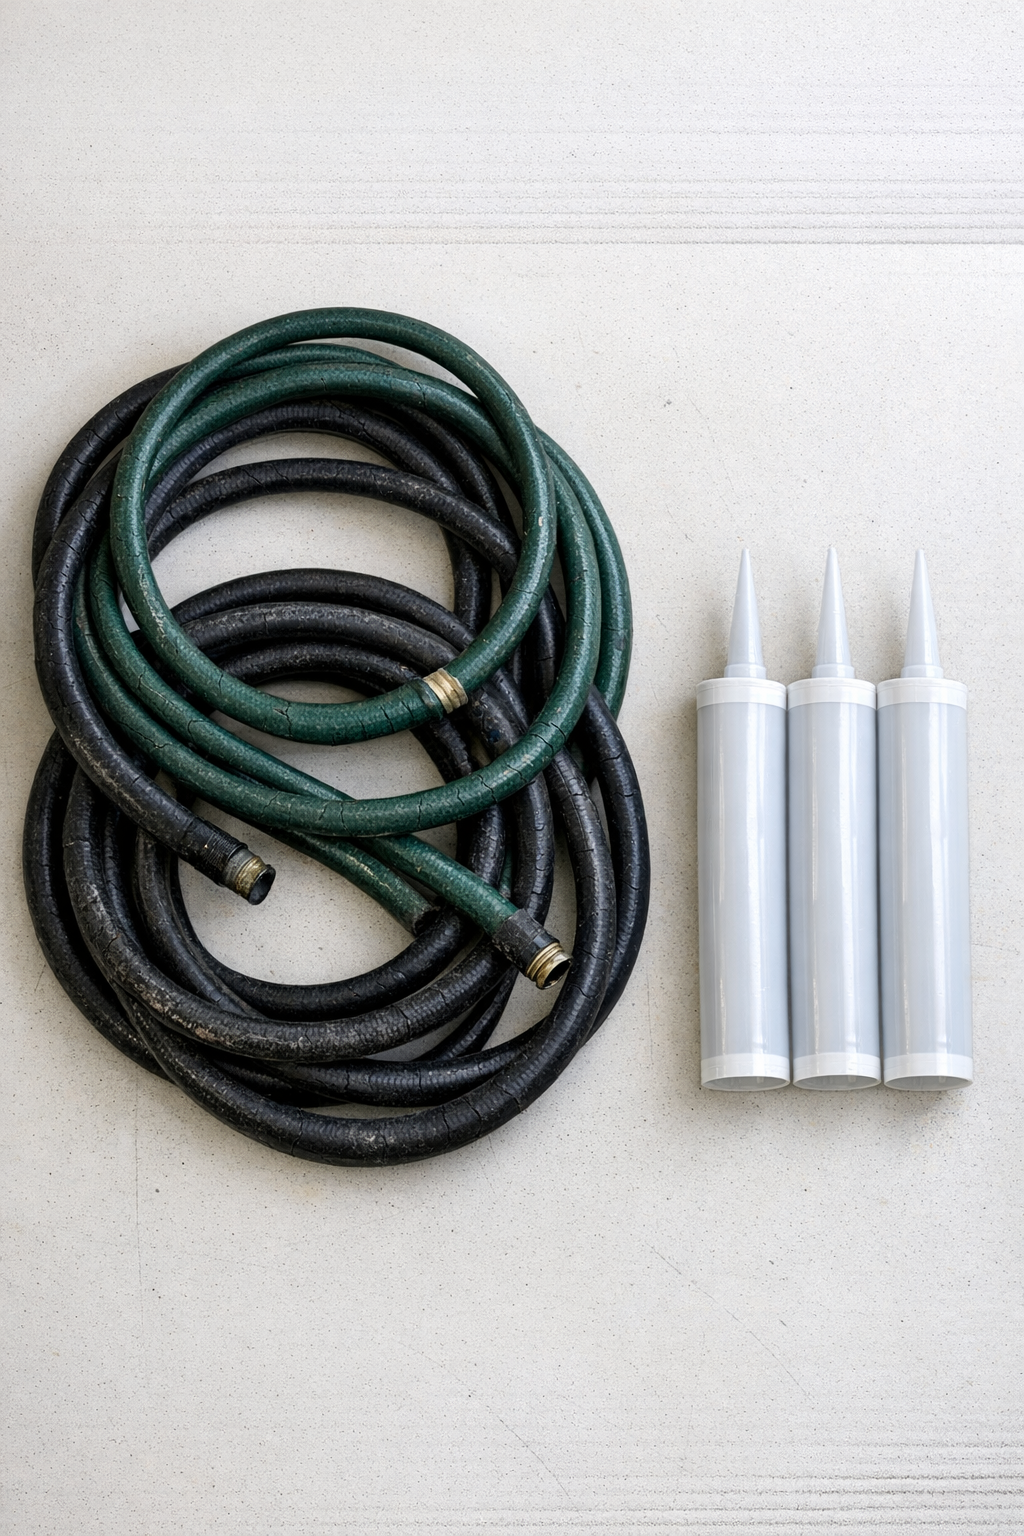
Materials
Cracked rubber garden hose, 3 lengths totaling 75 to 90 feet for one mat approximately 24 x 36 inches
Instructions
1. Wash the old hoses with warm water and a little dish soap, then let them dry fully so the silicone will bond well.
2. Cut off metal or plastic end fittings and discard any sections that are split all the way through or badly brittle.
3. Measure and mark a 24 x 36-inch mat size in your work area so you have a clear target while assembling the rows.
4. Slice each hose lengthwise with a sharp utility knife so it opens into a long strip, then press the strip flat with the cut side down.
5. Cut the flattened hose strips into 36-inch lengths for the first layer, placing them side by side until you reach about 24 inches across.
6. Run a generous bead of clear silicone between each strip and a thin bead along the touching edges, then press the strips tightly together.
7. Cut more flattened hose strips into 24-inch lengths for the second layer, and lay them perpendicular across the first layer like a simple grid.
8. Add a small dab of silicone at every crossing point and press firmly so the top and bottom layers bond together.
9. Check the perimeter and fill any gaps with extra silicone, especially at corners and edges that might lift with use.
10. Put a flat board or sheet pan on top and weight it evenly, then let the mat cure undisturbed for 24 hours or according to the silicone label.
11. Remove the weights, trim any uneven ends with a utility knife, and flex the mat gently to make sure all sections are bonded.
12. Place the finished mat in your shop, garage, or entry area with the smoother side up and the more textured side down for good grip.
Variations & Tips
For a thicker mat: Add a third layer of hose strips on the diagonal, but be ready to use more silicone and a longer cure time.
For better drainage: Leave a narrow 1/8-inch gap between the parallel strips in the first layer so water and sawdust can fall through instead of sitting on the surface.
For easier flattening: If the hose wants to curl, set the cut strips in the sun for 15 to 20 minutes before assembly. Warm rubber relaxes and is much easier to press into shape.
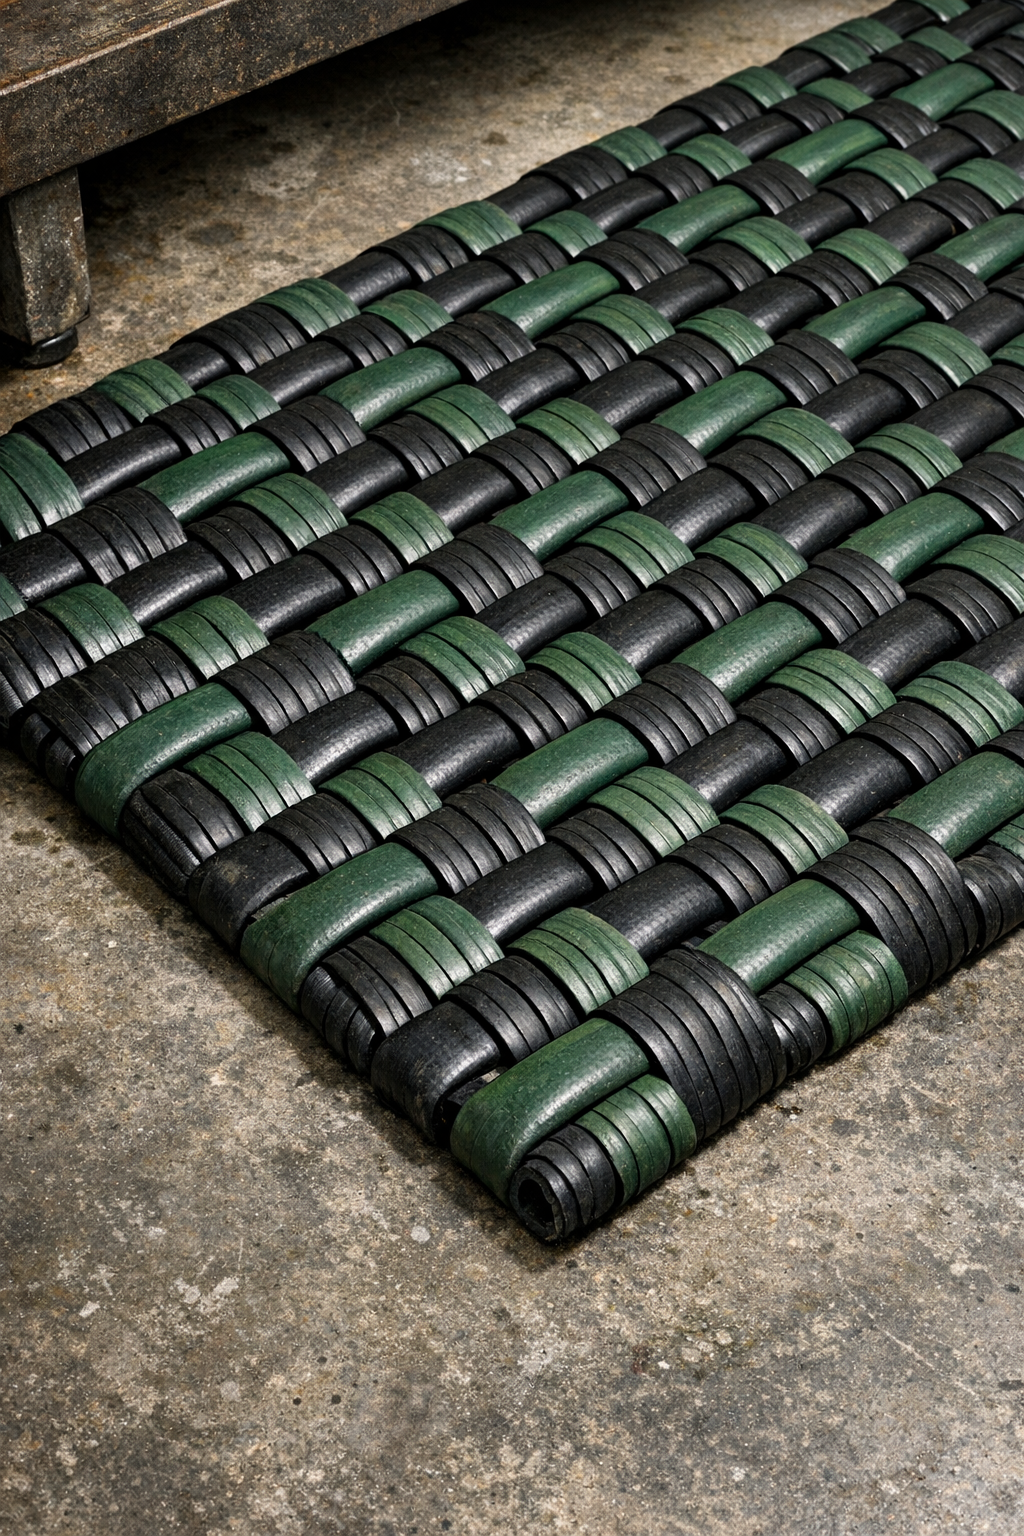
For a cleaner look: Sort hose strips by color before cutting. I have made versions with all green hose and others with alternating dark strips, and the deliberate pattern makes the project look much more finished.
For shop use: Keep the mat a few inches smaller than the space where it will sit. That little margin makes it easier to lift, shake out, and hose off outdoors.
Bonding tip: Use 100% silicone rather than a painter's caulk or lightweight sealant. In my experience, true silicone holds up far better to flexing, moisture, and temperature swings.
Safety tip: Cut the hose in short controlled passes instead of trying to slice through in one stroke. Thick old rubber can shift unexpectedly, and slow cuts are both cleaner and safer.