
I love a project that solves a real-life problem without requiring a Saturday trip to three different stores, and these DIY acoustic dorm wall panels absolutely fit that category. If you have cardboard egg cartons piling up and a room that sounds a little too echoey for studying, gaming, or late-night video calls, this is a simple way to turn basic materials into something surprisingly useful.
I’d make these for a dorm room, first apartment, craft corner, or even a home office nook where you want to soften sound on a budget. As someone who is always trying to keep life practical and manageable between work and home, I appreciate that this project uses just three core materials, comes together in stages, and can be made in batches whenever you have a little time.
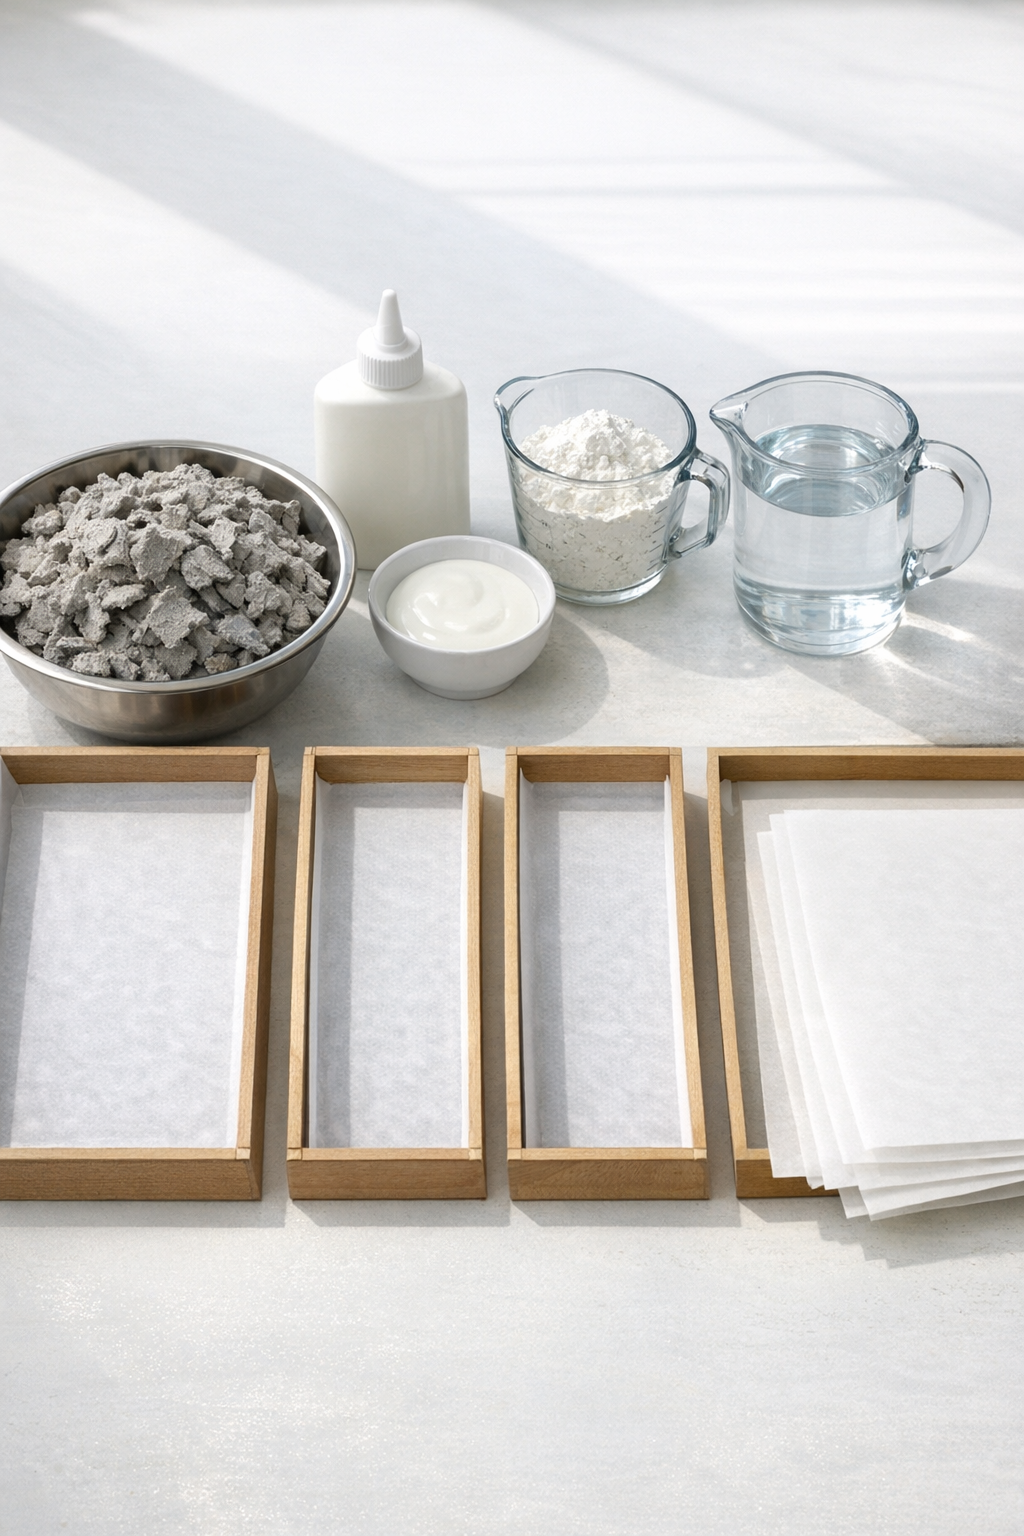
Materials
8 cardboard egg cartons, standard 12-egg size, shredded into small pieces
Instructions
1. Tear the egg cartons into small pieces about 1 to 2 inches wide, then place them in a large bowl or bucket and cover with 5 to 6 cups of warm water. Let them soak for at least 4 hours, or overnight if that fits your schedule better.
2. Mash the soaked cardboard by hand or with a potato masher until it becomes a rough, even pulp. If there is standing water on top, pour off just enough so the mixture stays thick and scoopable.
3. In a separate bowl, stir together the glue, cornstarch, and 1 cup of warm water until smooth. This binder is what helps the panels dry firmer and hold their shape on the wall.
4. Add the glue mixture to the cardboard pulp and mix thoroughly until every bit of cardboard is coated. The finished texture should feel like thick oatmeal and hold together when squeezed.
5. Line each tray or box lid with parchment paper, then divide the pulp mixture evenly among them. Press the pulp firmly into rectangles about 1/2 to 3/4 inch thick so the panels are dense and even.
6. Use the back of a spoon or your fingers to create a lightly textured surface with shallow ridges or dimples. That uneven surface helps break up reflections a bit better than a perfectly smooth face.
7. Set the trays in a warm, dry area and let the panels dry for 24 to 48 hours, then carefully remove them from the molds and flip them over. Dry them for another 24 to 48 hours until they feel firm, lightweight, and fully dry in the center.
8. Test one panel by tapping it and gently flexing a corner; if it still feels cool or soft, give all the panels more drying time. Once dry, trim any ragged edges by hand for a cleaner look.
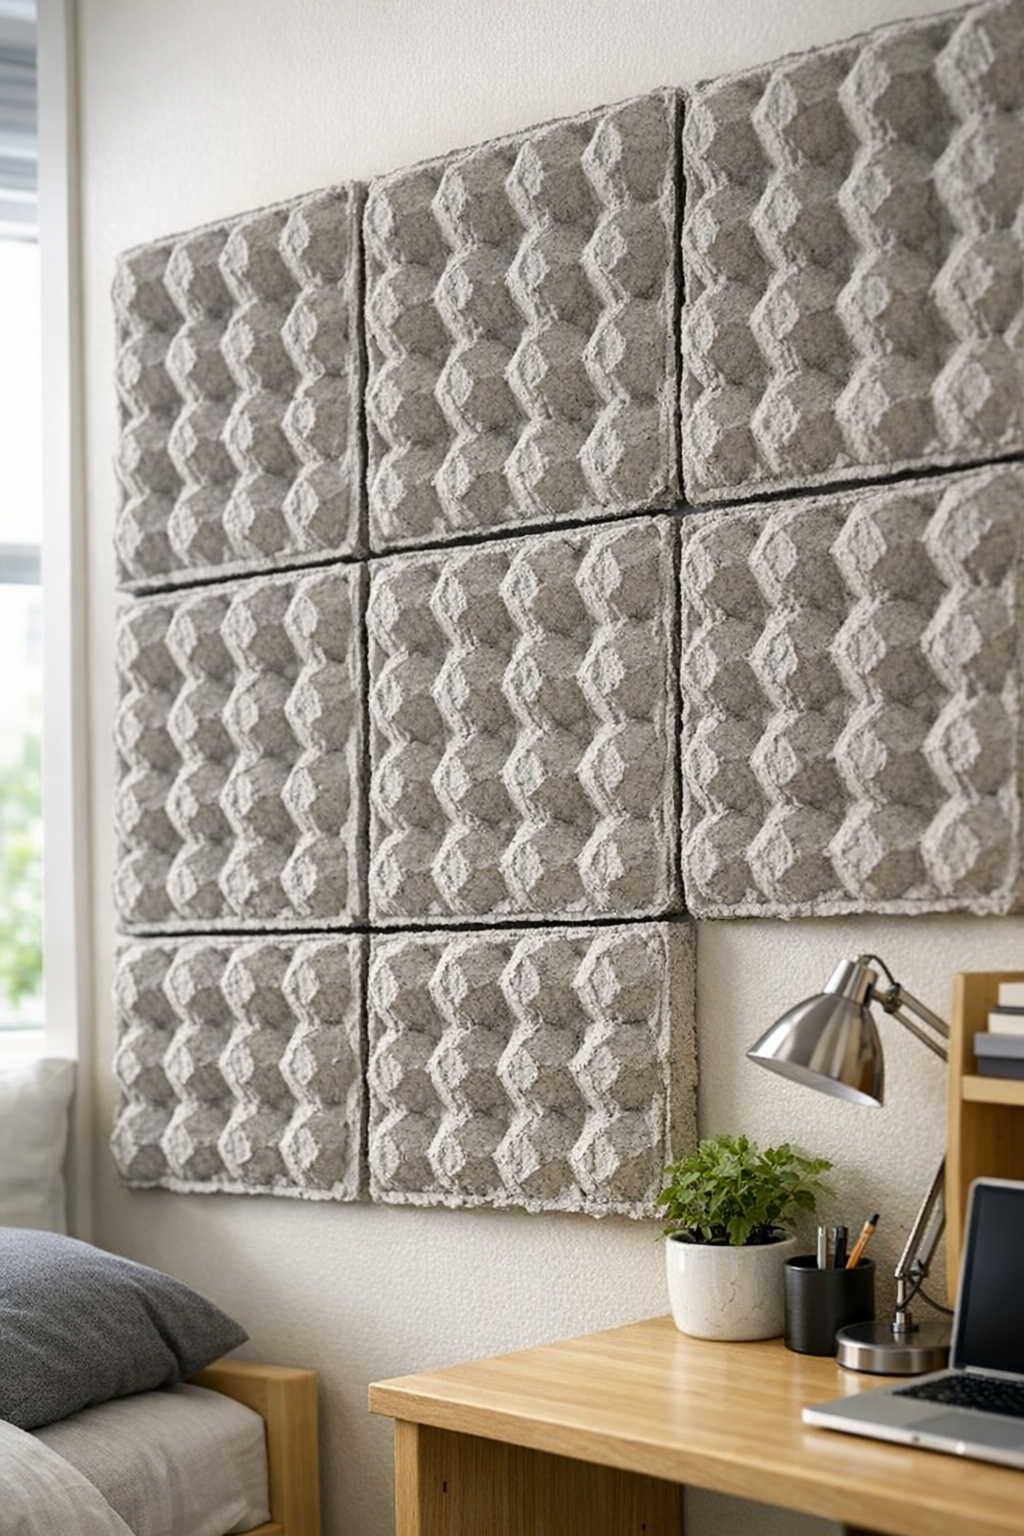
9. Attach removable mounting strips to the back of each panel, then press them onto the dorm wall in a grid or cluster near your desk or bed. Leave a small gap between panels for a cleaner arrangement and easier removal later.
Variations & Tips
Make them smoother: For a cleaner, more uniform look, blend the soaked carton pulp a little longer before adding the binder. I like a slightly rustic texture, but a finer pulp gives you sharper panel edges.
Work in small batches: If you’re making these in a busy week, soak the cartons one night, mix and mold the next day, and mount them after fully drying. That kind of stop-and-start schedule is how I get most DIYs done realistically.
Keep dorm rules in mind: Always use removable mounting strips instead of nails or permanent adhesive unless your housing rules say otherwise. It saves a lot of stress at move-out.
Use consistent thickness: Panels that are all the same thickness dry more evenly and look better once grouped on the wall. I usually eyeball it first, then press each tray again before walking away.
Place them strategically: These work best behind a desk, near a bed, or on the wall facing where sound bounces most. They will not fully soundproof a room, but they can help soften echo and make the space feel less harsh.
Let them dry completely: This is the biggest make-or-break tip. If there’s any dampness left in the center, the panels can warp, so I always give them extra time rather than rushing the final step.