
There’s a special kind of satisfaction in making something for the garden that looks far more expensive than it really is. These heavy textured garden boulders are one of those projects: with mesh onion bags, a thick cement mix, and one simple household basic—plastic grocery bags for bulk and shape—you can create faux stone pieces that look rugged, weighty, and surprisingly convincing tucked among plants or along a path.
I like projects like this because they lean on kitchen-style common sense: use what you have, work with texture, and don’t overcomplicate the method. If you’re a beginner who doesn’t mind getting a little messy, this is very doable, and if you already enjoy concrete crafts, it’s a quick way to add strong sculptural texture to a garden bed.
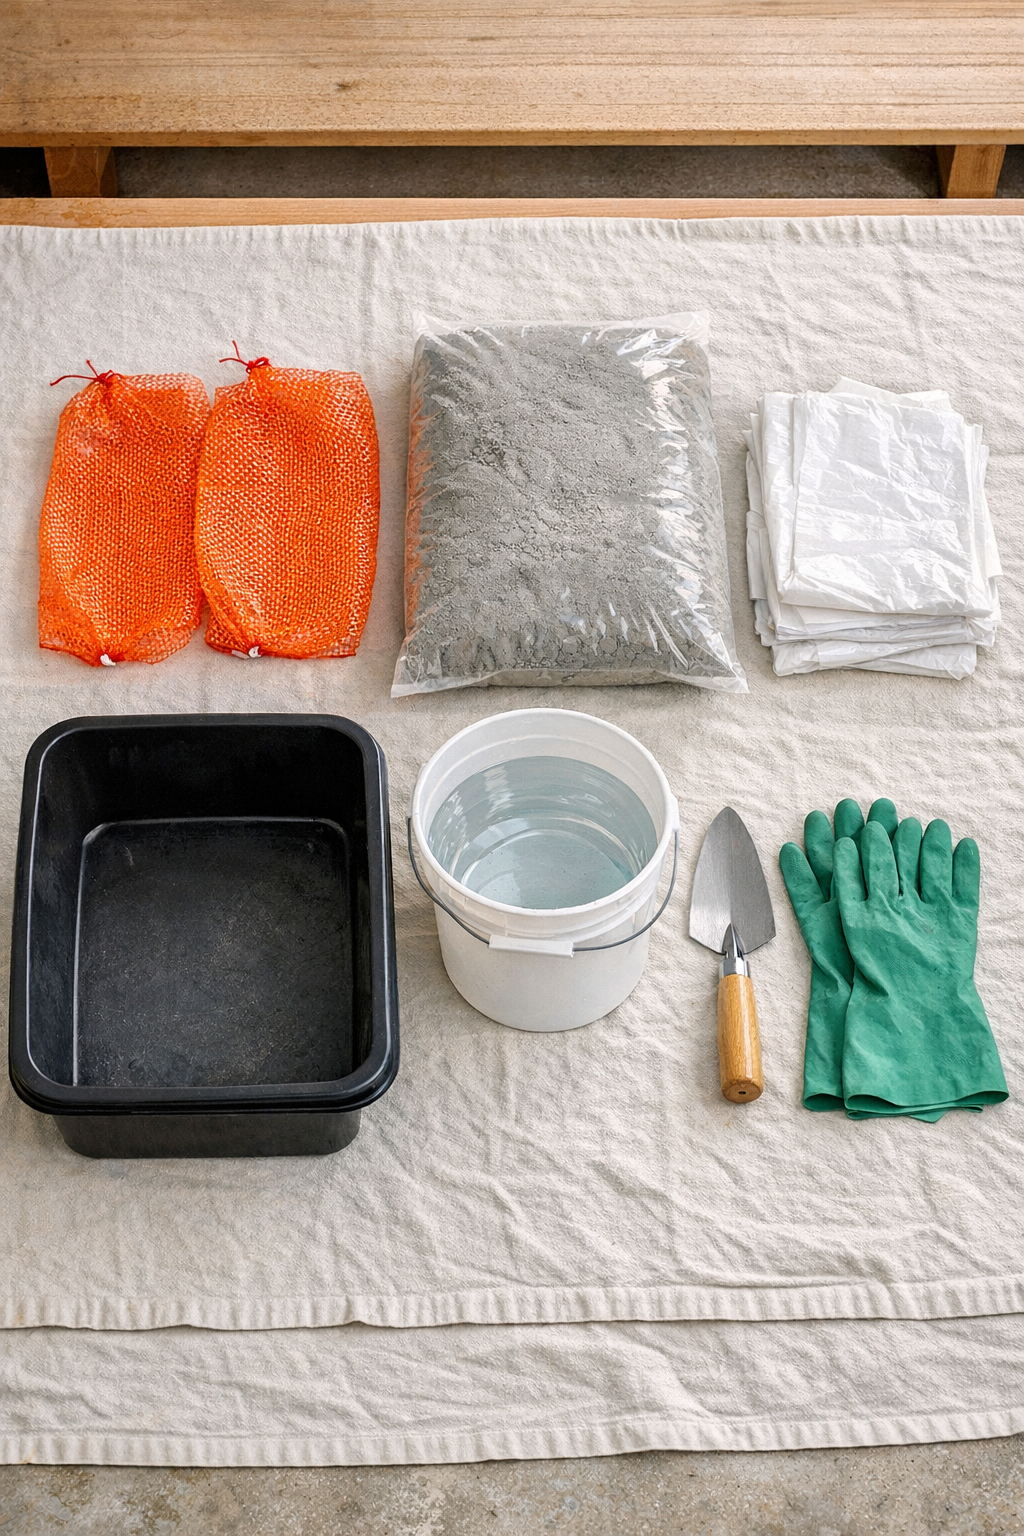
Materials
2 mesh onion bags, standard 3 to 5 lb size
Instructions
1. Cover your work area with a drop cloth and put on gloves, because this project gets messy fast and cement is hard on skin.
2. Crumple 4 to 6 plastic grocery bags into a loose round mass for each boulder, adjusting the shape until each one looks irregular rather than perfectly round.
3. Slip each crumpled filler bundle into a mesh onion bag and pull the mesh snug so the form feels compact but still lumpy like natural stone.
4. Twist or tie the open end of each onion bag tightly underneath the form so the top surface stays rounded and the closure is hidden.
5. In a mixing tub, combine the cement mix with water a little at a time until it reaches a very thick, scoopable consistency, about like stiff oatmeal.
6. Set one mesh form on the covered surface and press thick cement all over it by hand or with a trowel, pushing the mix through and around the mesh so it grips firmly.
7. Build the coating until the boulder is fully covered with about a 1 to 1 1/2 inch layer of cement, keeping the surface uneven with ridges, dips, and rough stone-like texture.
8. Repeat with the second form, then lightly pat or drag your gloved hand over both surfaces to break up any obvious tool marks and make the texture look more natural.
9. Let the boulders sit undisturbed for 24 to 48 hours, depending on temperature and humidity, until they are hard enough to move without denting.
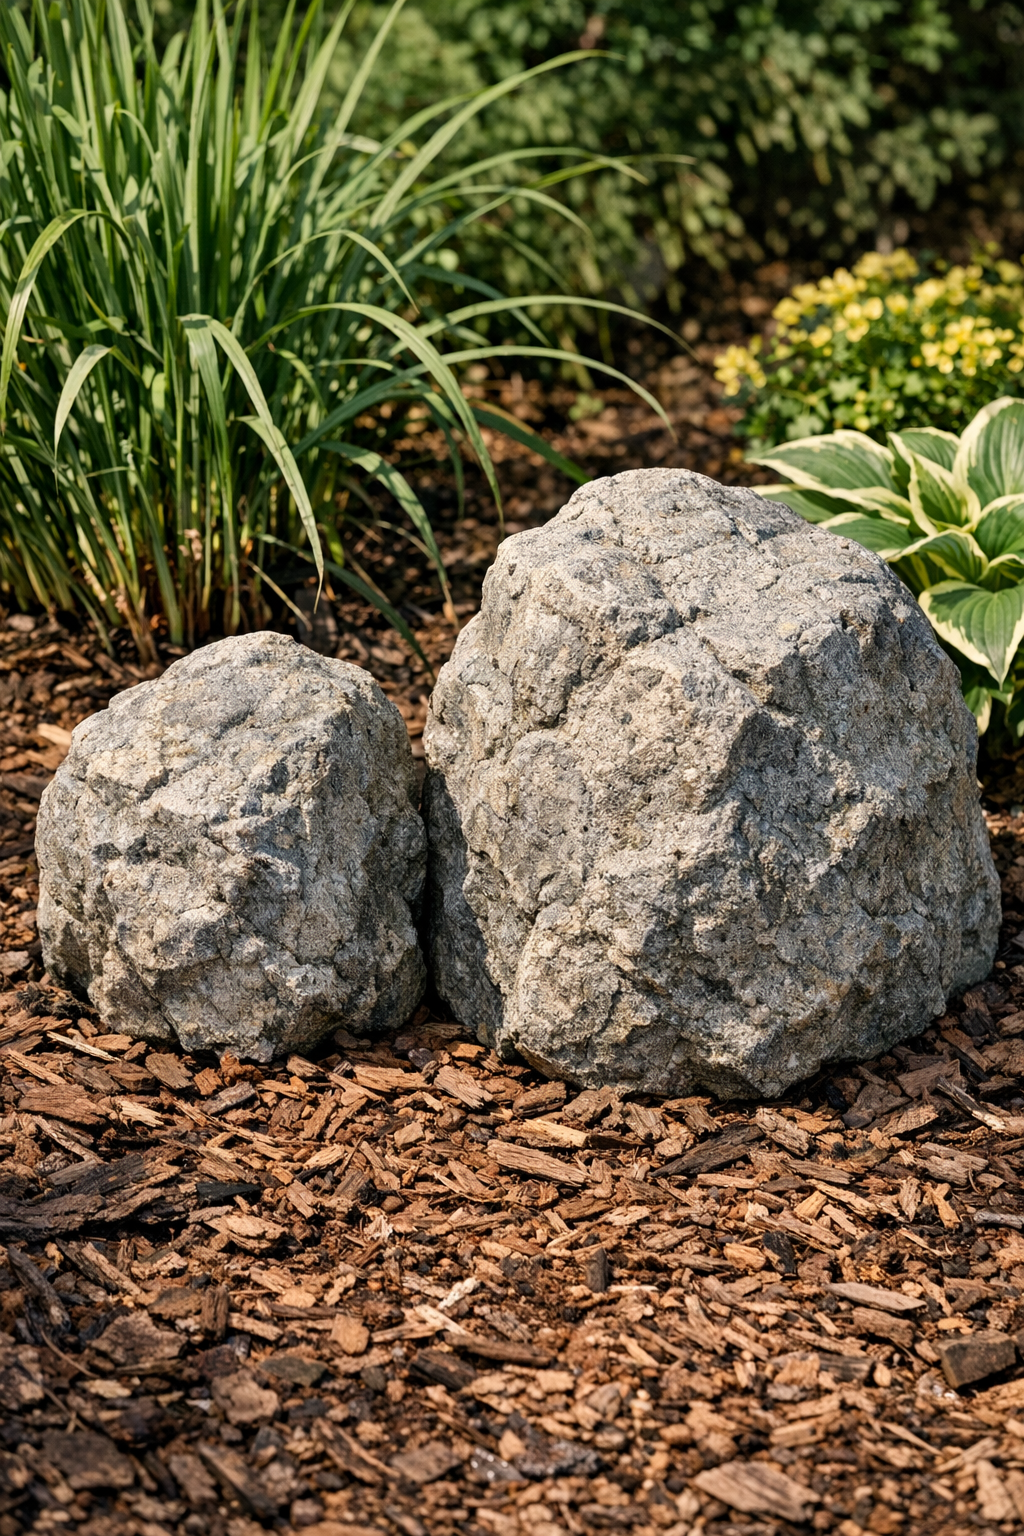
10. After curing, place the finished boulders in the garden with the tied ends facing down or turned toward the back so the most realistic texture faces outward.
Variations & Tips
Change the shape: Use more filler bags for a broader boulder or fewer for a squat rock. I find the most convincing shapes are slightly asymmetrical, like something nature made without trying too hard.
Make the texture deeper: If you want a more craggy, weathered look, press extra cement in some areas and leave shallow valleys in others. The mesh naturally helps create that stone-like pattern.
Work in small batches: Cement sets faster than many beginners expect. Mix only enough for one boulder at a time if the weather is warm or dry.
Blend into the landscape: Once cured, you can dust the surface with garden soil or tuck the boulders partly into mulch to help them look settled and less freshly made.
Mind the weight: These are smaller faux boulders, but they still become heavy once coated in cement. Build them near where you plan to place them if you don’t want to carry them far.
Let them cure fully: They may feel hard after a day or two, but concrete continues strengthening after that. If possible, give them several extra days before rough handling or stacking around other hardscape pieces.