
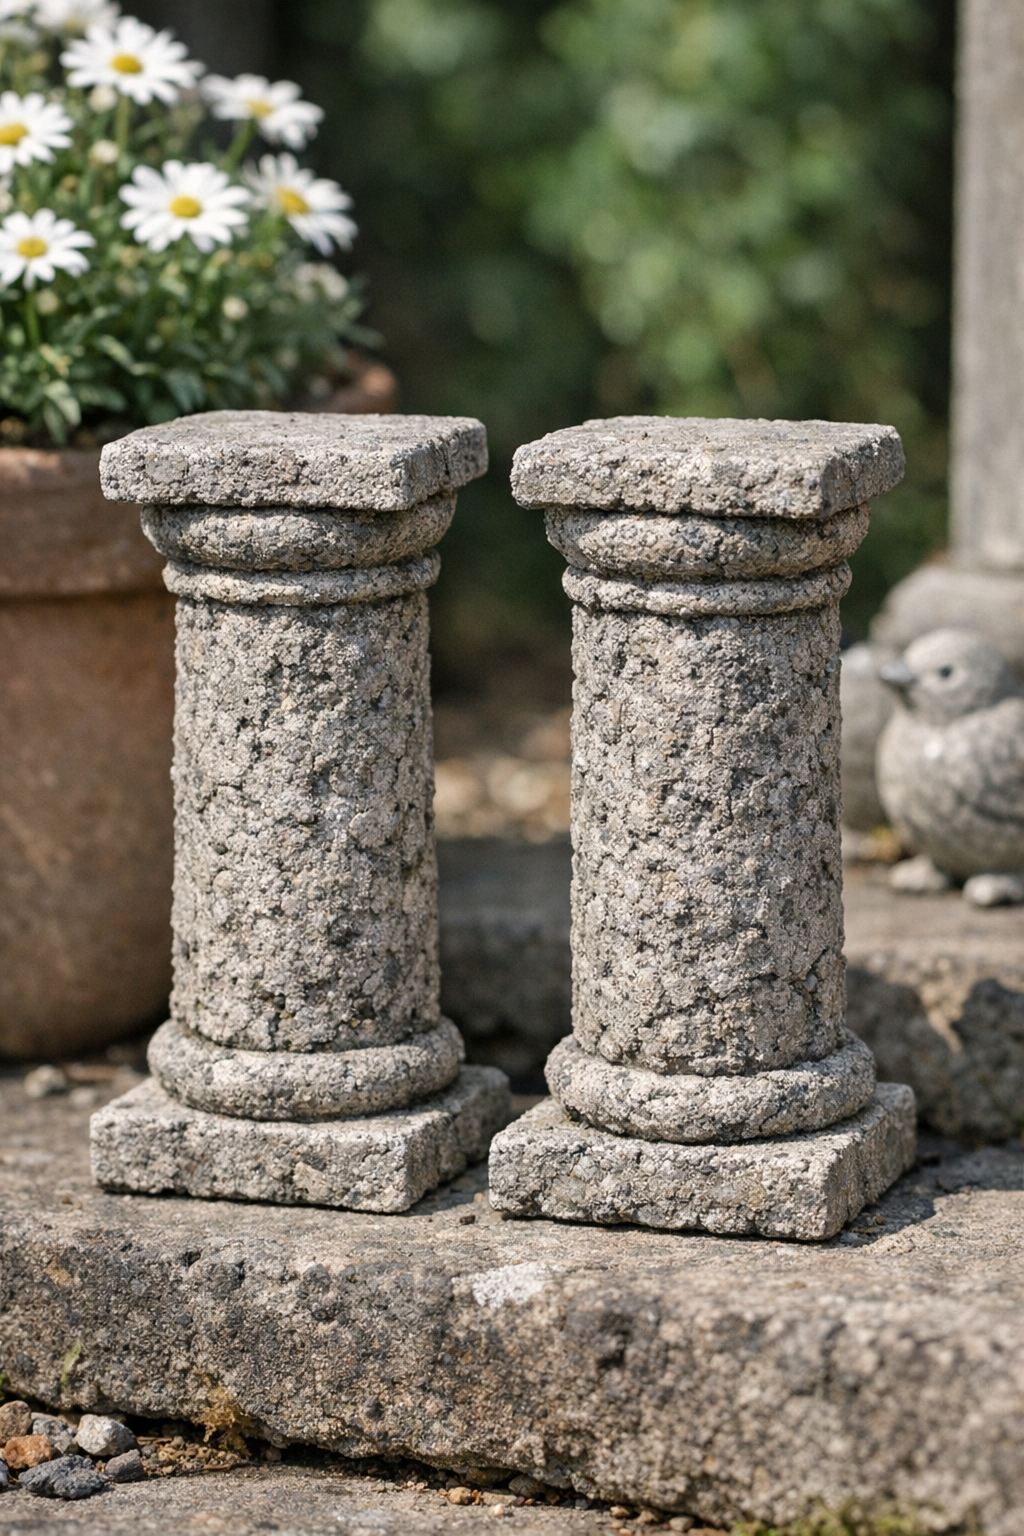
There’s something especially satisfying about turning the plainest little office supplies into something that looks like it belongs in a garden shop. For this project, I use simple wire mesh pencil cups, a thick cement mixture, and one secret ingredient—peat moss—to make a pair of beautifully textured garden columns that look weathered, sturdy, and much more expensive than they are. The finish reminds me of the old stone planters and ornaments I used to admire at country homes around the Midwest, where everything seemed to age with such grace.
This is a good project for anyone who enjoys easy upcycling and doesn’t mind getting their hands a little messy. You don’t need fancy molds or specialty equipment, and because these are made as a matching set of two, they make a lovely statement on a porch, tucked into a flower bed, or flanking a garden path.
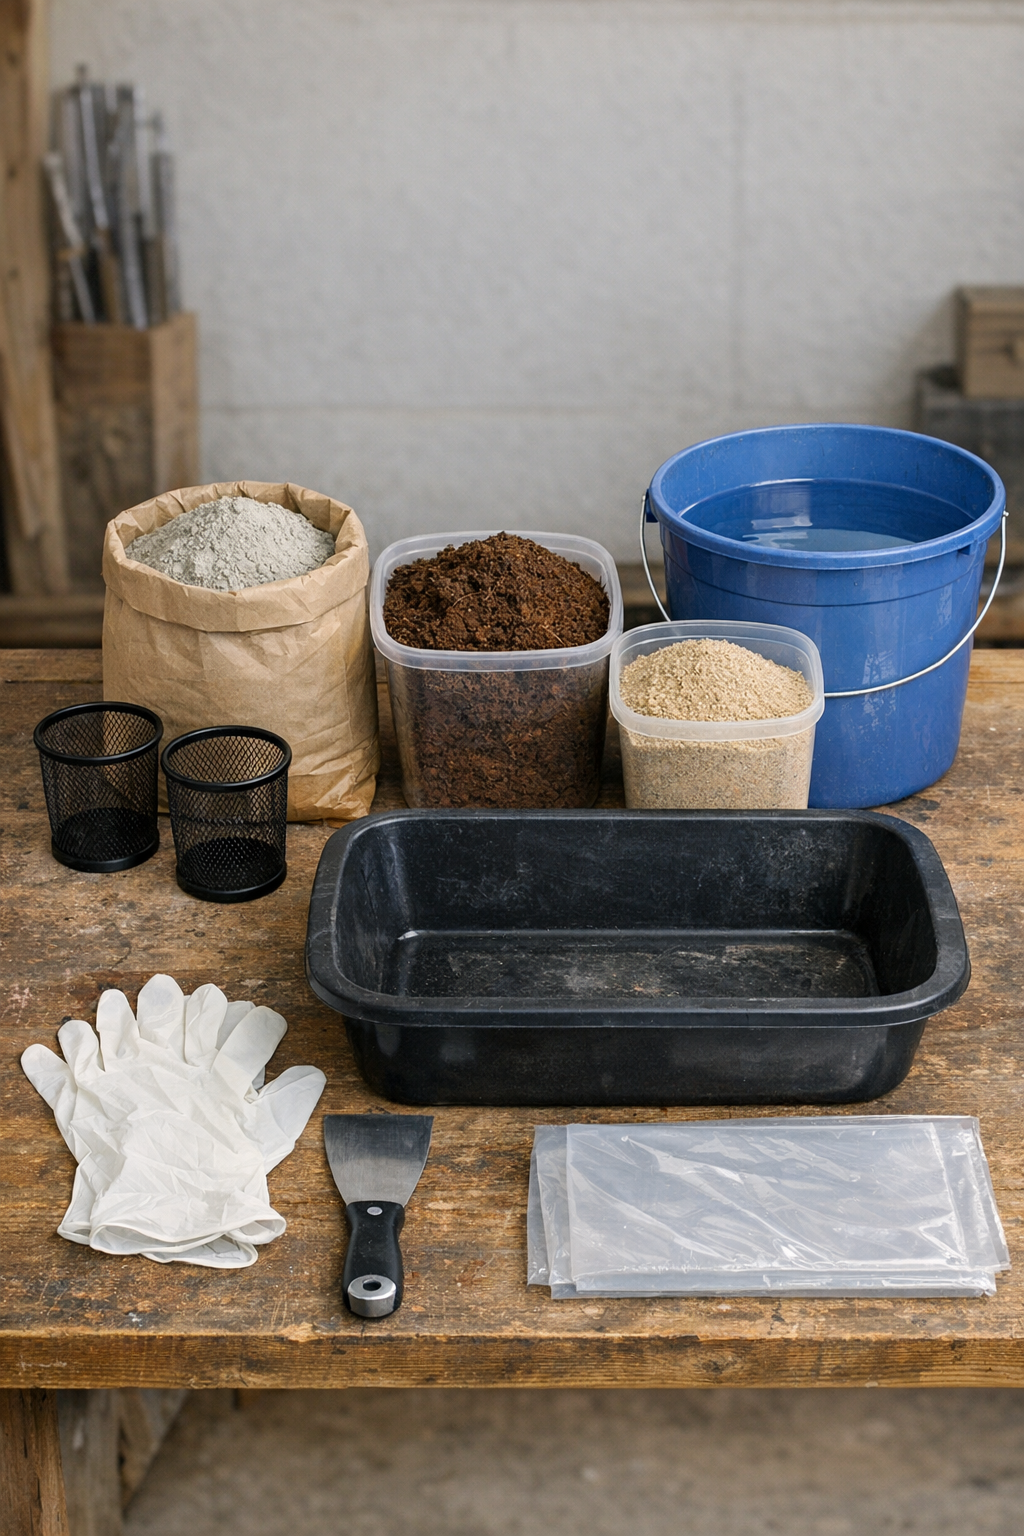
Materials
Instructions
1. Cover your work surface with the plastic drop cloth and set the two wire mesh pencil cups upright nearby. Put on gloves before mixing, since cement can be hard on the hands.
2. In the mixing tub, combine the Portland cement, fine sand, and peat moss until the texture looks evenly blended. That peat moss is the secret ingredient that gives the finished columns their rough, old-garden texture.
3. Add water a little at a time and stir until you have a thick paste similar to stiff brownie batter. The mixture should cling easily to the mesh without running off.
4. Hold one pencil cup over the tub and press the cement mixture all over the outside, working it into the mesh openings with your gloved fingers or putty knife. Coat the bottom edge and sides well, building an uneven surface for that heavy stone look.
5. Set the first coated cup on wax paper or plastic wrap and repeat with the second cup. If any bare spots show through the mesh, patch them right away with a little more cement mixture.
6. Let the two pieces rest for 20 to 30 minutes until the coating begins to firm up. Then use your fingers or the putty knife to dab and roughen the surface so both columns have a natural, weathered texture.
7. Allow the columns to dry undisturbed for 24 hours. If the weather is very hot or dry, loosely cover them with plastic so they cure more slowly and are less likely to crack.
8. After curing, gently brush off any loose crumbs and check the bases so they sit flat. If desired, dab on a little extra cement mix to build up any area and let it dry again before displaying.
Variations & Tips
For a more aged look: Once the columns are fully cured, lightly dry-brush them with a touch of gray, mossy green, or off-white outdoor craft paint to bring out the texture.
For extra thickness: Apply the cement in two coats instead of one, letting the first coat firm up before adding the second. That gives you a chunkier, more carved-stone appearance.
To use them in arrangements: These little columns look charming under a small pot, beside a lantern, or grouped with other concrete-style pieces. I especially like them tucked among herbs and low flowers where the rough texture stands out.
If the mix feels wrong: Add more peat moss and cement if it’s too wet, or just a spoonful of water at a time if it’s too dry. A thick, spreadable consistency is what makes this project easy.
About durability: These are best used as decorative garden accents rather than weight-bearing stands. In my experience, handmade cement pieces last best when they’re allowed to cure fully and aren’t moved around too roughly.
Make them your own: Press in tiny pebbles, bark texture, or even the edge of a leaf while the surface is still soft. That little homemade touch is the sort of thing that gives a garden its personality, and I’ve always believed those details are what make simple projects feel special.