
I’m always looking for simple outdoor fixes that don’t require a full hardware-store deep dive, especially when I’m trying to get the backyard set up after work before the light disappears. These draped yard weights are one of those surprisingly useful projects: you use sturdy canvas tote bags, fill them with wet cement and a basic household staple, and end up with heavy, flexible-looking weights that can drape over the base of outdoor décor, hold down lightweight yard structures, or anchor fabric and covers in place.
What I like most about this project is that it feels approachable even if you’ve never worked with cement before. The tote bag acts as both the mold and the finished outer layer, so there’s no complicated form-building involved. If you need a budget-friendly way to add outdoor weight without lugging around awkward concrete blocks, this is a very practical weekend project.
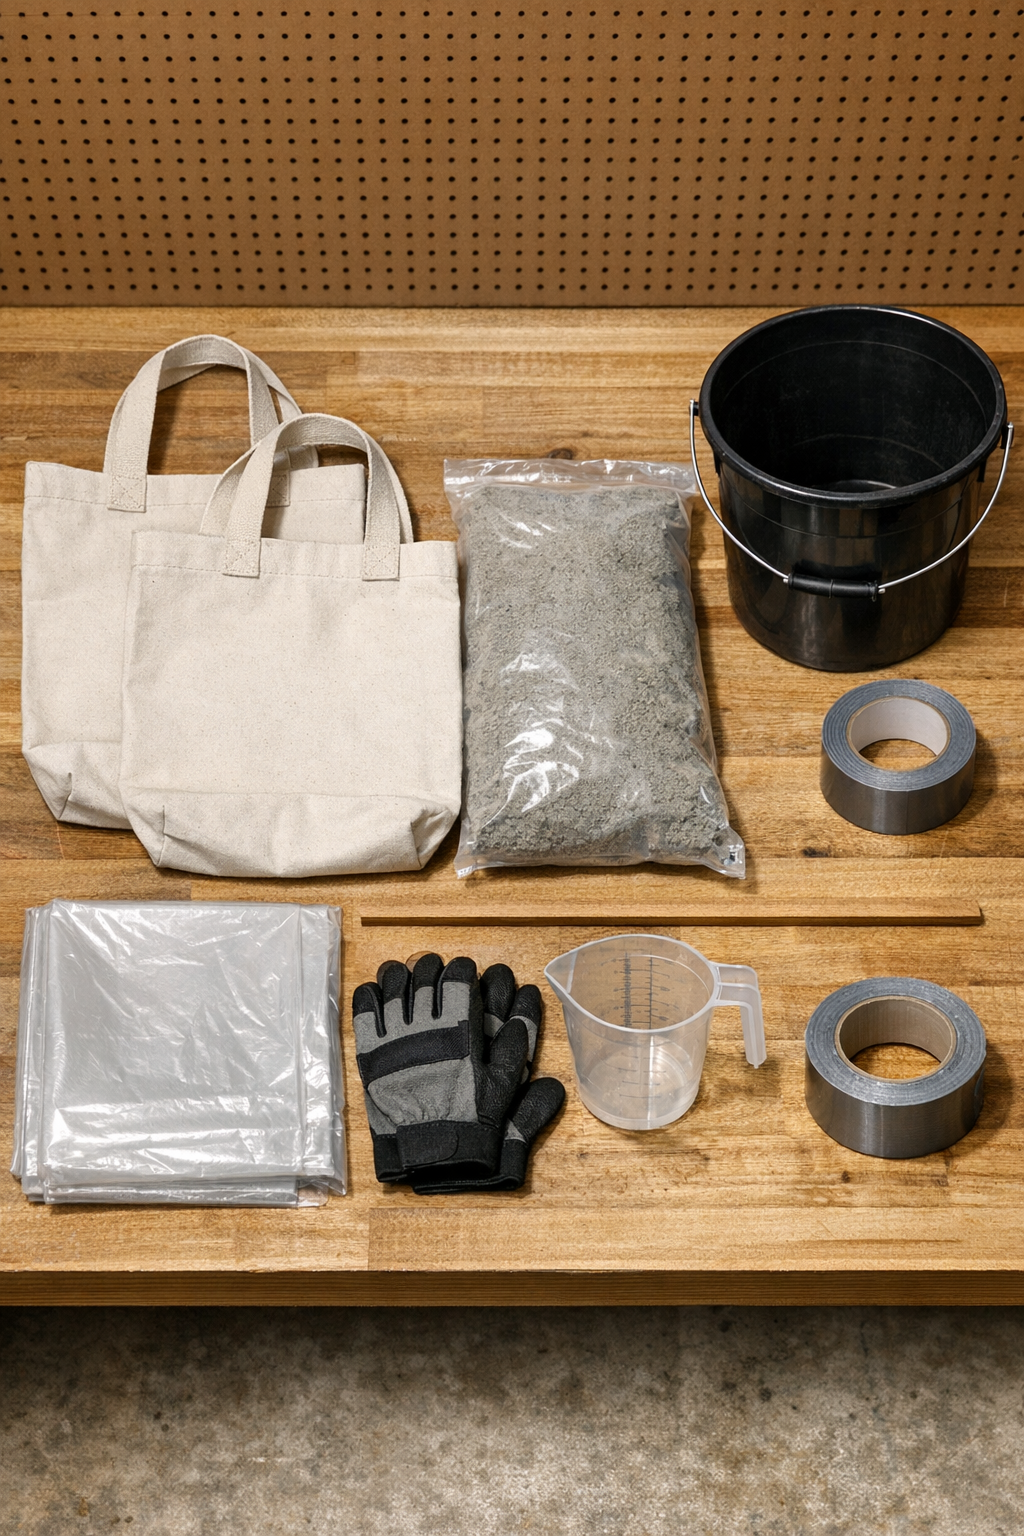
Materials
2 heavy canvas tote bags, 14 to 16 inches wide with reinforced handles
Instructions
1. Set up your work area outdoors or in a well-ventilated garage by spreading out the plastic drop cloth and placing the cardboard or plywood on top. Put on gloves and a dust mask before opening the concrete mix.
2. Reinforce the bottom and lower side seams of each canvas tote bag with duct tape on the outside to help the fabric handle the wet weight. Add two strips across the bottom and one strip up each lower corner.
3. Pour about half the concrete mix into the bucket and add water a little at a time, stirring until it reaches a thick oatmeal-like consistency. Mix thoroughly so there are no dry pockets, but keep it stiff enough that it won’t pour like soup.
4. Scoop wet concrete into the first tote bag until it is roughly half to two-thirds full, depending on how heavy you want the finished weight. Tap the bag gently on the work surface to settle the mix and remove trapped air.
5. Shape the bag by lifting and adjusting the handles and upper fabric so the concrete settles into a rounded, draped form. If you want the weight to hang over a fence foot, umbrella stand, or yard frame, position the handles and center dip now while the concrete is still soft.
6. Repeat the mixing and filling process for the second tote bag, matching the weight and shape as closely as possible. I like to eyeball the fill level first, then compare by lifting the handles carefully just an inch or two.
7. Leave both filled totes on the flat curing surface and let them begin setting for 24 hours without moving them much. If the fabric shifts, gently nudge it back into place during the first 30 to 60 minutes while the concrete is still workable.
8. After 24 hours, check that the concrete feels firm, then move the weights to a dry sheltered spot to continue curing for another 2 to 5 days. Full strength takes longer, so avoid dropping or dragging them during this time.
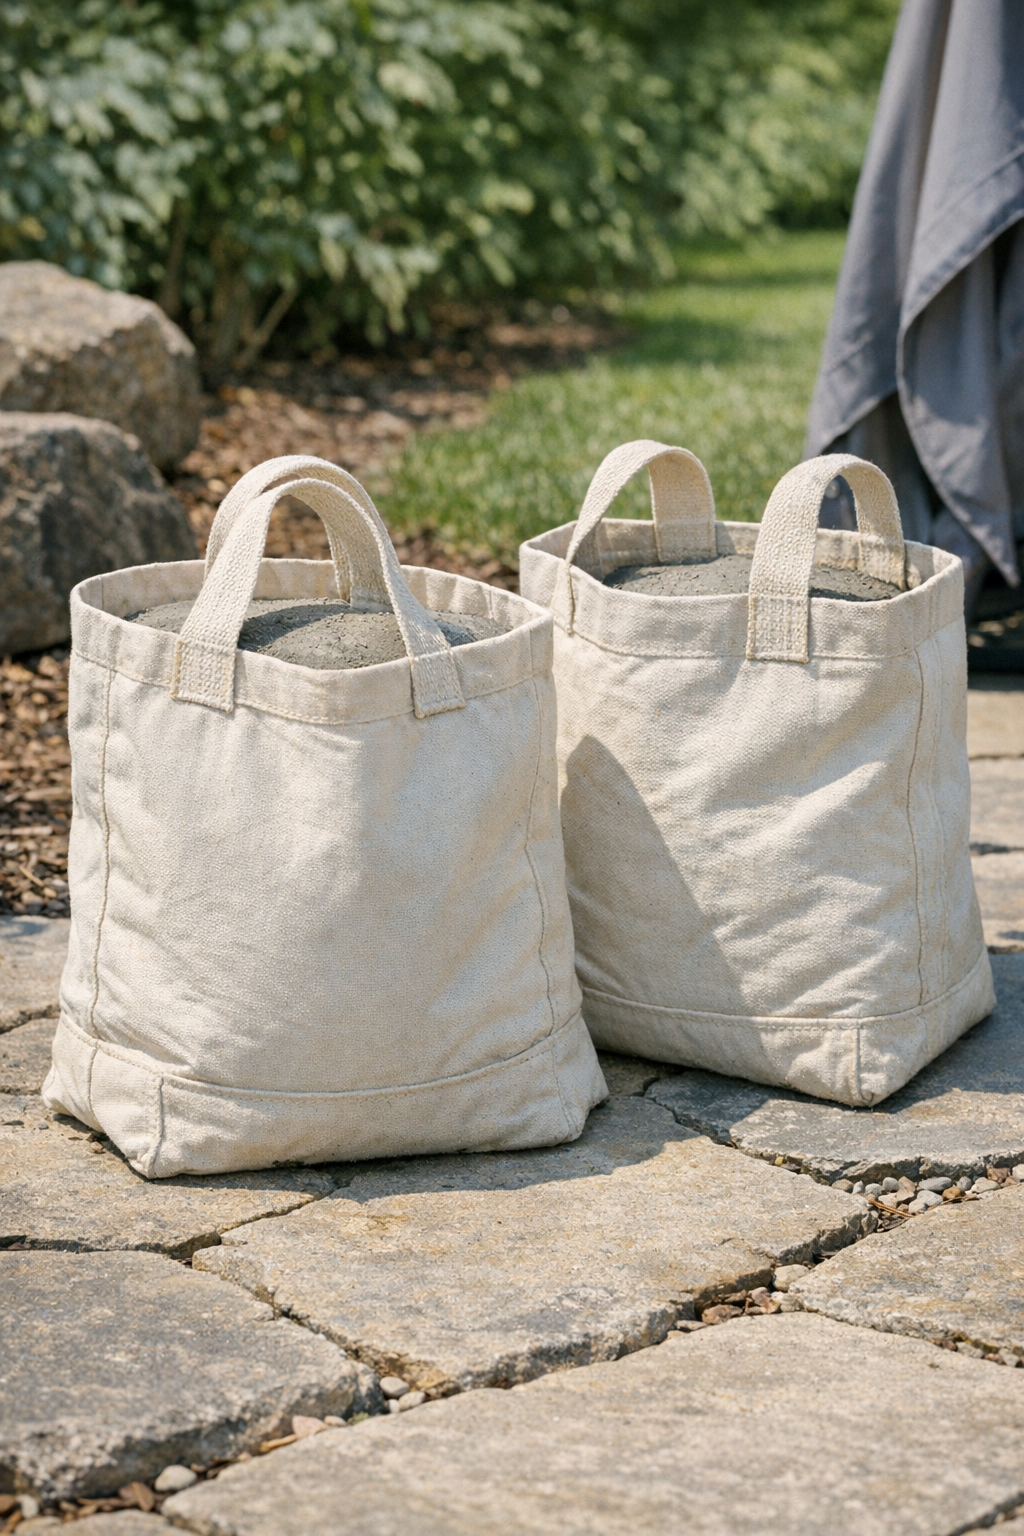
9. Once fully cured, place the tote weights wherever you need outdoor hold-down support, using the handles or draped shape to position them securely. Test the hold gently before relying on them in wind or weather.
Variations & Tips
Use smaller bags for lighter jobs: If you only need to hold down a picnic tablecloth setup, garden fabric, or a lightweight cover, switch to smaller canvas bags and reduce the concrete amount so they’re easier to move.
Double-bag for extra insurance: If your canvas feels thinner than you’d like, nest one tote inside another before filling. I’d do this if I were using bargain-store bags and wanted a little more peace of mind.
Shape them for the exact spot: These work best when you form them around the item they’ll sit on or against during the early set stage. Just protect the surface with plastic first so the concrete doesn’t stick where you don’t want it.
Don’t overwater the mix: A thicker mix gives you a stronger finished weight and helps the bag keep that nice draped form. If the mix gets too runny, add a bit more dry concrete before filling the tote.
Keep them looking tidy: Once cured, brush off any loose concrete dust and trim frayed threads from the tote edges. For a cleaner outdoor look, choose neutral canvas bags that blend in with planters, patio furniture, or garden structures.
Plan for permanent use: These are heavy once cured, so decide on a realistic finished weight before you mix. I’ve learned the hard way with outdoor projects that “more sturdy” is great until you’re the one carrying it across the yard.