
These heavy segmented patio blocks are one of those satisfyingly simple projects that look far more custom than they are. By using plastic school lunch trays as molds and basic cement mix, you can cast sturdy stepping stones or patio accents with built-in sections that read almost like oversized pavers. I like this kind of project because it borrows a kitchen-adjacent object and gives it a completely new life outdoors, which feels right up my alley.
If you want an affordable way to add structure to a garden path, create a small sitting area, or make decorative utility pavers for a side yard, this is a very approachable weekend build. The process is beginner-friendly, but the finished blocks are substantial, so they feel useful rather than purely decorative.
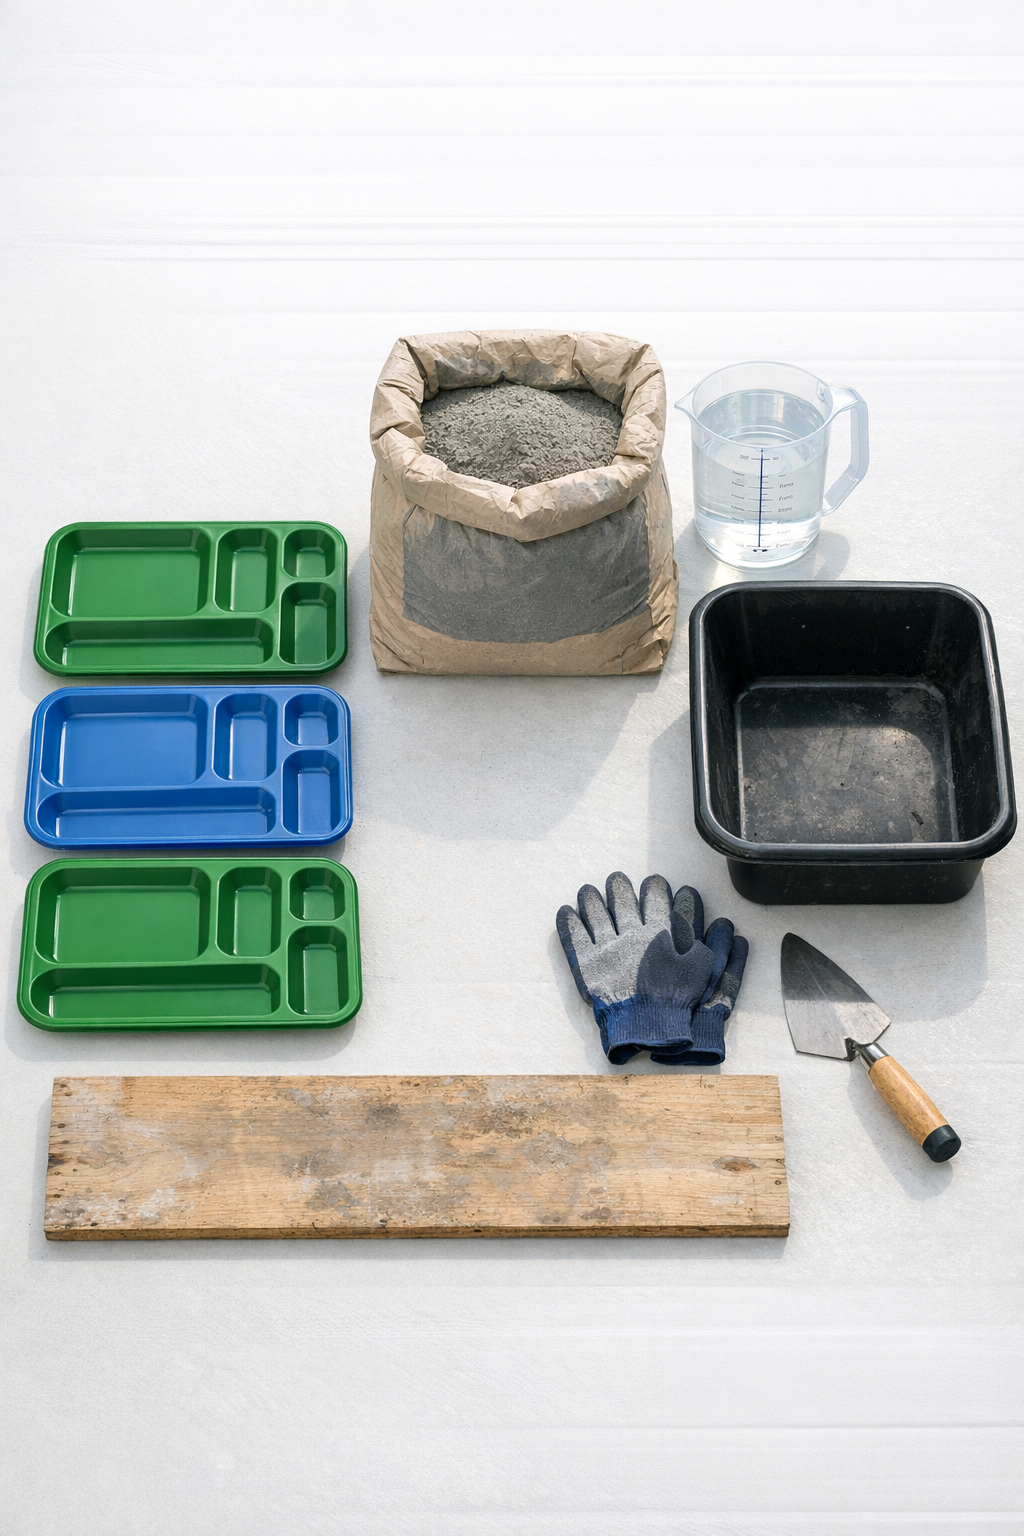
Materials
Instructions
1. Set the lunch trays on a flat, sturdy surface protected with a plastic drop cloth, and make sure each tray sits level so the blocks cure evenly.
2. Lightly coat the inside of each tray with nonstick spray or a thin film of oil, getting into all the compartment corners so the cured blocks release more cleanly.
3. Mix the concrete or cement mix in a tub according to the package ratio, adding water gradually until it reaches the texture of thick oatmeal that holds its shape but still pours.
4. Tap the mixing tub or drag your trowel through the mix a few times to knock out dry pockets and reduce large air bubbles before filling the trays.
5. Pour the wet cement into each lunch tray, filling all compartments evenly to a thickness of about 1 1/2 to 2 inches across the tray.
6. Use a trowel or scrap board to screed across the top and level the surface, then gently shake or tap each tray on the table to release trapped air.
7. Smooth the top lightly, but do not overwork it; a slightly textured surface will be less slippery outdoors once the block is installed.
8. Let the trays sit undisturbed for 24 to 48 hours, or until the blocks are firm enough to handle without flexing or crumbling at the edges.
9. Flex the plastic tray gently and invert it onto a piece of cardboard or a folded towel, then lift the tray away slowly to release the block without chipping the corners.
10. Cure the unmolded blocks for another 3 to 5 days in a shaded area, misting lightly once or twice a day if the weather is hot or very dry.
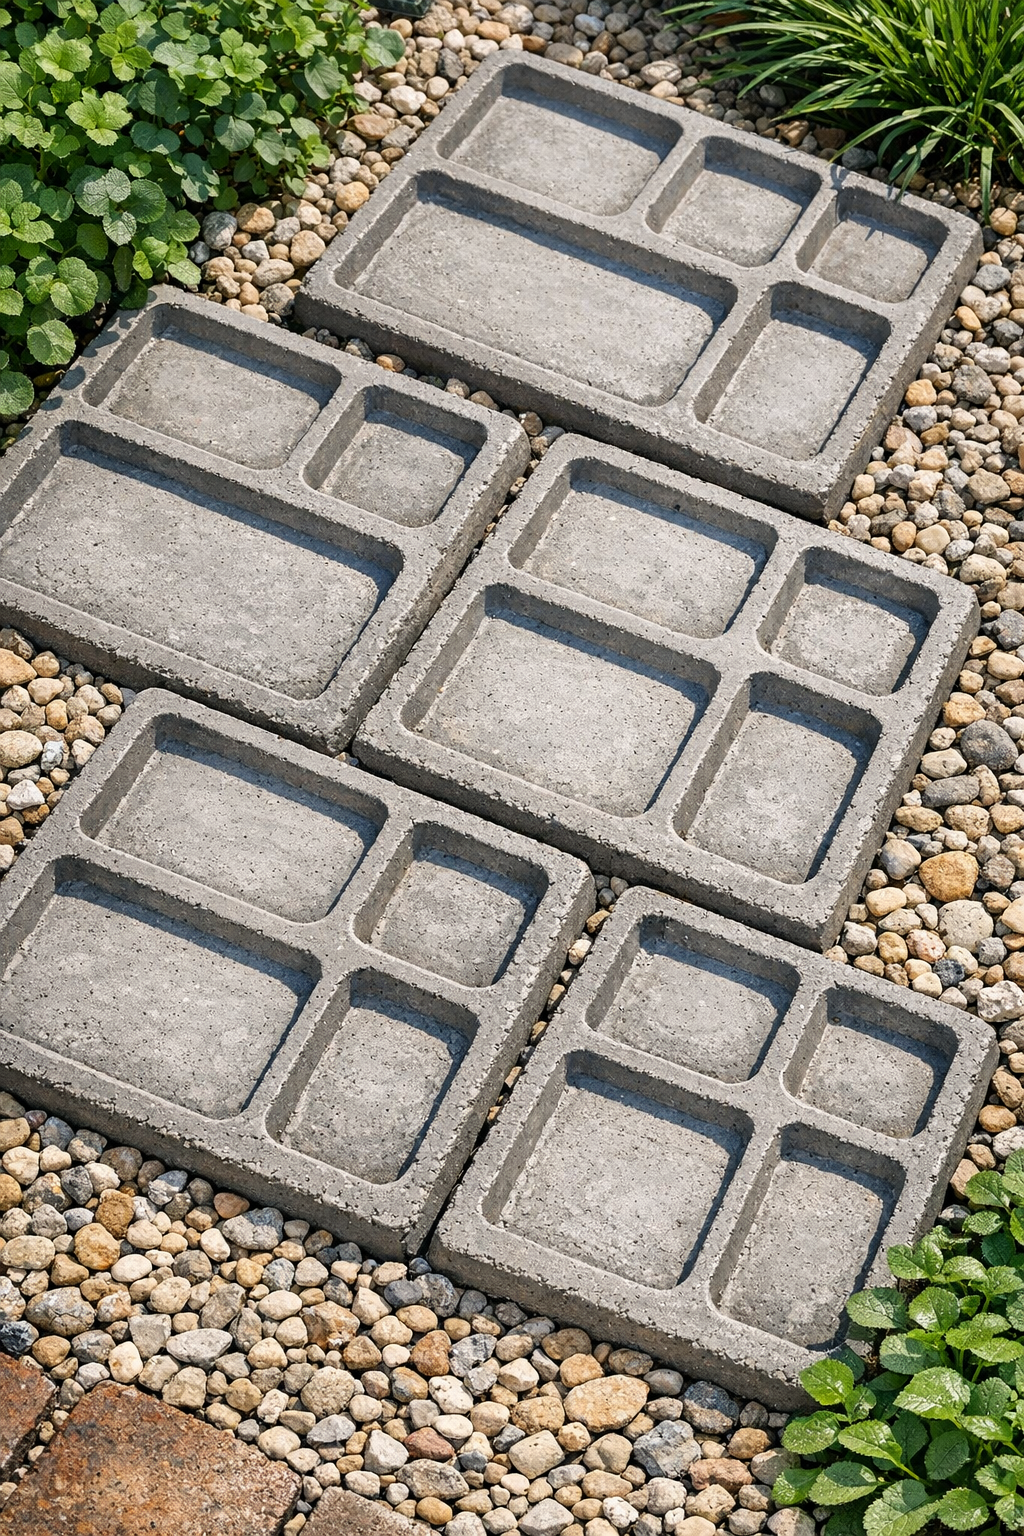
11. Prepare the installation spot by scraping it level and adding a thin layer of sand if needed, then press each block into place so it sits flat and stable.
12. Sweep soil, gravel, or ground cover between the installed blocks if you want a more integrated garden-path look.
Variations & Tips
For a cleaner release: If your trays are lightweight and flexible, let the blocks harden fully before unmolding and peel the plastic away slowly instead of forcing the block out.
For stronger blocks: Choose a concrete mix with sand and aggregate rather than plain cement alone; in my experience, the finished pavers hold up better outdoors and resist edge damage.
For a richer surface texture: After the initial set, you can dab the tops with a stiff brush for a more stone-like finish that blends nicely into a garden path.
For color variation: Add powdered concrete pigment to the dry mix before adding water, or make separate batches in soft charcoal, terracotta, or warm sandstone tones.
For easier placement: These blocks are heavy, so cast them close to where they will be installed if possible; moving cured concrete across a yard is a bit like hauling cast-iron cookware in bulk.
For cold-weather success: Avoid pouring in freezing temperatures, because slow or interrupted curing weakens the blocks and can leave them chalky.