
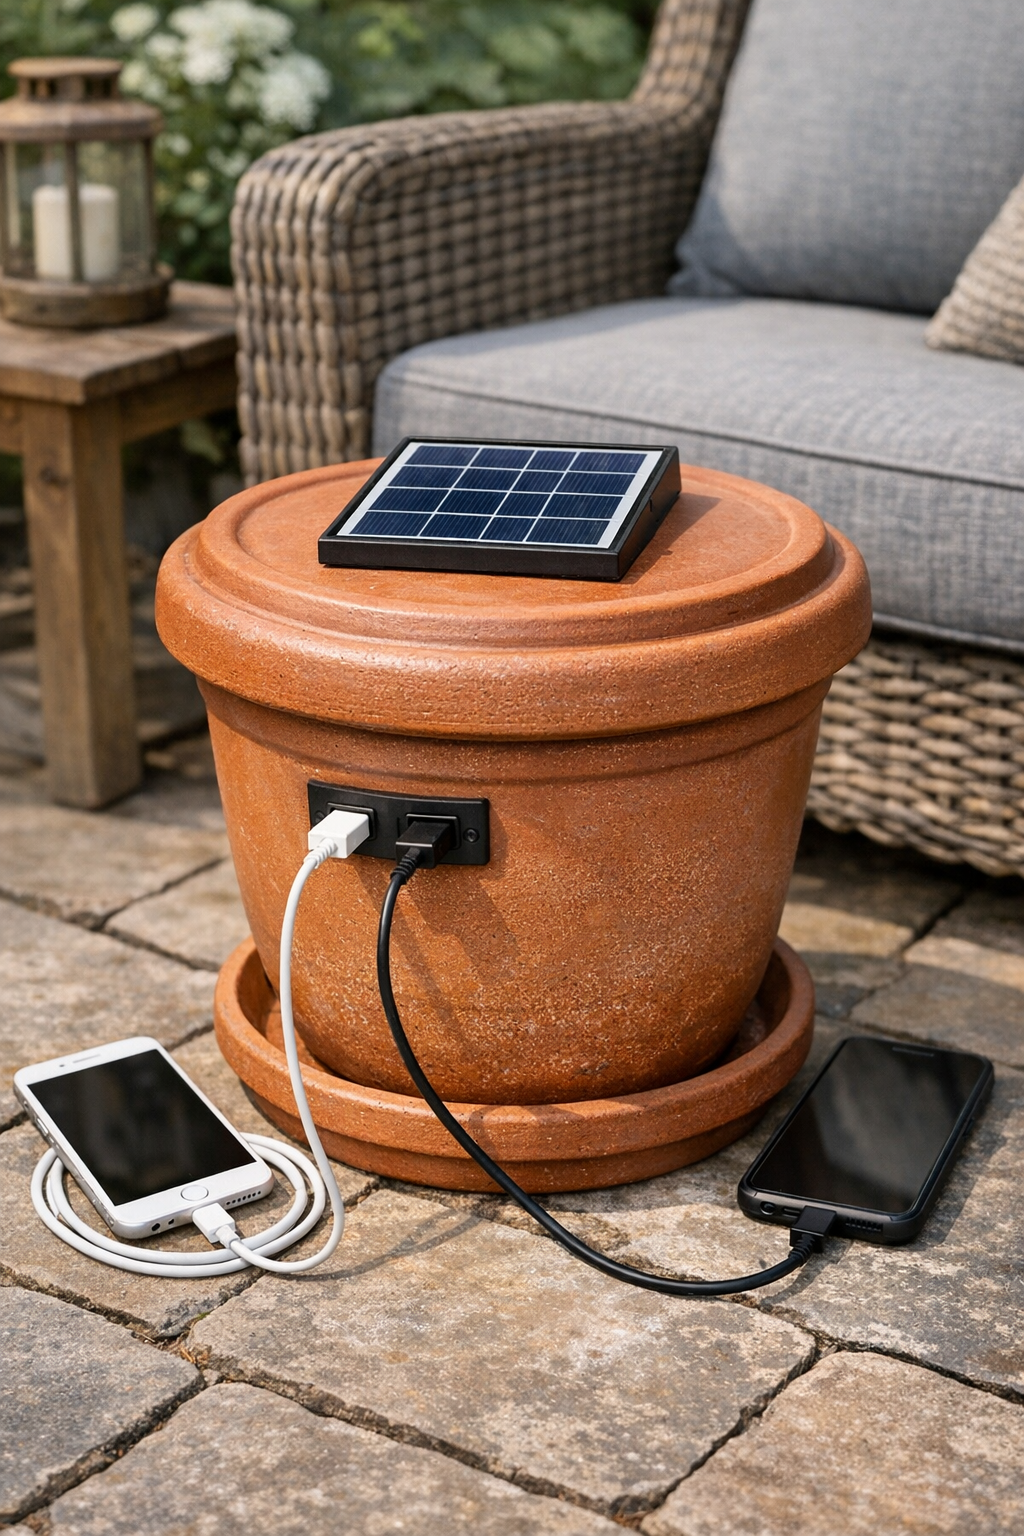
I love a patio project that solves a real annoyance, and this one absolutely does. By turning a large terracotta pot into an outdoor phone charging station with a solar panel mounted on the lid, you get a tidy, weather-aware place to stash a power bank, route charging cables, and keep a phone off the table while it charges. It looks right at home beside planters and outdoor furniture, but it works much harder than a plain flowerpot ever could.
Because I spend a lot of time cooking and eating outdoors in the warmer months, I’m always hunting for ways to make the patio more functional without making it look cluttered. This is a good beginner-friendly build if you’re comfortable measuring, drilling slowly, and making a few simple connections. The finished station is useful for charging phones during afternoon hangs, evening dinners, or any time you want power nearby without running an extension cord across the yard.
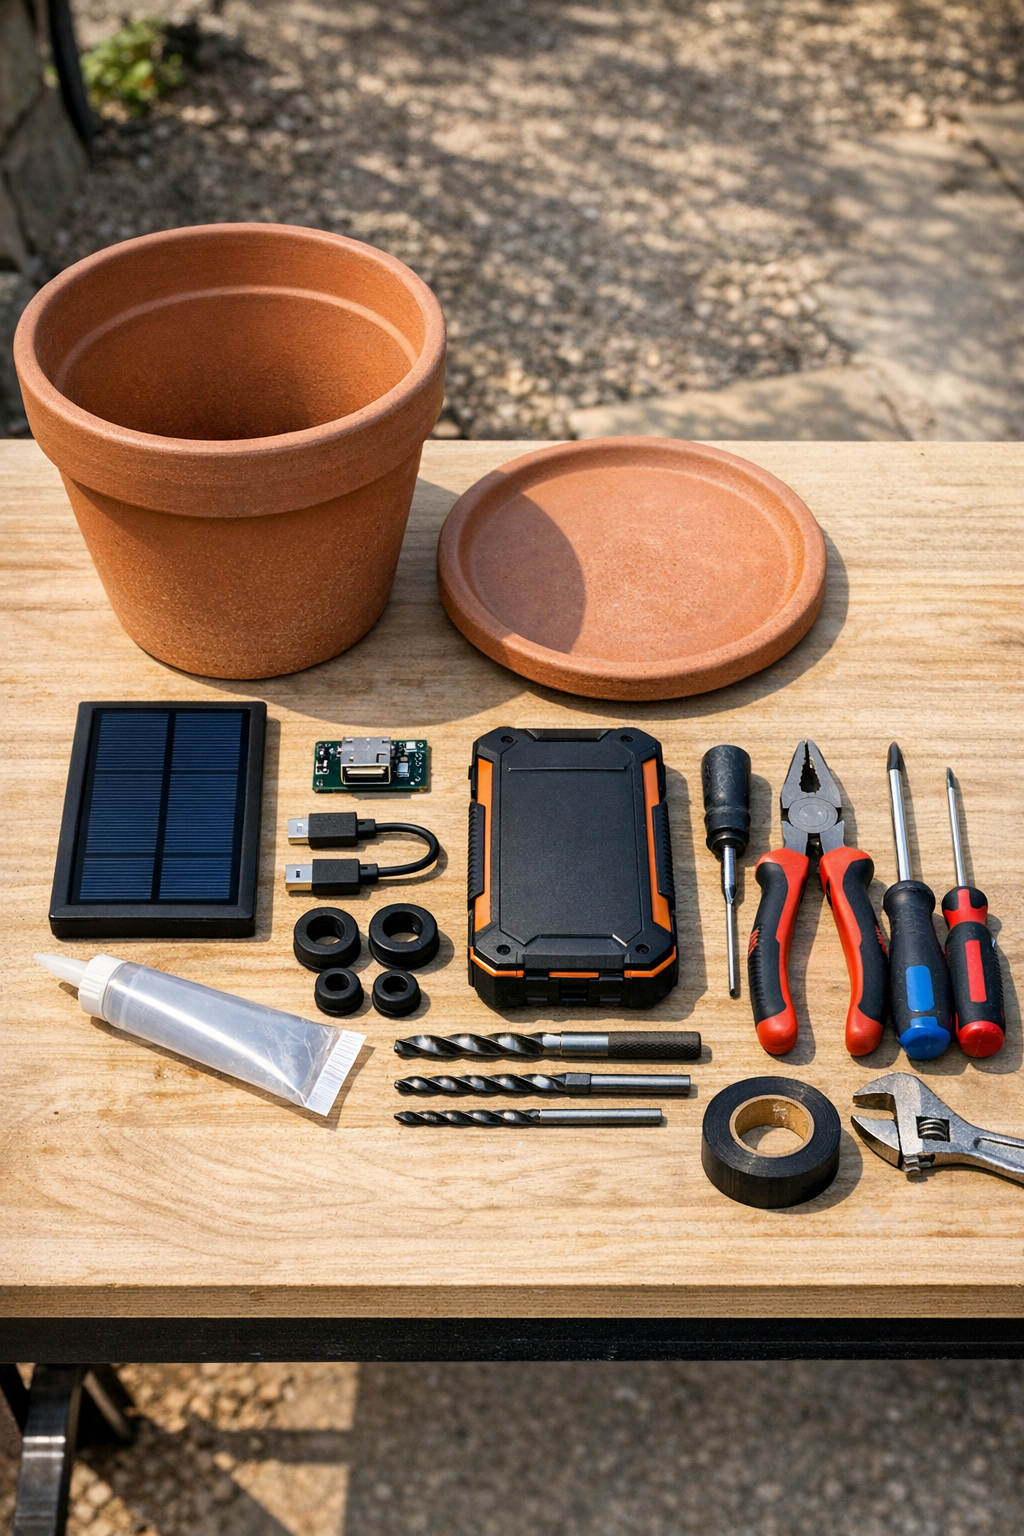
Materials
Instructions
1. Set the terracotta pot and saucer on a stable work surface, then decide where the USB ports will sit on the upper side of the pot so they’re easy to reach but still protected from splashes. I like placing them about 2 1/2 inches below the rim and spacing them 3 inches apart.
2. Apply painter’s tape over each drilling area on the pot and mark the center points for the USB port holes. The tape helps reduce skidding and gives you a clearer line to follow on the clay.
3. Drill a small pilot hole at each mark using a masonry or tile bit, keeping the bit and clay cool with light water if needed. Work slowly with gentle pressure so the pot doesn’t crack.
4. Enlarge each pilot hole gradually until it matches the mounting size for your panel-mount USB ports or rubber grommets. Smooth any rough edges with sandpaper or a sanding stone.
5. Test-fit the USB ports or grommets in the holes before sealing anything. They should sit snugly without forcing, since terracotta can chip if you over-tighten hardware.
6. Place the saucer upside down and center the solar panel on it, leaving enough room near the edge to lift the lid easily. Mark the panel mounting holes or bracket points with a pencil.
7. Drill the saucer carefully at the marked points, then bolt the solar panel to the saucer using stainless steel bolts, washers, and lock nuts. If your panel wiring needs to pass through the lid, drill one additional cable hole just large enough for the connector.
8. Run the solar panel cable through the saucer and seal around the cable hole and bolt penetrations with clear outdoor silicone. Let the sealant skin over according to the package directions before moving the lid much.
9. Add the decorative gravel to the bottom of the pot, then place the plastic storage box inside on top of it. This keeps the battery and charging controller elevated and away from any moisture that might collect at the very bottom.
10. Connect the solar panel to the charging controller or power bank input, then place the battery and controller inside the plastic box. Route the USB output cables from the battery or controller to the drilled side holes.
11. Install the panel-mount USB ports or pass the cable ends through rubber grommets, then secure them with their mounting rings or a small bead of silicone. Use adhesive cable clips inside the pot to keep the wires tidy and away from the lid edge.
12. Apply foam weatherstripping around the saucer rim where it meets the pot to soften the fit and reduce rain entry. Set the solar lid in place, plug in a phone, and test charging in direct sun before moving the station to its final patio spot.
Variations & Tips
Add a shelf insert: If you want easier access inside the pot, make a simple internal platform from a plastic plant tray or thin exterior board so the battery box sits higher and the cables are easier to reach.
Use a larger panel: A 15- to 20-watt solar panel will recharge the battery faster, especially if your patio gets partial sun. Just make sure the saucer lid is wide and sturdy enough to support the extra size.
Protect the ports: Choose USB ports with rubber caps if the station will stay outside full-time. Terracotta handles weather well, but exposed charging ports benefit from that extra barrier.
Mind the freeze-thaw cycle: In a Midwestern climate like mine, I bring the battery pack indoors before hard freezes and prolonged storms. The pot can stay out if it’s empty and dry, but electronics last longer with a little seasonal common sense.
Try a planted version: For a prettier look, leave the center of the lid clear and place a small potted succulent or trailing faux plant beside the charging area on a wider setup. I’d keep live soil and electronics fully separated, though; convenience is lovely, but not at the expense of moisture control.
Drill slowly and patiently: Terracotta is forgiving if you respect it. I always say drilling clay is a bit like making a delicate custard: rush it, and you invite cracks; go steadily, and the result is much more polished.