
I’m always looking for ways to make my kitchen-and-garage clutter a little more useful, especially when it comes to those random dried-out markers that seem to collect in every junk drawer. This project turns them into tough, colorful replacement tool handles with just two other basic materials, and the result is surprisingly sturdy once everything cools and sets.
If you have an old screwdriver, file, awl, or small hand tool with a cracked or missing handle, this is a fun upcycling fix that feels a little bit crafty and a little bit practical. I like projects like this because they use up odds and ends, don’t require a huge time commitment, and leave you with something genuinely useful at the end.
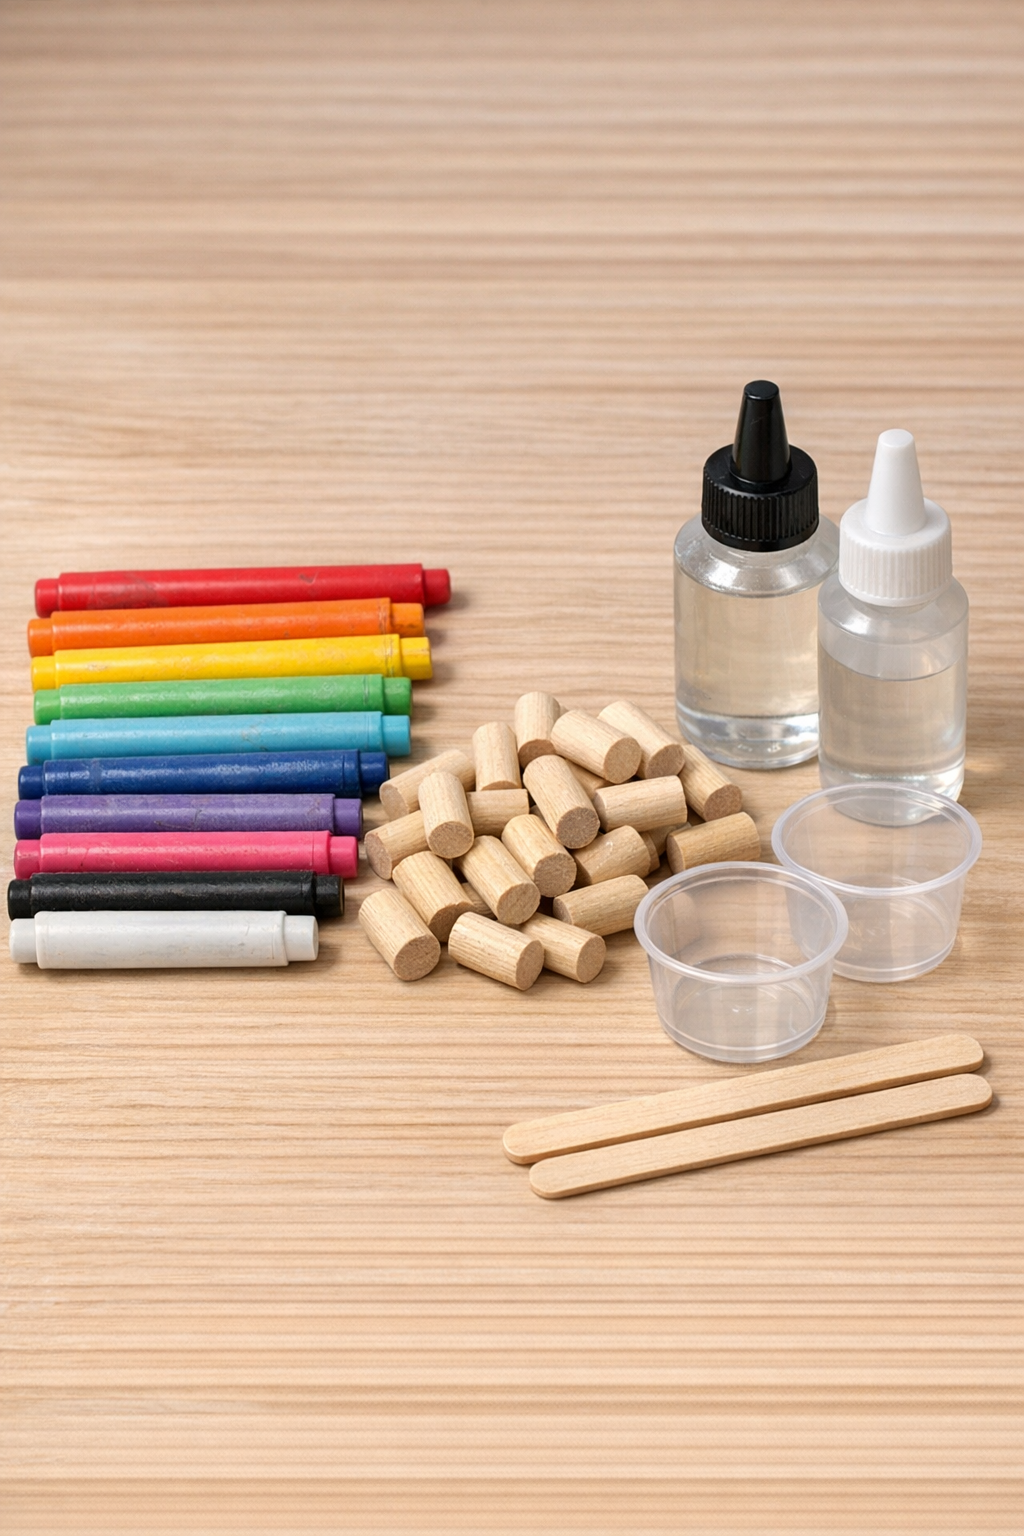
Materials
Instructions
1. Disassemble the dried markers and remove the caps, felt cores, tips, and any internal plugs so you are left with only the hard plastic barrels and caps. Wash and dry all the plastic pieces thoroughly so no ink or moisture remains.
2. Cut or snap the clean marker plastic into small pieces about 1/2 to 1 inch long so they melt more evenly. Sort by color if you want a marbled or striped look in the finished handle.
3. Cut a section of hardwood dowel to the finished handle length you want, usually 4 to 5 inches for a small hand tool. Dry-fit your tool tang or shaft against the dowel so you know how deep the final mounting hole will need to be.
4. Drill or carve a shallow centered starter hole in one end of the dowel to guide the tool tang later, but do not glue anything yet. Keep the hole smaller than the tang so the final fit stays tight.
5. Heat the chopped marker plastic in a dedicated metal container or silicone mold inside a well-ventilated workspace until it softens into a pressable mass. Work slowly and carefully, adding pieces in batches so the plastic softens evenly instead of scorching.
6. Press the softened melted plastic around the outside of the dowel, building up the grip area while the wood core stays centered inside. Rotate and compress it firmly so there are no large air gaps and the handle shape becomes dense and solid.
7. Shape the warm handle by rolling it on a smooth surface or pressing it by hand with heat-safe gloves until it feels comfortable in your grip. Taper one end slightly and round the butt end so it looks intentional and feels balanced.
8. Let the handle cool completely until the plastic becomes hard all the way through. Once cool, trim or sand any rough spots so the surface is smooth and comfortable to hold.
9. Deepen the starter hole in the handle core to match the tool tang or shaft, checking the fit often so you do not remove too much material. The tool should seat straight and snug without wobbling.
10. Mix the two-part epoxy according to the package directions and coat the tang or shaft lightly before inserting it into the handle. Wipe away squeeze-out and align the tool carefully before the adhesive starts to set.
11. Let the epoxy cure fully for the full recommended time before using the tool. Once cured, test the handle with a firm hand grip and light tapping to confirm it feels solid and impact-resistant.
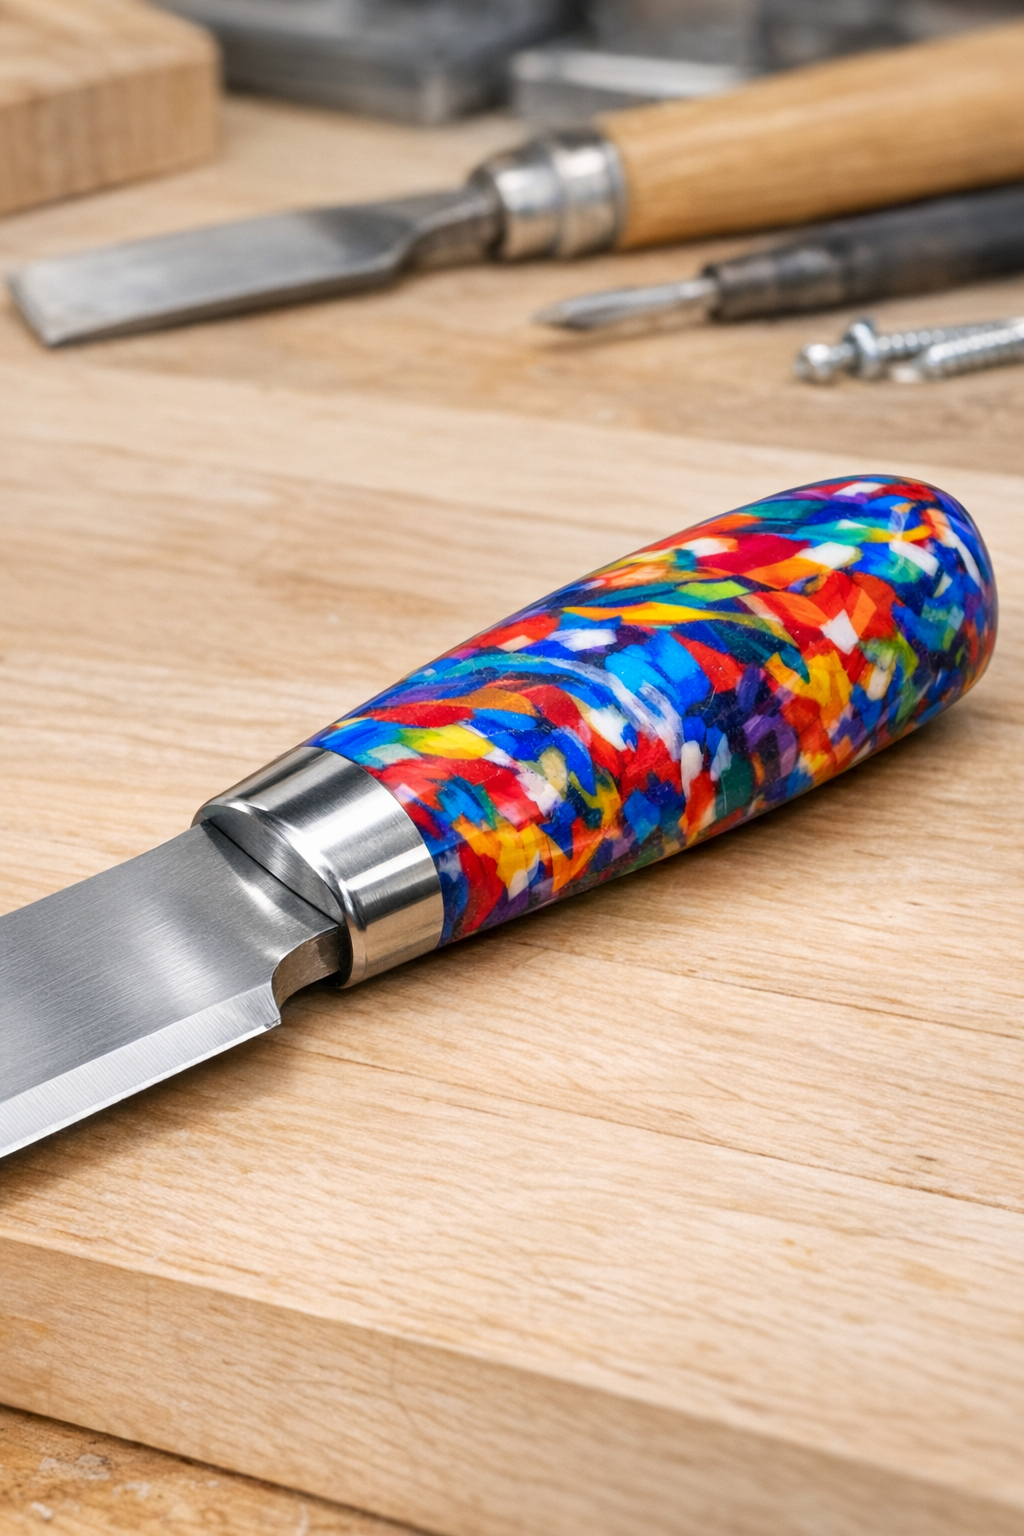
Variations & Tips
Color mix: If you want a cleaner look, group similar marker colors together before melting. I like mixing blues and blacks for a more workshop-style finish, while rainbow mixes look more playful.
Best tools for this project: This works best for small hand tools like files, scratch awls, screwdrivers, or punches. I would not use it for anything oversized or heavy-duty unless you make a larger core and test it carefully first.
Handle comfort: A slightly oval shape often feels better in the hand than a perfect cylinder. When I shape grips, I think about the tools I reach for on a busy weeknight fix-it session and try to make them comfortable enough to use for more than a minute or two.
Core strength: The hardwood dowel gives the handle more impact resistance and helps the plastic keep its shape. If your tool has a very thin tang, keep the wood core as intact as possible and drill only the smallest hole needed.
Surface finish: After cooling, you can wet-sand the plastic lightly for a smoother feel. Start fine and go slowly so you polish the surface instead of gouging it.
Safety tip: Always melt plastic with strong ventilation and use containers and tools dedicated to workshop use, not kitchen food equipment. This is one of those projects where a little patience really pays off in both safety and the final result.